Would you like to know how to make the most incredibly delicious, chewy and crispy macarons? My guide to perfecting French Macarons is easy to follow and features my ultimate Macaron flavour -Salted Caramel Macarons!
I originally wanted to call this guide "How to not f#*k up French Macarons" because that pretty much sums up my trials and tribulations when trying to work out how to make macarons. Believe me, there were tears! Instead, I'll go with the more gentle version of "A Guide to Perfecting French Macarons".
So settle in....grab a cuppa....this is going to be a long post!
Save this recipe 💌
THE HISTORY OF (MY) MACARONS
I first became obsessed with French Macarons in 2008. I was on my first European holiday, visiting Paris and Rome. By pure coincidence, our hotel was a few doors away from the gorgeous little boutique tearoom of Ladurée at 21 Rue Bonaparte in Saint Germain. Much prettier (in my opinion) and way quieter than the tearoom on the Champs-Élysées. (btw, our hotel was also "coincidentally" next door to Louis Vuitton, but that's a whole other story...).
So I fell in love with how pretty the macarons in Ladurée where -so many gorgeous colours, with so many macaron flavors! I just didn't know where to start! But I had to make a choice, and it was Caramel, Pistachio, Chocolate and Vanilla; the classics.
Since my first trip to Paris, I've returned a couple of times, visiting Ladurée on each occasion. Last year I was there again and my apartment was right across the road from Café Pierre Hermé - Beaupassage which is a foodie's heaven! Let's just say I made several visits to Mr Hermé.... Next level macarons!
STEP BY STEP MACARONS -EVERYTHING I KNOW!
MACARON ESSENTIALS
This is exactly how I make my macarons, from what tools I use, what methods I use and the exact French Macaron Recipe I use. I've had plenty of failures in the past, believe me! However, about 5 years ago I took a Macaron class at Savour School (they also run fabulous online tutorials) and it was life changing. Seriously life changing! Understanding how things work and why some things fail is a real game-changer and I've never looked back. Perfect macarons every time! No more tears.
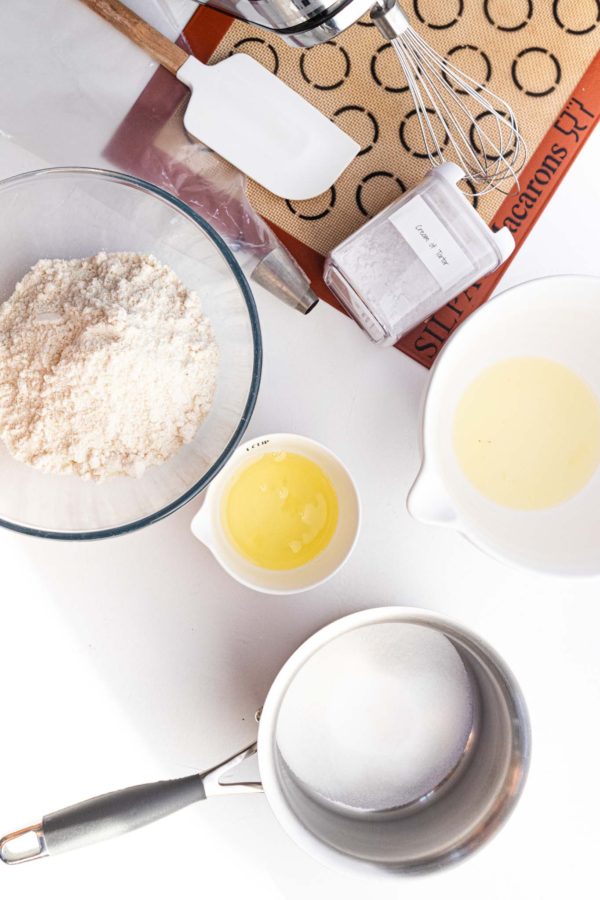
ESSENTIAL TOOLS FOR MAKING PERFECT MACARONS
(this section contains affiliate links to the products I swear by)
There's a few things that you just cannot make macarons without and what you'll need for perfect French Macarons...
HAND HELD MIXER
For large batches of macarons, I use my stand mixer, but this macaron recipe is reasonably small, making 56 French Macarons. You need a mixer to beat the first lot of egg whites, which is a rather small amount, and the large mixer just doesn't reach it. For that reason, I use my KitchenAid Hand Held Mixer
SMALL SAUCEPAN
For making the sugar syrup. When the syrup reaches 118ᴼ C/244ᴼ F it is slowly poured into the beaten egg whites, to make an Italian meringue.
DIGITAL THERMOMETER
Making macarons requires precise measurements, both in weight and temperature. A digital thermometer is essential for accuracy.
DIGITAL SCALES
See above! I can't live without my digital scales, as every gram counts. Weigh your ingredients accurately and scrape every last drop from the bowl.
RUBBER SPATULA AND SCRAPER
You need a rubber spatula for mixing the almond meal and icing sugar with the second lot of egg whites, to create a paste. You can also use a dough scraper later, for mixing the Italian meringue into the paste (this process is called macaronage) but for this quantity a rubber spatula should be fine.
DISPOSABLE PIPING BAGS AND #1A ROUND PIPING TIP
Making French Macarons can be a messy business, so go for the disposable piping bags! One for the macaron shells and one for the filling. Fit the bag with a 1A piping tip to pipe the shells. (Or you can use a #1M or #8B for a more decorative filling).
SILPAT MACARON MATS
Silpat mats for macarons are the best! And these ones have circles printed on them, so it's a perfect guide as to where to pipe your macaron shells. I've seen some people suggest tracing circles on baking paper, but in my experience, this doesn't work. Baking paper is treated to be non-stick and will cause your macaron shells to spread out of shape. This was one of the main reasons my macarons never used to work! For the record, I have several silpat mats, so I can pipe all of my shells at once.
BAKING SHEETS/TRAYS
You will need several flat baking trays, big enough to hold your silpat mats. These USA Pan Bakeware trays are by far my absolute favourites! You will also need another baking tray of the same size, to stay in your oven. I always double tray when making my macarons -the preheated tray prevents the shells from burning on the bottom. I would never attempt to make macarons without using a second tray.
THREE MIXING BOWLS
I use one bowl to beat the egg whites/Italian meringue , another bowl for the paste (which you then add the Italian meringue to) and a third bowl for resting the filled piping bag in, in between piping the shells. The macaron mixture will run out, so lay the bag in the mixing bowl, with the piping tip pointing up and the other end of the bag either tied with a rubber band, or also pointing up. I find this really helpful, as it means I can pop the piping bag down if I need a break, or need to move something.
TERMS USED IN MAKING FRENCH MACARONS
TANT POUR TANT
This is the base of macarons and means half and half. It's half almond meal, half icing sugar. You can mix this up yourself, but I often buy it from Savour, as it is a lovely fine powder. You can make it (or buy it) ahead of time and keep it stored in an airtight container. If I'm making my own, I add equal amounts of almond meal and icing sugar to a food processor and pulse until combined, then sift three times. I'll usually make enough for 2 or 3 batches.
MACARONAGE/MACARONNER
The method of mixing or kneading the macaron batter until it's smooth and shiny is called macaronage. This is done with a rubber spatula and then (for larger quantities) a dough scraper. The folding of the batter releases the oils from the almond meal, making the batter shiny -this is the macaronner. Be careful not to overmix, as it will make the macaronner too runny.
CROÛTAGE
This is French for crusting and refers to the drying or resting of the macaron shells. Croûtage prevents cracking in the shells and helps gives macarons their pretty little "feet".
DEEP DIVE INTO THE INGREDIENTS FOR FRENCH MACARONS
AGED/LIQUIFIED/CLARIFIED EGG WHITES
To age or liquify egg whites, weigh them in a small bowl, cover with plastic wrap and pierce a few holes in the plastic wrap, before placing in the fridge for a few days. This will make the egg whites lose their elasticity so they whip up nicely, without being grainy. Bring back to room temperature before making the macarons.
ALMOND MEAL/ALMOND FLOUR
This is just blanched almonds that have been ground to a fine flour. If you're making your own tant pour tant, you will need to sift the almond meal and icing sugar together three times.
ICING SUGAR/POWDERED SUGAR
Is the other half of Tant Pour Tant
SUGAR SYRUP
Is made with exact quantities of water and caster sugar, and is added to the beaten egg whites to make an Italian meringue.
CREAM OF TARTAR
I always put a good pinch of cream of tartar into my egg whites before whisking. It stops the egg whites from being grainy and helps to stabilize the meringue.
GEL FOOD COLOURING
Used to colour the Italian meringue, which is a better way to create a coloured batter. Adding it to the meringue ensures an even distribution of colour, as it will then be thoroughly mixed through the paste during macaronage. I always add more colour than I think I need, as it will be diluted once added to the paste.
MY TIPS FOR PERFECTING FRENCH MACARONS (AND WHAT DOESN'T WORK FOR ME)
BEATING EGG WHITES FOR THE ITALIAN MERINGUE
Don't mix too fast or on a high speed. I always mix on medium, which will create even, small bubbles -no large air pockets.
I start beating my egg whites once the sugar syrup reaches 110ᴼ C and I do this next to my stove, so I can keep an eye on the temperature of the syrup. You want the egg whites to get to a soft peak by the time the syrup reaches 118ᴼ C
SIFT THE TANT POUR TANT, THEN SIFT IT AGAIN. AND AGAIN!
If making your own tant pour tant, you will need to sift the almond meal and icing sugar together three times.
ADDING SUGAR SYRUP TO BEATEN EGG WHITES
As soon as the syrup reaches 118ᴼ C, remove the thermometer and pour the syrup into the egg whites in a thin, steady stream, while continuing to beat the egg whites on low. Continue to beat on a medium speed until the meringue cools to 35ᴼ C
MACARONAGE
The best way I find to mix the paste and Italian meringue, is to take a little of the meringue and add it to the paste, so as to loosen the thick paste. Once loose, add the rest of the meringue and fold through with either the rubber spatula or dough scraper, to create a supple and shiny batter. Do this by scraping and folding, while also turning the bowl as you go. It should be like a cake batter and not too thin, as it will not hold it's shape during baking. But if it's too thick, it will not be shiny and you'll end up with little peaks on your shells. The batter should be smooth and flow gently, rather than spread quickly out of shape.
FILLING THE PIPING BAG
Snip off the end of the piping bag and insert the piping tip. I find the easiest way to fill the bag is to twist the end with the nozzle and fold the nozzle back up (to seal the opening), then place the bag into a deep cup or jug (the sort you make smoothies in). Fold the ends of the bag back over the edge of the cup and start filling the bag. For me, this is much easier than trying to hold it in one hand and scoop batter with the other.
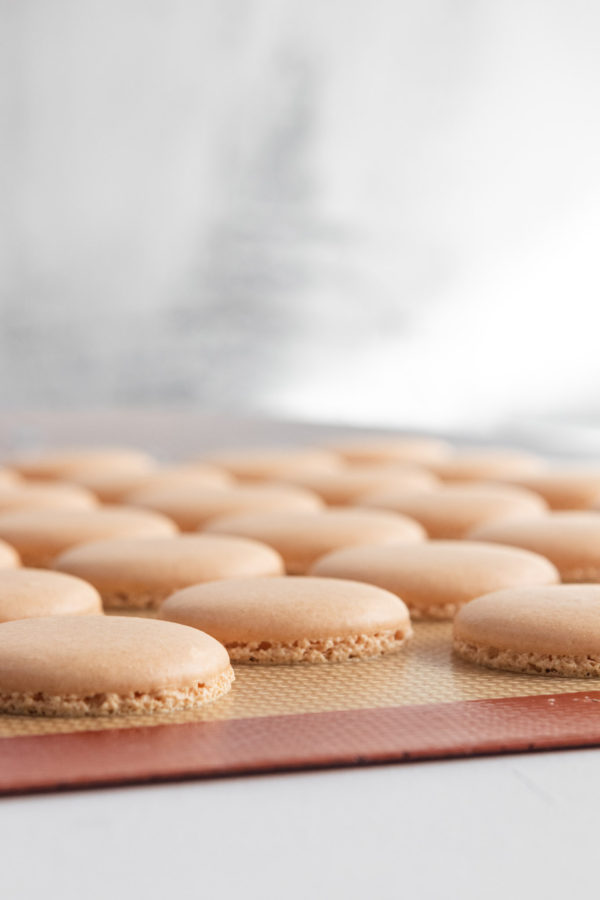
PIPING THE SHELLS
If I haven't done this for a while, I get a little nervous and usually end up with a wonky first shell!
Make sure the piping bag is twisted at the end, so no batter can escape, and that there are air bubbles inside the bag. Hold the bag upright, with the nozzle pointing directly down and squeeze gently with the hand holding the twisted end of the bag. Pipe to the inside of the marked circles on the silpat mat, release the pressure and give the bag and nozzle a little twist to stop the batter. I never pipe to the edge of the circle, as the batter will spread and inevitably join with the other shells. If you want larger macarons, maybe just fill every second circle.
TAP IT
Once piped, give the trays a gentle but firm tap on the kitchen bench, to get rid of any large air pockets (you can pierce any leftovers with a toothpick). Warning: place a tea towel on the bench beforehand -I have more than one chip in my marble bench from doing this without a tea towel!!
CROÛTAGE (DRYING)
Most macaron recipes will tell you to rest your shells for 30 minutes before baking. In my house, I only need 15 minutes, but I usually pipe all of my shells at once, which means some dry for 15 minutes, some dry for 45. Just as long as the unbaked shell is no longer sticky, you should be fine.
DOUBLE TRAY
Always! This prevents burning the base of the shells.
OVEN TEMPERATURES
I bake my macaron shells in a conventional oven, which means I only bake one tray at a time. I'm happy with this, though, as I feel I get a better result (in my oven, at least). I preheat my oven to 160ᴼC. After baking the shells at 160ᴼ for 5 minutes, I then reduce the temperature to 140ᴼ and continue to bake for another 10 minutes. This stops the shells from browning and is especially important for lighter coloured shells. Just remember to preheat the oven back to 160ᴼ for each batch.
NO WOBBLE
I've seen some people suggest the macaron shells are ready when there's still a slight movement when you wiggle them. This DOES NOT WORK for me! If I took my shells out when they still wobbled, I wouldn't be able to get them off the mats! For my macaron shells, they're ready when there's no more wobble.
REMOVE THE SILPAT MATS
As soon as you take the macaron shells out of the oven, slide the silpat mat off the baking sheet and onto the bench to cool. Once cooled, simply (and gently) peel each shell off the mat. I usually lift the mat, then peel it away from the macaron. Be gentle.
DID YOU KNOW
Macarons are best eaten a day or two after they are made. This gives them time for the flavours to develop and to create that delicious, chewy texture.
MACARON FLAVOURS
Generally, the flavour of a macaron actually comes from the filling! You can use this base recipe for most macaron flavors and just adjust the colour of the shell to suit the flavour of the filling you choose.
TROUBLESHOOTING MACARONS
SHELLS ARE LUMPY AND DULL
The almond meal wasn't fine enough and/or you didn't work the batter long enough.
PEAKS ON THE MACARON SHELLS
Batter was too firm and not mixed long enough.
NO FEET
The batter was overworked and broken, or the uncooked shells didn't dry long enough.
SHELLS ARE STICKING TO THE MAT
They haven't cooked long enough. If the shells are cooked and you can't get them off the mat, pop the tray into the freezer for a few minutes, then try again.
HOW TO STORE (AND EAT) MACARONS
Most people can't eat 56 macarons in one sitting, so it's a good thing that macarons can be frozen! I always freeze my macarons. They can live in an airtight container in the freezer for up to 3 months and just need to be taken out about 30 minutes before serving. For me this is perfect, as I always have fresh macarons on hand to have with a cup of tea!
NOTE: I make macarons as Christmas presents, as I can make them well ahead of time and freeze them. And seriously, who doesn't love macarons?!
You can also store macarons in the fridge for up to 3 days.
WHICH BRINGS ME TO MY SALTED CARAMEL MACARON RECIPE
Finally!
Thanks for sticking with me! I know....it's a lot to take in, but I really wanted to give you everything I've learnt -mistakes and all.
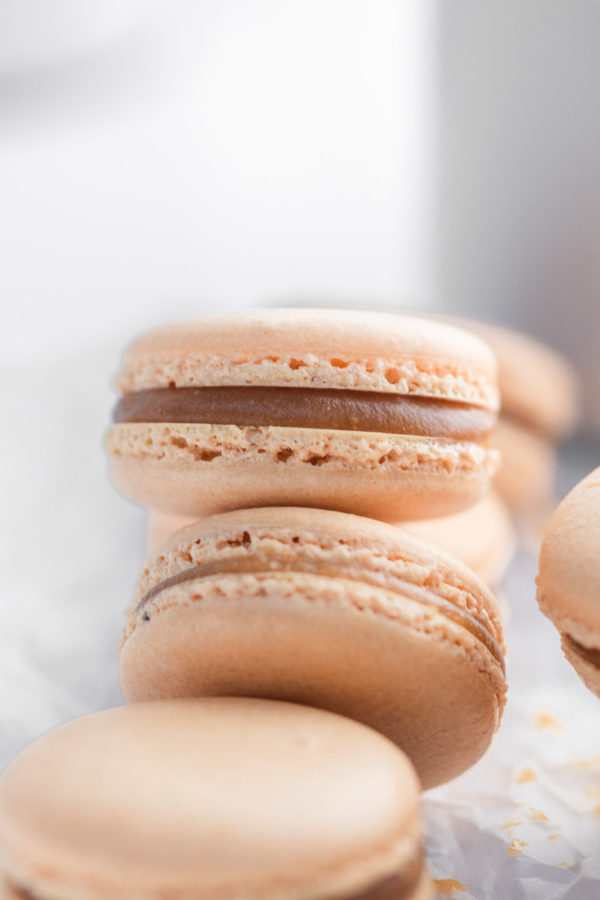
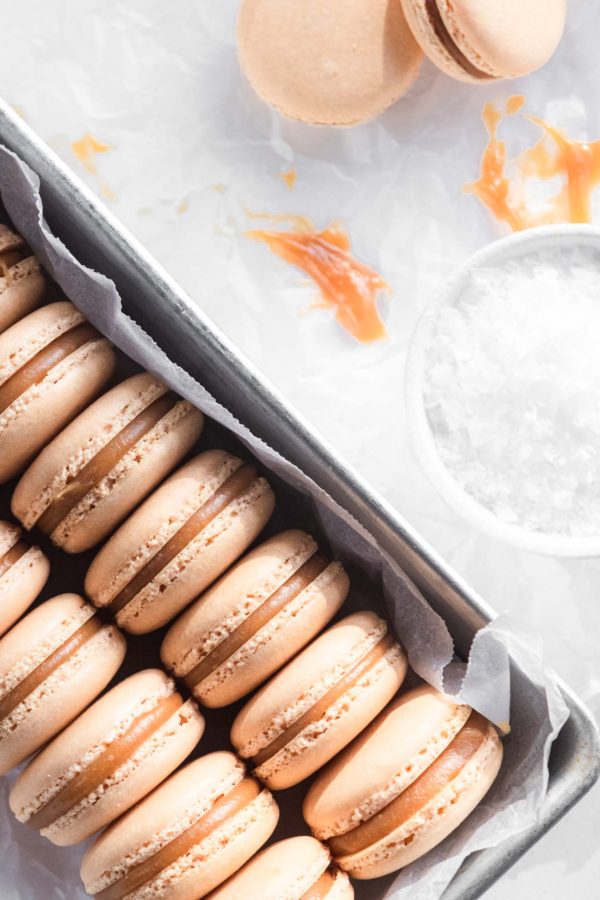
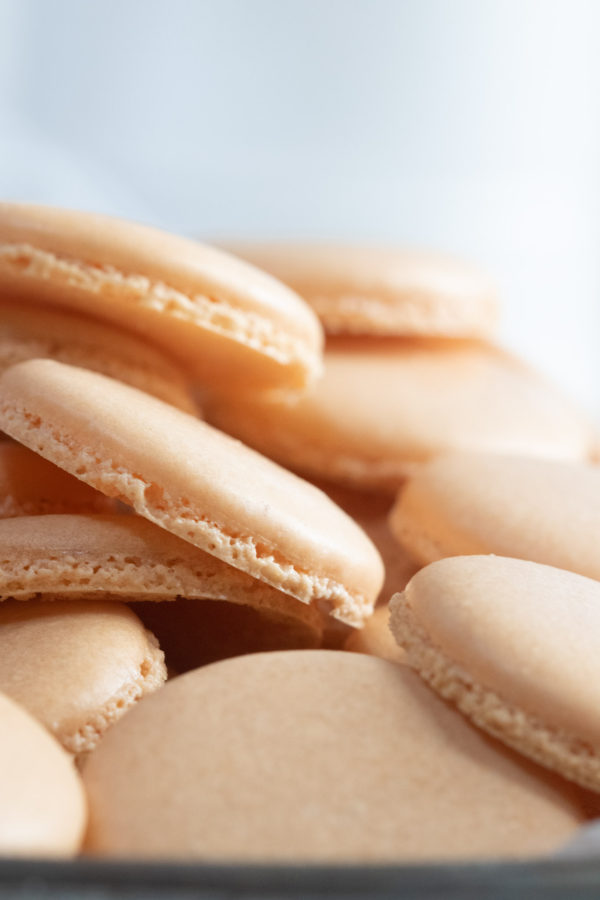
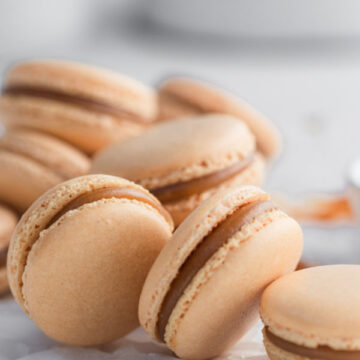
So here's my all-time favourite macaron, my Salted Caramel Macaron. Filled with the most delicious homemade salted caramel. For me, macarons don't get any better than this!
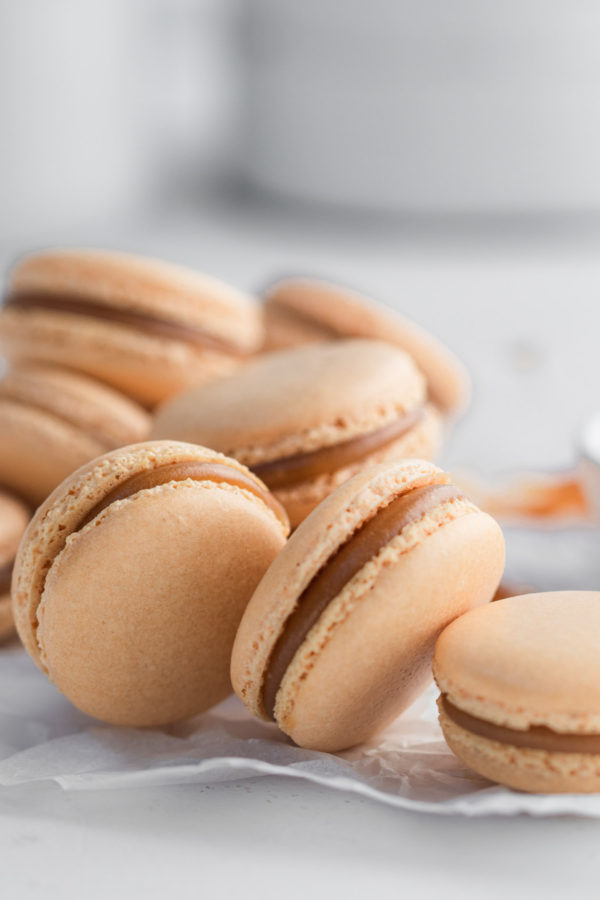
I really hope you've found my Guide to Perfecting French Macarons helpful. If you follow everything closely, you'll be making your own deliciously perfect French Macarons in no time! And you'll discover that they're really much easier than you thought. But don't stop now....
CHECK OUT MY OTHER DELICIOUS FRENCH MACARON RECIPES:
And don't forget to rate my recipe, or leave a comment!
Well I hope you've enjoyed this rather lengthy post! So much longer than usual, but I really wanted to share everything I've learnt about perfecting French macarons.
If you've enjoyed this, please let me know! You can pin this recipe and you can let my other followers know, by leaving a comment below.
More Caramel Recipes
Brioche French Toast with Salted Caramel Sauce
Salted Caramel French Macarons
Ingredients
Macaron Shells
- 150 g almond meal
- 150 g pure icing sugar
- 55 g aged egg whites (A) see post
- 55 g aged egg whites (B)
- pinch cream of tartar
- 150 g caster sugar
- 38 g water
- caramel food colouring I use brown and yellow, to get desired colour
Salted Caramel Filling
- 250 g caster sugar
- 75 ml water
- 120 ml heavy cream
- 200 g butter cubed
- 1 teaspoon sea salt flakes to taste
Instructions
Macaron Shells
- Preheat oven to 150°C/ 130° Fan/ 300°F and place an empty baking tray on the middle rack.
- Line baking trays with silpat mats (you'll 4 mats, if you want to pipe the macarons all at once).
- Prepare a large disposable piping bag with a #1A piping tip and place the bag inside a tall cup/jug, ready to be filled (see post for tips on using the piping bag).
- In a small saucepan, heat the caster sugar and water over medium heat. Give a little stir as you insert the digital thermometer. Once the syrup starts to boil, stop stirring, as this will cause crystals.
- In a medium sized bowl, begin whisking the egg whites (A) and cream of tartar once the sugar syrup reaches 110°C. Use a hand held electric mixer on medium speed to form soft peaks, keeping watch of the syrup, as it must not go over 118°.
- As soon as the sugar syrup reaches 118°, remove the thermometer and (with the mixer turned to low) pour the syrup into the whisked egg whites in a thin, steady stream. This is the Italian meringue.
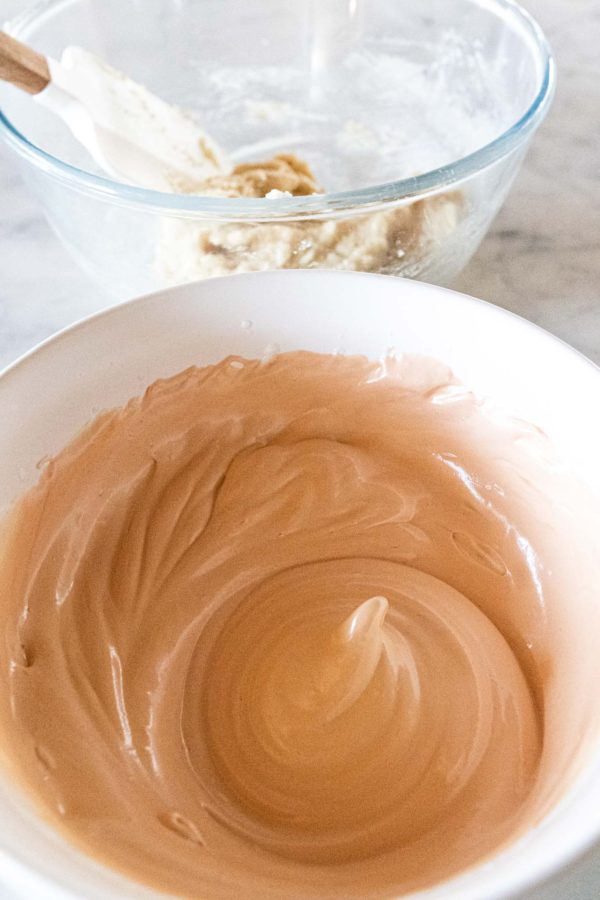
- Increase speed to medium and continue to whisk until mixture cools to 35°. At this point, you can add desired food colouring (I used a combination of chocolate brown and yellow).
- In a separate mixing bowl, combine the tant pour tant (almond meal and icing sugar) with the remaining egg whites (B) with a rubber spatula, to form a thick paste.
- Once the Italian meringue has cooled to 35°, scoop some out with the rubber spatula and mix it into the paste to loosen it.
- Add the remaining meringue and continue to fold through, scraping the bowl and folding the mixture over, whilst rotating the bowl. Make sure you scrape the bottom, to get all of the paste.
- Continue folding, scraping and rotating (macaronner) until the batter is smooth and shiny. Batter should have the consistency of cake batter and not too thin (see post).
- Scoop batter into prepared piping bag, then place the bag on the bench and push out air pockets. Twist the end of the bag and secure with a rubber band (I find twisting it is sufficient).
- Piping the shells: holding the nozzle end with one hand and the twisted end with the other, hold the bag directly above the marked silpat mat and gently squeeze from the top hand. Release pressure before the batter reaches the inside edge of the circle and give the bag a little twist at the nozzle end, to break the release of batter.
- Place a tea towel onto the kitchen bench, then give a gentle whack of the tray, to release air bubbles. Rotate tray and repeat.
- Let macarons rest for 15 minutes, to dry a little.
- Place tray with the piped shells into oven, directly on top of the tray that's already in there.
- Bake at 150°C/ 130° Fan/ 300°F for 5 minutes, then reduce oven to 140°C/ 120° Fan/ 285°F and continue to bake for another 10 minutes. Repeat with remaining trays. (I bake one tray at a time, but you can bake several if using fan forced setting).
- After 15 minutes check macaron shells -if they still wiggle, they're not quite ready. Give them another minute.
- Once cooked, immediately slide silpat mat off baking tray and onto the bench to cool. Once completely cooled, shells can be gently lifted from mat (see post), put into pairs and filled.
Salted Caramel Filling
- In a medium sized saucepan, heat the sugar and water over medium heat.
- With minimal stirring, cook the sugar until it's lightly golden brown.
- Carefully add the cream in a steady stream, stirring with a rubber spatula to prevent burning. Be careful, as the mixture bubbles up.
- Use a digital thermometer and heat the mixture to 108°C/ 226°F
- Remove from heat and add small cubes of the butter, whisking as you go, to ensure a smooth caramel. Stir through the salt flakes.
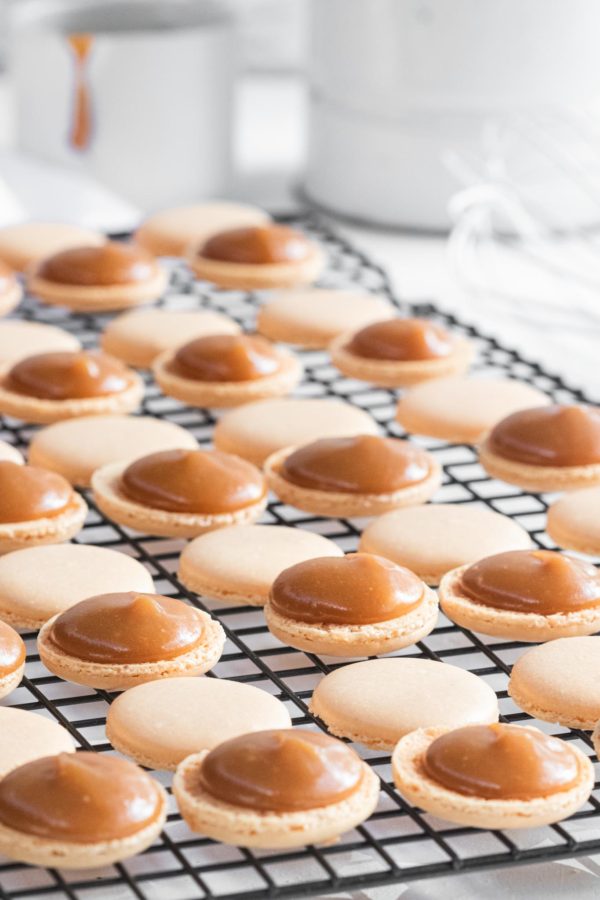
- Pour into a container and chill for about an hour, or until thick enough to pipe.
- Scoop into a piping bag fitted with a #1A nozzle and pipe onto half of the macaron shells, sandwiching with the other half.
- Refrigerate or freeze in an airtight container.
Notes
- Either make the filling first, or allow extra time, as it takes an hour to chill and thicken.
- You can substitute the caramel for a store bought version, if you prefer
- I get best results when baking one tray at a time, in a conventional (not fan-forced) oven. However, all ovens are different and you need to do what works best for you

Leave a Reply
You must be logged in to post a comment.