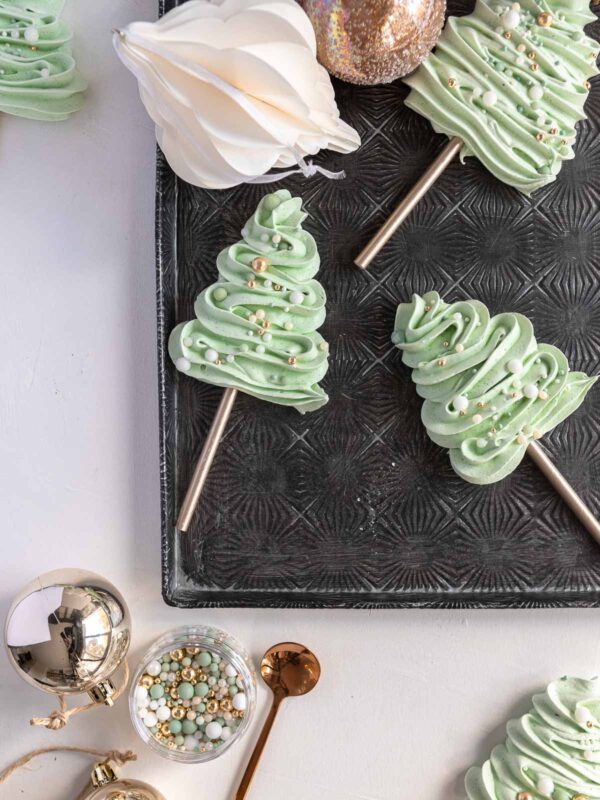
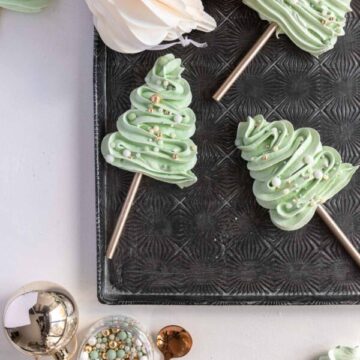
A fun and festive way to get into the Christmas spirit is with these super cute and easy Meringue Christmas Trees. Make them as a simple Meringue Christmas Tree Cookie, or pipe them onto a lolly pop stick and you’ve got yourself a fun dessert that’s great for gifting! They’re the perfect sweet treat this holiday season.
Save this recipe 💌
As you probably all know by now, I love meringues! And during the holiday season especially, you’ll find me up to my elbows in meringue batter. I use a basic French Meringue for most of my recipes, including my viral Giant Meringue Cookies, Salted Caramel Meringues and Pavlova. These Meringue Christmas Trees follow that same basic meringue recipe, creating a lovely crunchy texture that everyone loves.
Why You Will Love This Recipe
- Just a handful of basic ingredients.
- They’re a fun and easy thing to bake with kids
- My tried and true 5 star recipe will have you making the best meringues
- You can heat seal them in cookie bags and give them as gifts (heat sealed food bags will keep them fresh for ages!)
Ingredients
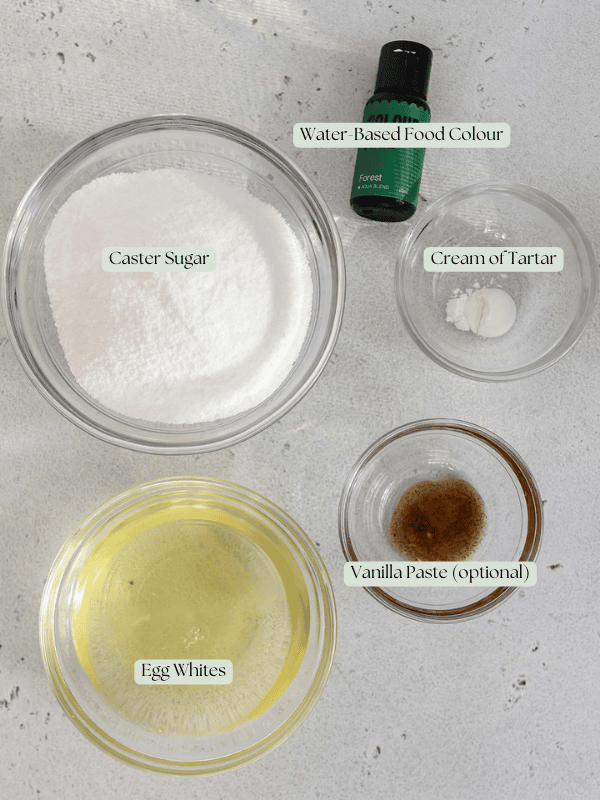
- Egg Whites: from fresh, room temperature eggs
- Cream of Tartar: helps make a stable meringue
- Caster Sugar: for sweetness and structure (also known as superfine sugar)
- Vanilla Extract or Paste: for optional flavour
- Green Food Colouring: use a gel food colouring -it’s suitable for egg whites
- Sprinkles: for decorating (sorry, it’s not in the photo!). Use your favourite Christmas sprinkles to suit your theme
Substitutions and Additions
- Cream of tartar: can be replaced with the same amount of white vinegar or lemon juice
- Caster Sugar: is super fine sugar. You can replace it with granulated sugar, but it will take some extra whipping time to get the meringue smooth and glossy
- Food Colour: if you don’t have or don’t want to use food colour, simply leave it out and have white (snow-covered!) Christmas Trees
- Vanilla Extract: swap for either a peppermint extract or essence, or use your favourite flavour oil (I love the marshmallow flavour from LorAnn)
- Silicone Baking Sheets: while I love using these, if you don't have them, simply swap for regular baking paper.
Step by Step Instructions
- Preheat your oven to 100 Celsius (conventional setting, not fan-forced) and line a baking sheet with parchment paper or a perforated silicone baking mat
- In the large mixing bowl of a stand mixer, place the egg whites and cream of tartar.
- Using a hand mixer on low to medium speed, whisk the egg whites until foamy and beginning to form soft peaks.
- Place your mixing bowl onto your stand mixer and using a whisk attachment, whisk on low to medium, while slowly adding the caster sugar to the whipped whites, 1 tablespoon at a time (leave 30 seconds between each spoonful)
- Once all of the sugar has been added, stop the mixer and scrape the side of the bowl with a silicone spatula.
- Now mix the meringue on medium speed for about 3 minutes, until it forms stiff peaks and is nice and glossy. Check that there are no large granules left, by rubbing a little of the meringue between your thumb and finger. You want a glossy meringue with stiff peaks
- Add the vanilla extract and food colour (if using) and whisk again until it’s combined. You will need to scrape the side of the mixing bowl with a silicone spatula, to ensure all of the colour mixes in
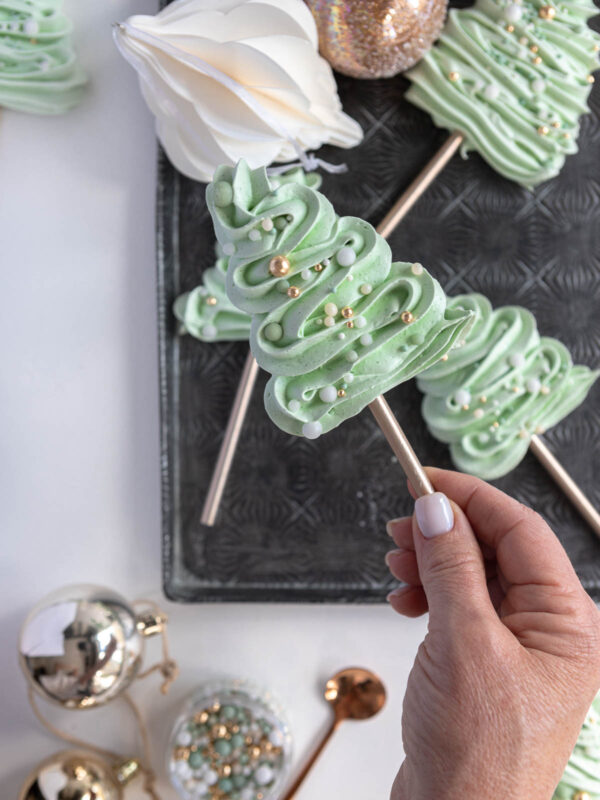
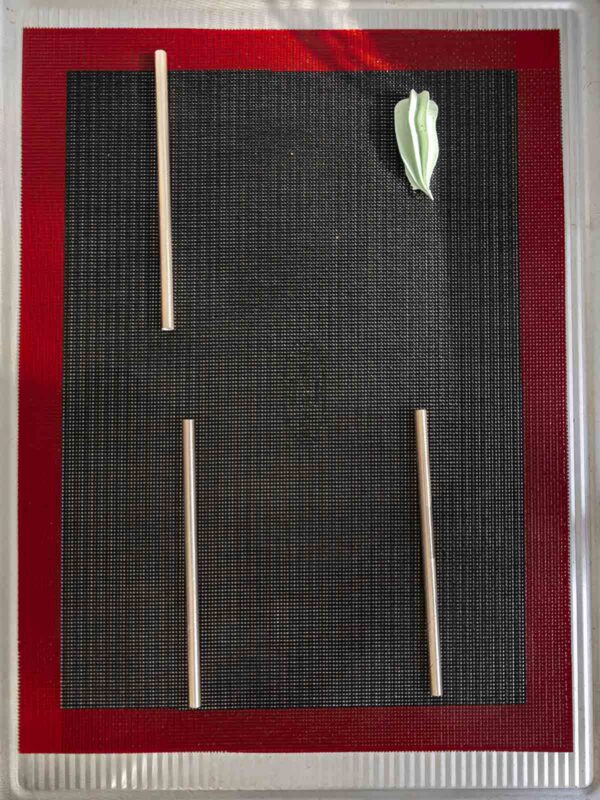
- Transfer mixture to a large piping bag fitted with a large star tip, then pipe out your Meringue Christmas Trees -I pipe a little of the meringue onto the baking sheet, then pop my lolly pop stick on top of it. This stops the stick from rolling around. Once in place, you can then pipe your Christmas Trees. Start at the top (just above the top of the stick) and work your way down, piping the meringue into a Christmas tree shape.
- Use a spoon to add sprinkles to your meringue
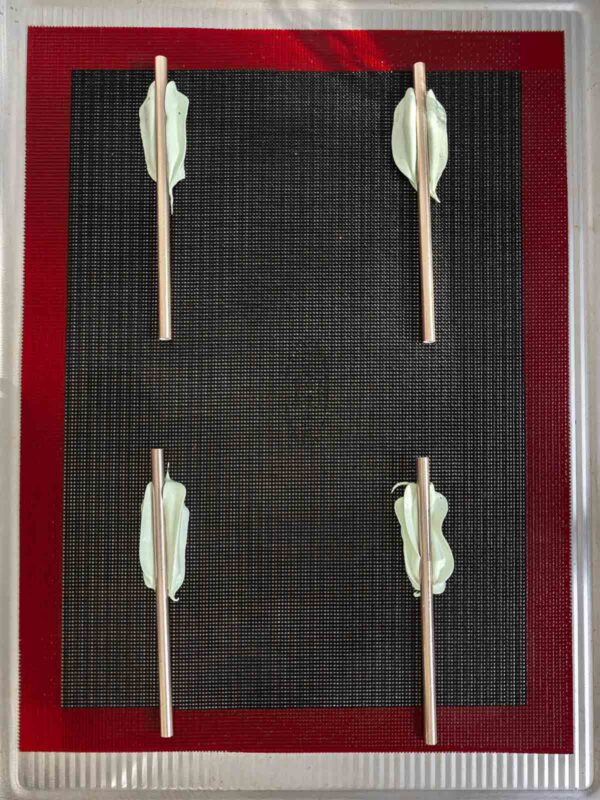
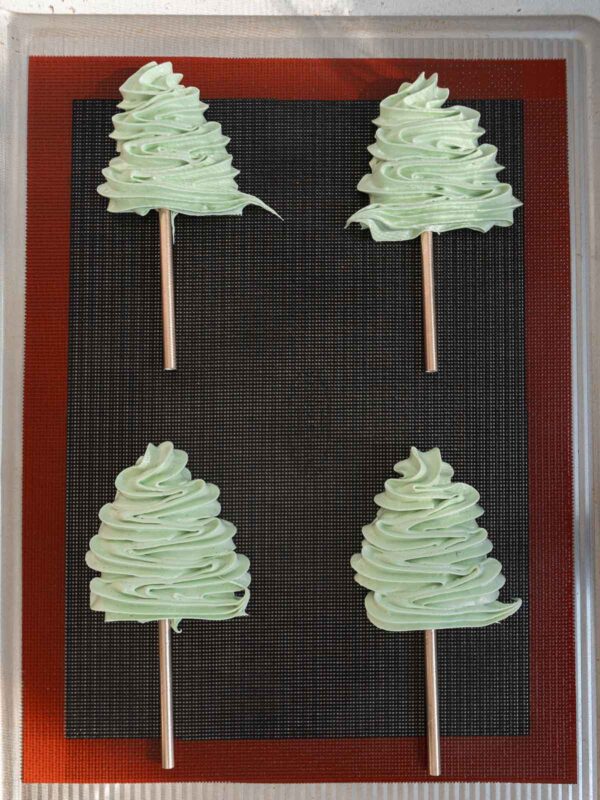
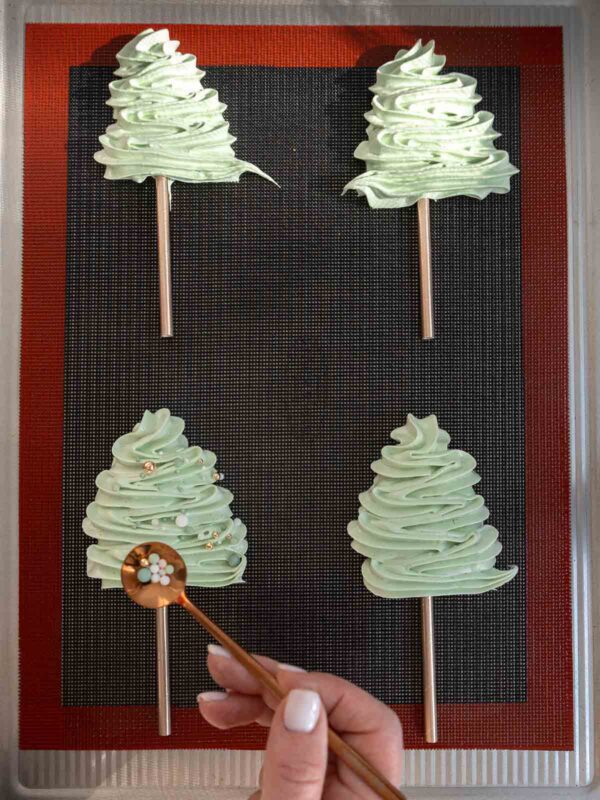
- Bake the Christmas Tree Meringues in your preheated oven for 2.5 hours
- Turn off the oven and leave the meringues to cool, with the oven door slightly ajar
Tips and Tricks
- Make sure you are whisking your egg whites in a clean bowl. Any trace of oil or egg yolk will prevent the whites from whipping, so give the bowl a quick wipe out before you start.
- Don’t over whip your egg whites, as it will dry them out. You just want soft peaks before adding the sugar
- Adding the caster sugar one spoonful at a time means your sugar dissolves into the egg whites, creating a gorgeous glossy meringue
- Mix only on low-medium and medium speed. You don’t want too many air bubbles whipped into the meringue, or it can collapse
- Avoid opening the oven door while the meringue is cooking, as it can lead to cracks in the meringue
- Baking without the fan will give you lovely clean meringues, without darkening
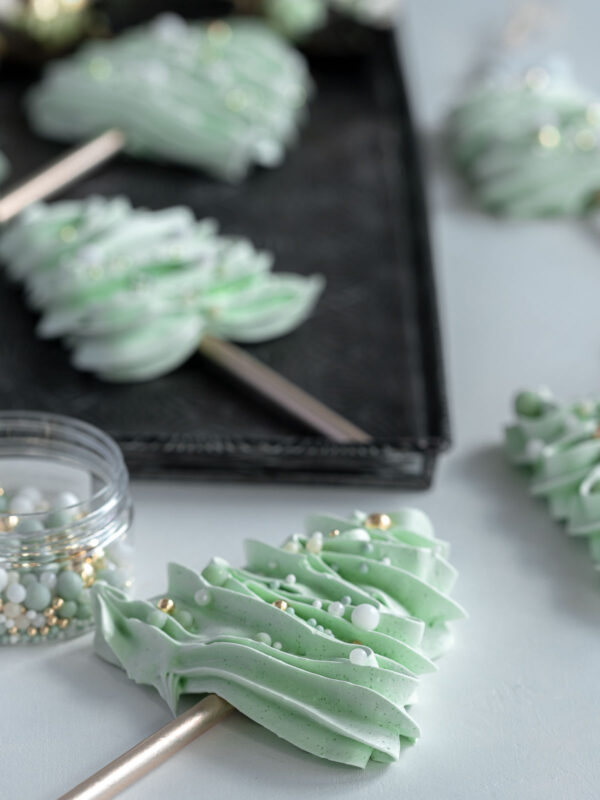
Serving Suggestions
- On their own: they’re such a delicious treat that everyone will love!
- Dessert platter: they’ll look great on a holiday cookie plate, or as part of a dessert buffet
- Gifting: beautiful on their own, or add these Christmas Tree Meringue Cookies to your cookie boxes or include them in a cookie exchange
Storage
To keep your meringues crisp, you need to store them where they can’t absorb any moisture. Here’s my suggestion:
- Room temperature: in an airtight container for up to 3 weeks
- Heat sealed: if giving your meringues as gifts, you can also place them in food safe bags (used for sugar cookies) and seal them using a heat sealer -they should last 4-5 weeks
If you try this recipe, I’d love it if you could take a minute to leave a rating or review -it helps to get my recipes seen and for me to keep sharing them with you.
Meringue Christmas Trees
Equipment
- 8 Lolly pop sticks not essential, as you can make the trees without them
Ingredients
- 75 g Egg whites, room temperature approx 2 eggs
- ¼ teaspoon Cream of tartar see notes
- 150 g Caster sugar (superfine sugar)
- ½ teaspoon Vanilla extract or paste optional
- 2-3 drops Green gel food colouring
- Christmas sprinkles for decorating
Instructions
- Pre heat your oven to 100℃ (212℉) -use convention setting, not fan-forced (see notes)
- Line 1-2 baking sheets with silicone baking mats or baking paper (I use 2 large baking sheets)
- In the mixer bowl of a stand mixer, place the egg whites and cream of tartar
- Using a hand mixer on low to medium speed, whisk the egg whites until foamy and beginning to form soft peaks (I use the hand mixer first, as it's a small amount of egg whites and it's harder to whisk with the stand mixer at the start)
- Place your mixing bowl onto your stand mixer and using a whisk attachment, whisk on low to medium, while slowly adding the caster sugar to the whipped whites, 1 tablespoon at a time (leave 30 seconds between each spoonful)
- Once all of the sugar has been added, stop the mixer and scrape the side of the bowl with a silicone spatula
- Now mix the meringue on medium speed for about 3 minutes, until it forms stiff peaks and is nice and glossy. Check that there are no large granules left, by rubbing a little of the meringue between your thumb and finger. You want a stiff, glossy meringue
- Add the vanilla extract and food colour (if using) and whisk again until it’s combined. You will need to scrape the side of the mixing bowl with a silicone spatula, to ensure all of the colour mixes in
- Transfer mixture to a large piping bag fitted with a large star tip, then pipe out your Meringue Christmas Trees -I pipe a little of the meringue onto the baking sheet, then pop my lollypop stick on top of it. This stops the stick from rolling around. Once in place, you can then pipe your Christmas Trees, starting at the top (just above the top of the stick) and working your way down, piping the meringue into a Christmas tree shape.
- Use a spoon to add sprinkles to your meringue
- Bake in the oven for 2.5 hours
- Turn off the oven and leave the meringues to cool, with the oven door slightly ajar
Notes
- Make sure you are whisking your egg whites in a clean bowl. Any trace of oil will prevent the whites from whipping, so give the bowl a quick wipe out before you start.
- Don’t over whip your egg whites, as it will dry them out. You just want soft peaks before adding the sugar
- Adding the caster sugar one spoonful at a time means your sugar dissolves into the egg whites, creating a gorgeous glossy meringue
- Mix only on low-medium and medium speed. You don’t want too many air bubbles whipped into the meringue, or it can collapse
- Avoid opening the oven door while the meringue is cooking, as it can lead to cracks in the meringue
- Baking without the fan will give you lovely clean meringues, without darkening them
-
To keep your meringues crisp, you need to store them where they can’t absorb any moisture. Here’s my suggestion:
- Room temperature: in an airtight container for up to 3 weeks
- Heat sealed: if giving your meringues as gifts, you can also place them in food safe bags (used for sugar cookies) and seal them using a heat sealer -they should last 4-5 weeks


Sandra says
My family loved this!
Maria Botero says
Thank you for sharing this recipe