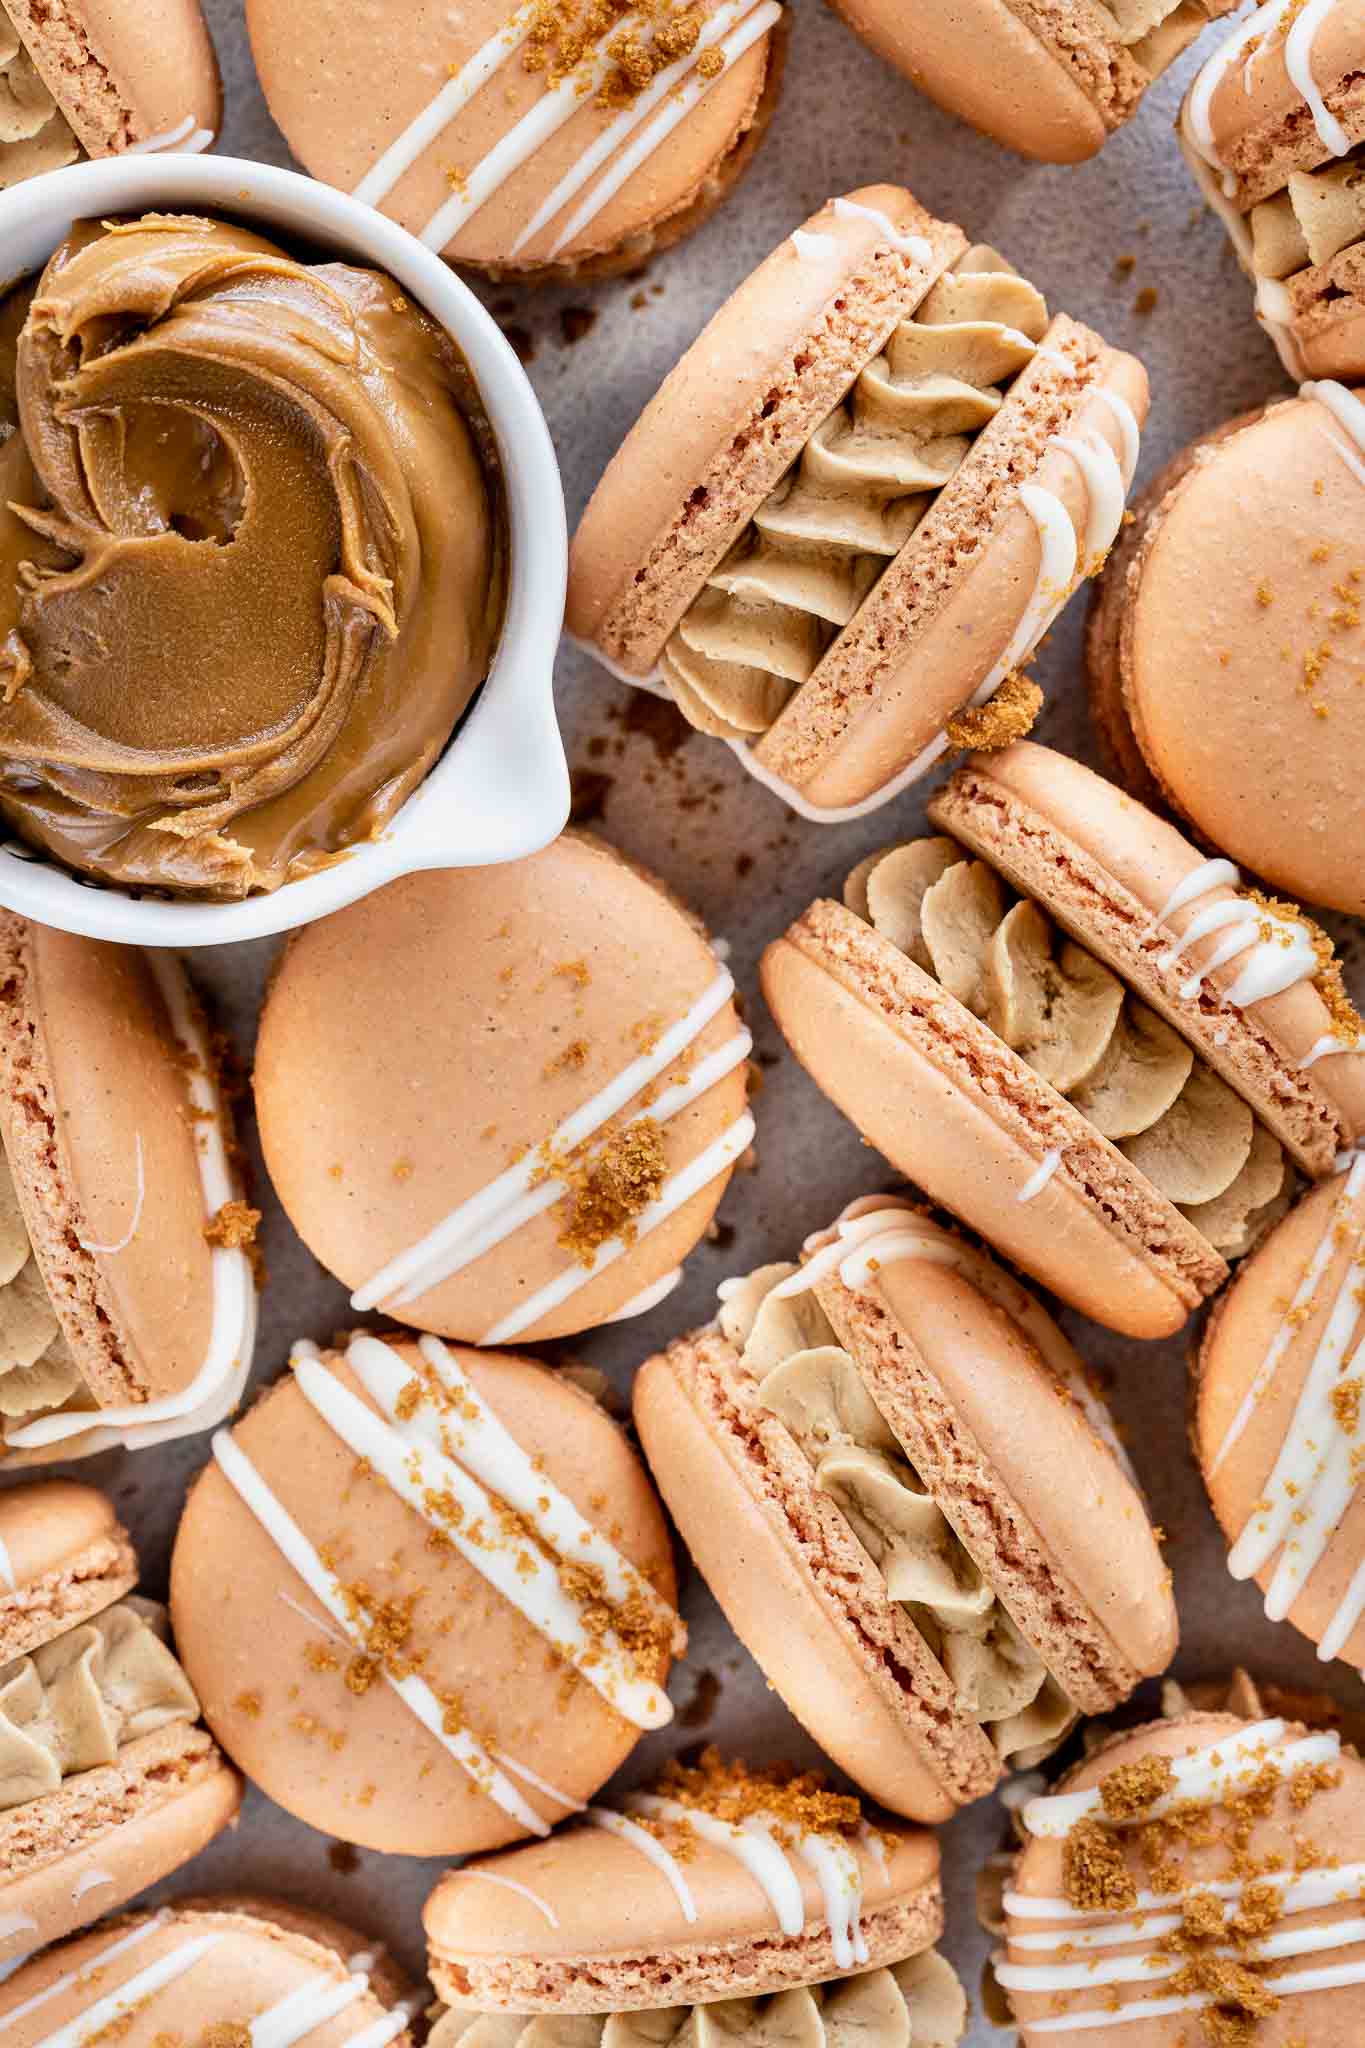
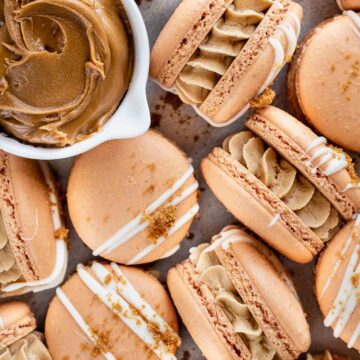
Lightly spiced French Macarons with a deliciously fluffy Biscoff speculoos flavoured filling. Save this macaron recipe, because these Biscoff Macarons are going to be your new best friend! Plus this post can be your guide to making perfect French Macarons every single time!
Save this recipe 💌
Biscoff Macarons
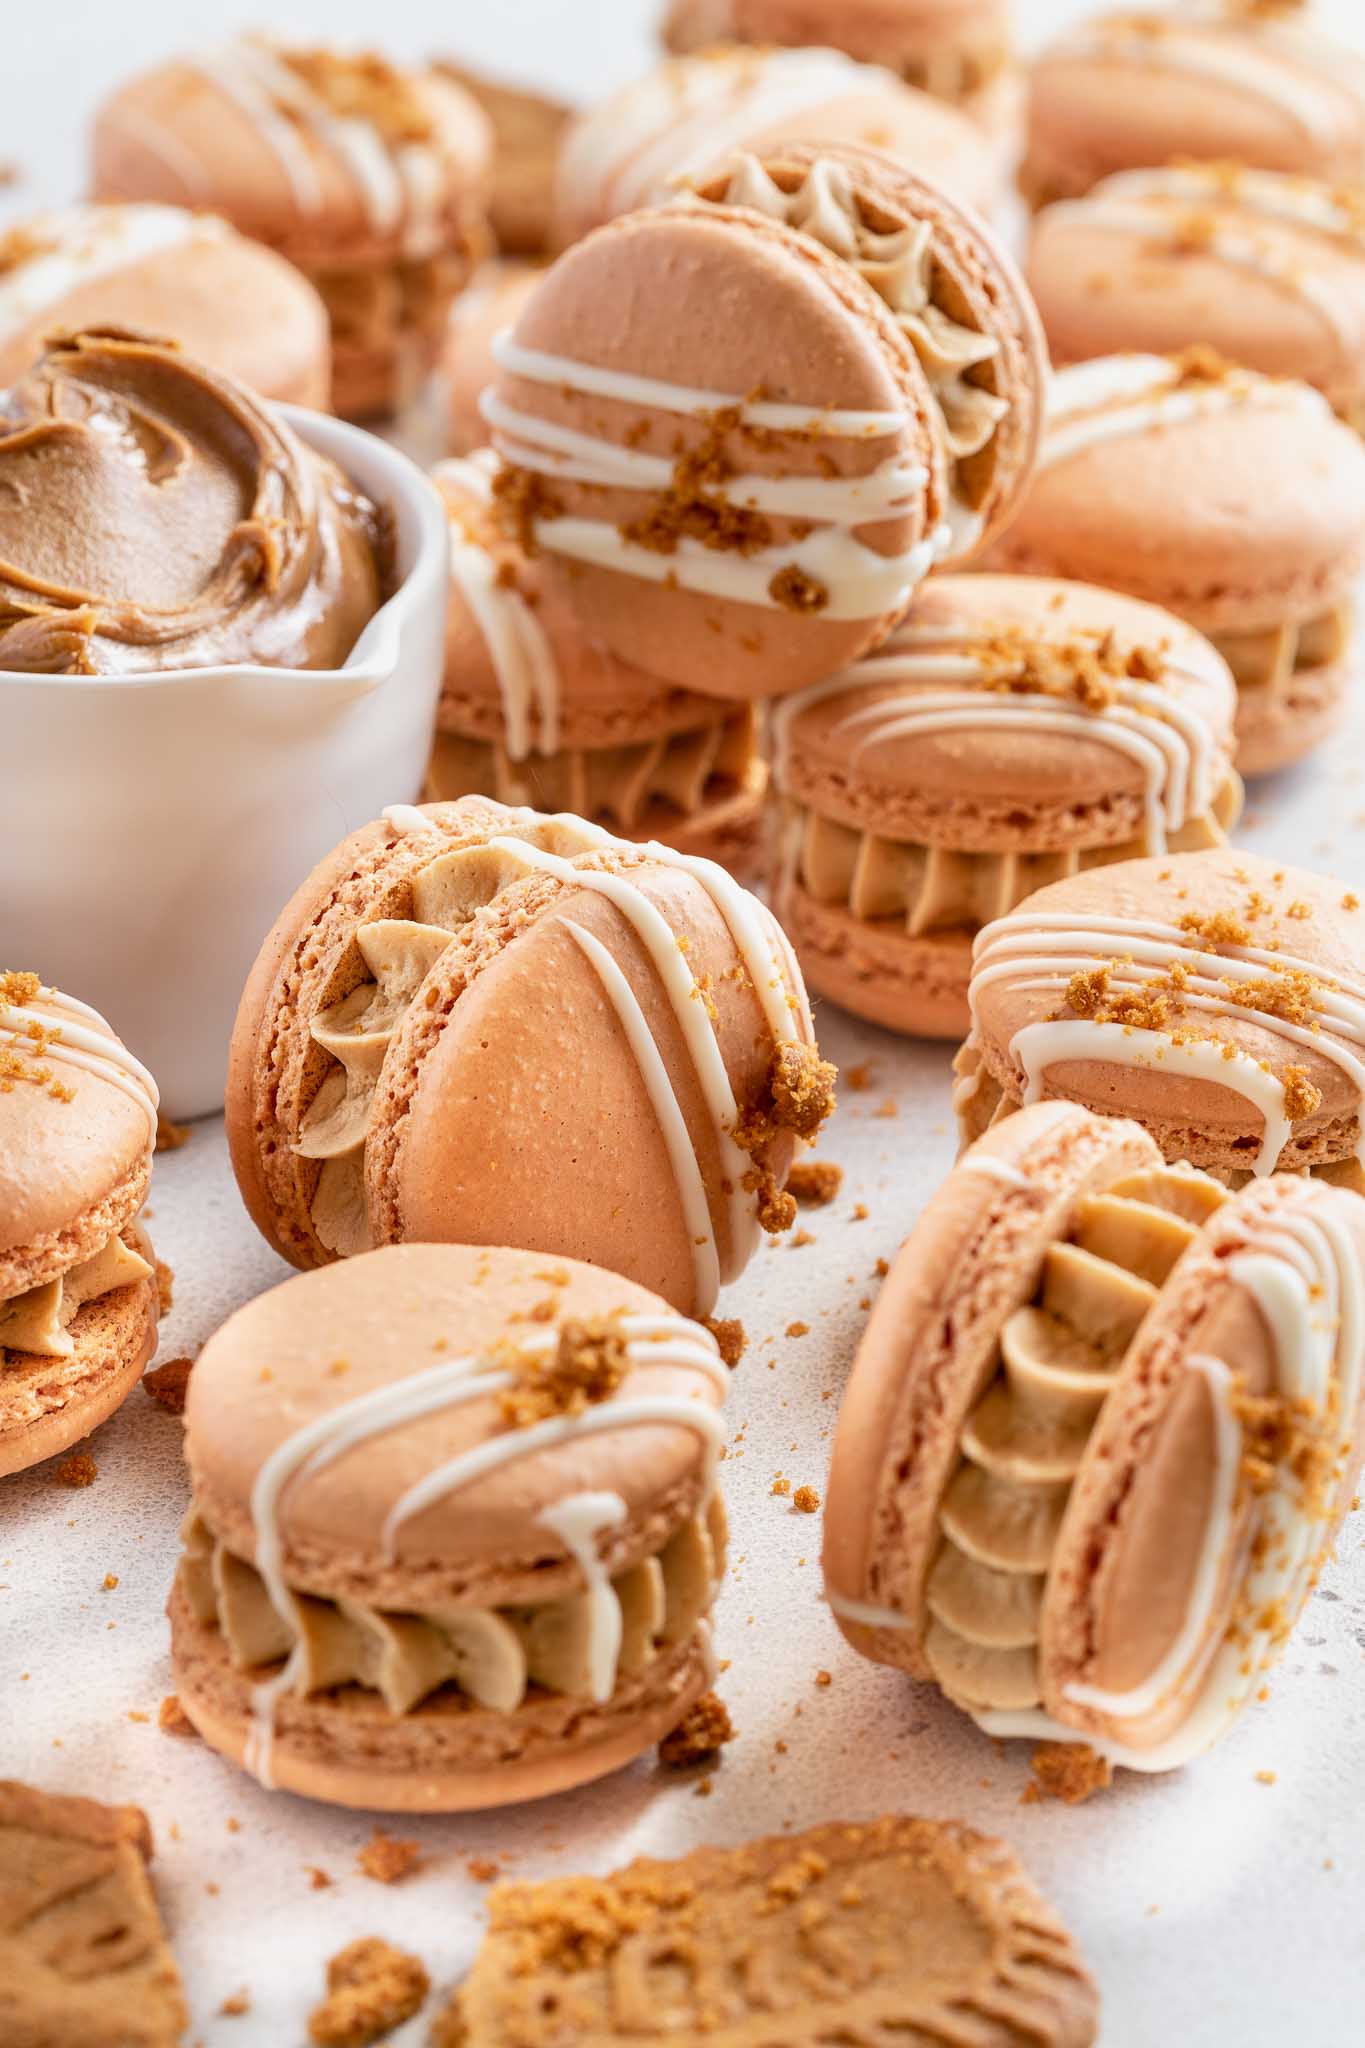
There's nothing more satisfying than biting into a perfectly chewy and delicious Macaron. Oh wait.....making your own perfectly chewy and delicious French Macarons is more satisfying! And my Macaron recipe has the perfect hint of cinnamon in the shells, which are sandwiched together with the fluffiest Biscoff buttercream. It's a Biscoff lover's dream come true, in macaron form!
How to Make Perfect French Macarons
I've tried all ways of making Macarons. For the past 10 years I've used the Italian Method and it's been great. However, I've recently gone back to the French method of making macarons and can't believe how easy it is! And if you've ever made one of my Pavlovas you can make Macarons -it's just the same meringue, pretty much with almond meal and icing sugar added to it!
What's the Difference Between French, Italian and Swiss Macarons?
The short answer is the way the meringue is made. French Macarons are made by beating the egg whites and slowly adding sugar. Italian Macarons are made by making a sugar syrup and slowly adding that to the egg whites as they're whisked, while Swiss Macarons are made by heating the egg whites and sugar in a double boiler, then whisking the mixture. I've made them all and in my opinion, French are so much easier to make, with less mess and less equipment. Which brings me to....
Equipment Needed to Make Macarons
(this section contains affiliate links to the products I swear by)
There's a few things that you just cannot make macarons without and what you'll need for perfect French Macarons…
Stand Mixer
You will need to mix the meringue for about 10 minutes, so I use my Kitchen Aid Stand Mixer.
Digital Scales
I can't live without my digital scales, as every gram counts. Weigh your ingredients accurately and scrape every last drop from the bowl.
Rubber/Silicone Spatula
You need a rubber spatula for folding the almond meal and icing sugar into the meringue
Disposable Piping Bags with a 1A Tip
Making French Macarons can be a messy business, so go for the disposable piping bags! One for the macaron shells and one for the filling. Fit the bag with a 1A piping tip to pipe the shells. (Or you can use a #1M or #8B for a more decorative filling).
Silpat Macaron Mats
Silpat mats for macarons are the best! And these ones have circles printed on them, so it's a perfect guide as to where to pipe your macaron shells. I've seen some people suggest tracing circles on baking paper, but in my experience, this doesn't work. Baking paper is treated to be non-stick and will cause your macaron shells to spread out of shape. This was one of the main reasons my macarons never used to work! For the record, I have several silpat mats, so I can pipe all of my shells at once.
Baking Sheets/Trays
You will need 2-3 flat baking trays, big enough to hold your silpat mats. These USA Pan Bakeware trays are by far my absolute favourites!
Ingredients for Making Biscoff Macarons
Egg Whites
Use room temperature egg whites. Some people like to "age" their whites, but I don't have an issue when making French Macarons. To age or liquify egg whites, weigh them in a small bowl, cover with plastic wrap and pierce a few holes in the plastic wrap, before placing in the fridge for a few days. This will make the egg whites lose their elasticity so they whip up nicely, without being grainy. Bring back to room temperature before making the macarons.
Caster Sugar
For making the meringue with the egg whites
Almond Meal or Almond Flour
This is just blanched almonds that have been ground to a fine flour. Almond meal isn't as fine as flour, so I throw it into my food processor with the icing sugar, so I don't get any lumps in my mixture.
Icing Sugar (Powdered Sugar)
Sifted or processed with the almond meal, it makes "Tant Pour Tant", which means half and half in French
Cream of Tartar
I always put a good pinch of cream of tartar into my egg whites before whisking. It stops the egg whites from being grainy and helps to stabilize the meringue. If you don't have cream of tartar, you can leave it out and still get great results.
Gel Food Colouring
Used to colour the French meringue, which is a better way to create a coloured batter. Adding it to the meringue ensures an even distribution of colour, as it will then be thoroughly mixed through during macaronage. I always add more colour than I think I need, as it will be diluted once the tant pour tant is added.
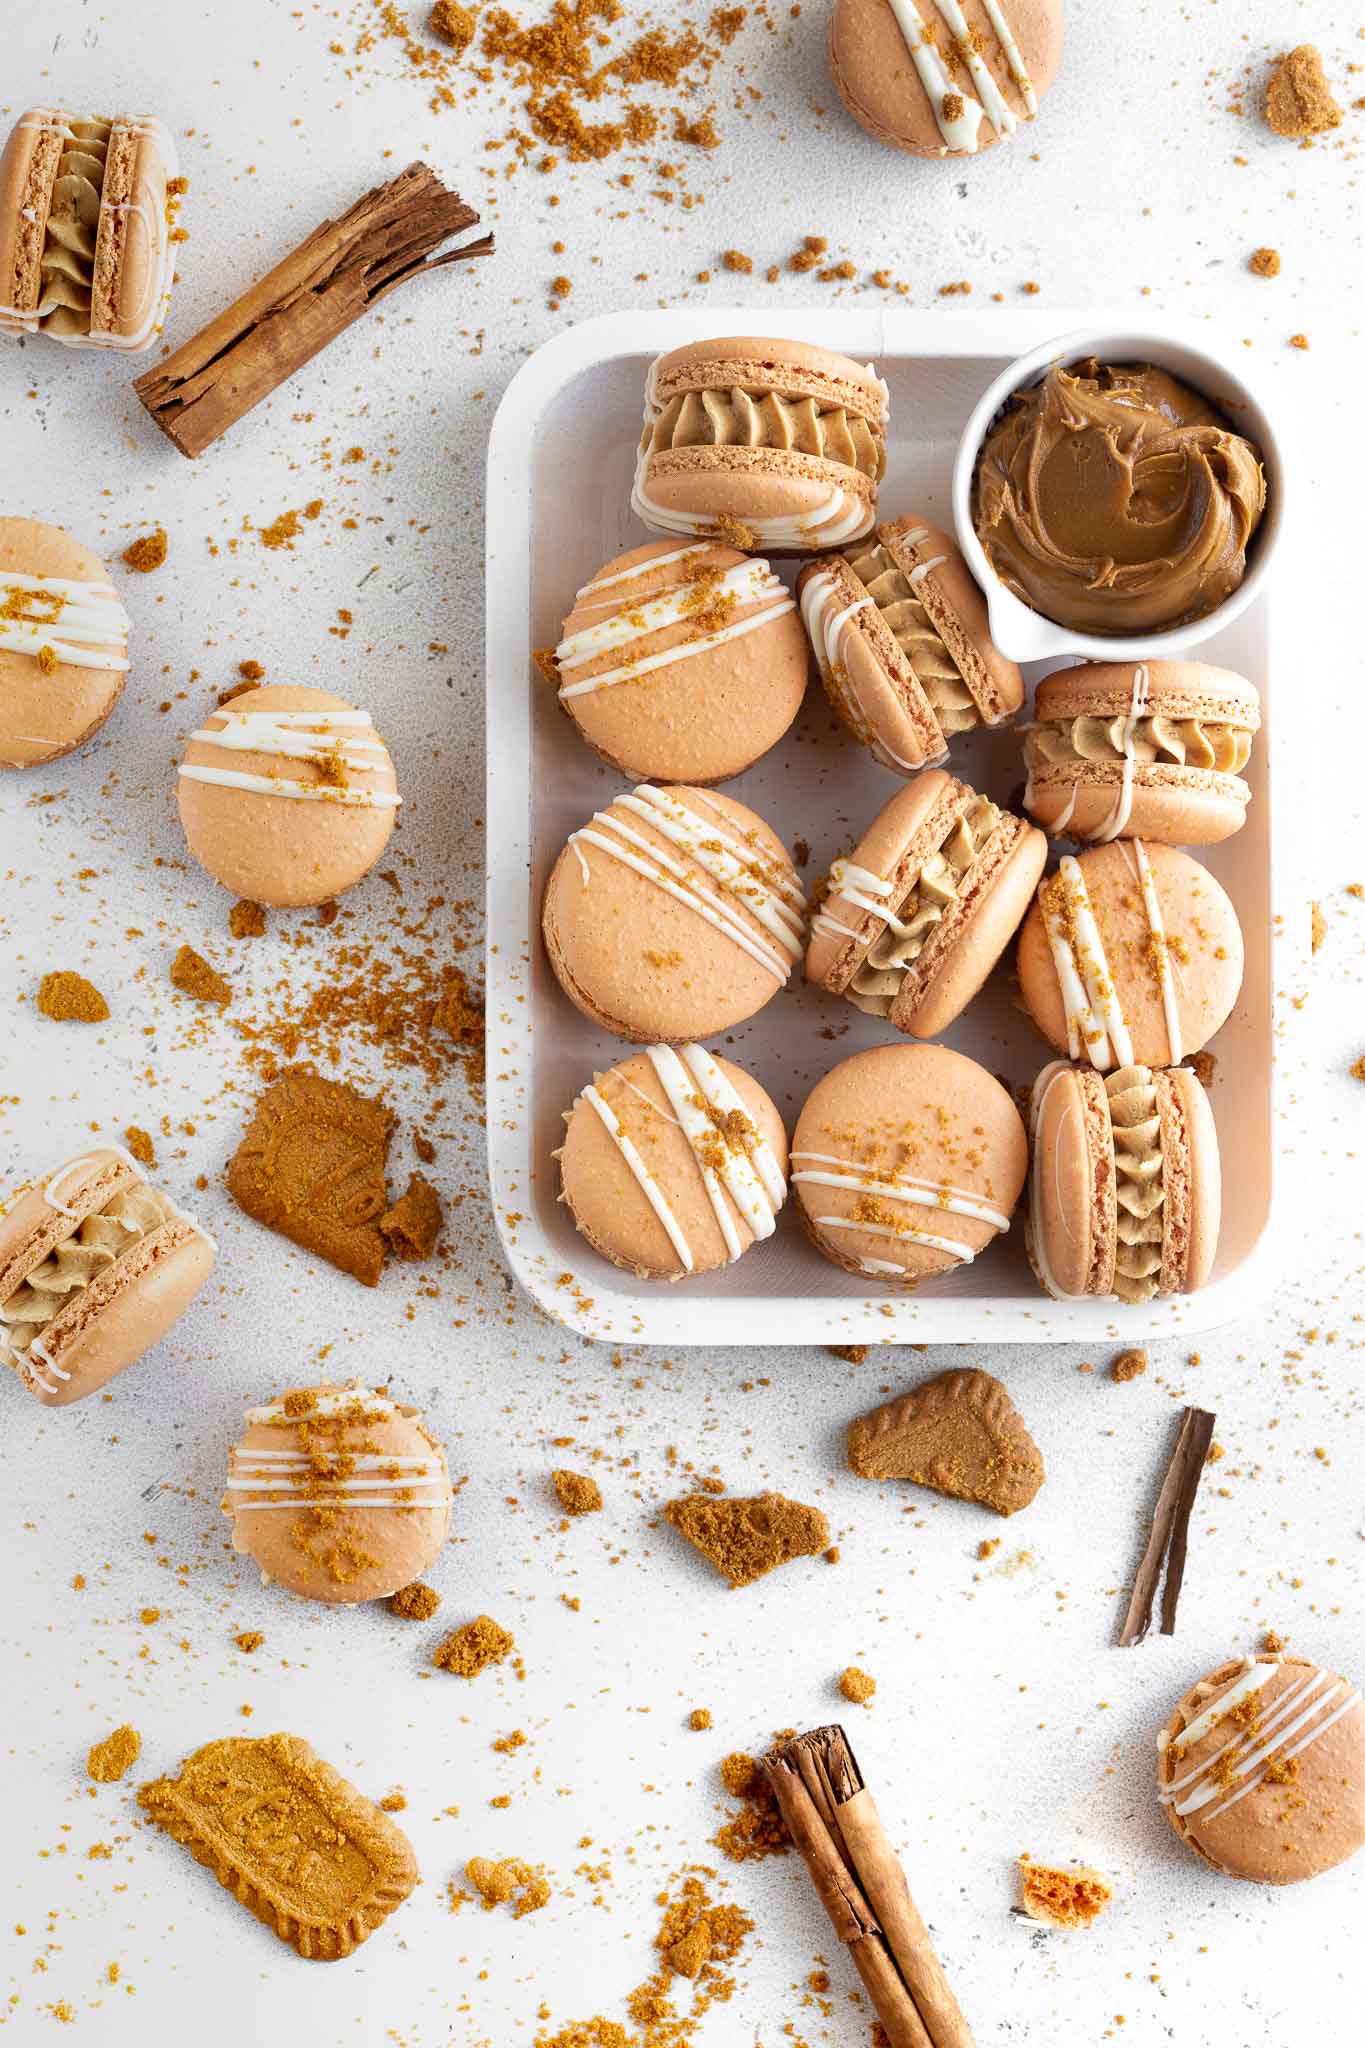
Biscoff Spread and Cinnamon
Biscoff Spread is added to the Buttercream, while cinnamon is used to give a hint of spice in the shells
My Tips to Perfecting French Macarons
Beating the Egg Whites
Don't mix too fast or on a high speed. I always mix on low-medium, then medium to medium-high (nothing over 6 on my Kitchen Aid) which will create even, small bubbles -no large air pockets.
I start beating my egg whites on low-medium until their frothy, then add a tablespoon of sugar at a time, waiting 30 seconds between each addition. You want the sugar to completely dissolve
Process the Tant Pour Tant
If making your own tant pour tant, you will need to process it in bursts, until fine. If using almond flour, head straight to the sifting! Sift together three times.
Adding the Tant Pour Tant
Pour the almond meal and icing sugar mixture (tant pour tant) over the meringue and fold through with either the rubber spatula or dough scraper, to create a supple and shiny batter. Do this by scraping and folding, while also turning the bowl as you go. It should be like a cake batter and not too thin, as it will not hold it's shape during baking. But if it's too thick, it will not be shiny and you'll end up with little peaks on your shells. The batter should be smooth and flow gently, rather than spread quickly out of shape.
Filling the Piping Bag
Snip off the end of the piping bag and insert the piping tip. I find the easiest way to fill the bag is to twist the end with the nozzle and fold the nozzle back up (to seal the opening), then place the bag into a deep cup or jug (the sort you make smoothies in). Fold the ends of the bag back over the edge of the cup and start filling the bag. For me, this is much easier than trying to hold it in one hand and scoop batter with the other.
How to Pipe Biscoff Macaron Shells
Make sure the piping bag is twisted at the end, so no batter can escape, and that there are air bubbles inside the bag. Hold the bag upright, with the nozzle pointing directly down and squeeze gently with the hand holding the twisted end of the bag. Pipe to the inside of the marked circles on the silpat mat, release the pressure and give the bag and nozzle a little twist to stop the batter. I never pipe to the edge of the circle, as the batter will spread and inevitably join with the other shells. I find about ⅔ of the circle enough and usually count to 2 while I pipe each shell.
Tap the Tray to Release Air Bubbles
Once piped, give the trays a gentle but firm tap on the kitchen bench, to get rid of any large air pockets (you can pierce any leftovers with a toothpick). Warning: place a tea towel on the bench beforehand to protect your bench! When the tray is tapped, the macarons will spread a tiny bit, which is another reason not to pipe the shells too big.
Croütage (Drying the Shells)
Unbaked Macarons should rest between 30 minutes to a couple of hours Just as long as the unbaked shell is no longer sticky, you should be fine.
Oven Temperature
I bake my Biscoff Macaron shells in a conventional oven, which means I only bake one tray at a time. I'm happy with this, though, as I feel I get a better result (in my oven, at least). I preheat my oven to 150ᴼC then bake them for around 18 minutes (depending on the size of my shells)
No Wobble
Macaron shells are ready when they don't move when you give them a little wiggle. If they still wobble, pop them back in the oven for a minute or 2. Otherwise they stick to the mat!
Remove the Silpat Mats
As soon as you take the Biscoff Macaron shells out of the oven, slide the silpat mat off the baking sheet and onto the bench to cool. Once cooled, simply (and gently) peel each shell off the mat. I usually lift the mat, then peel it away from the macaron. Be gentle.

How to Store Biscoff Macarons
Did you know Macarons can be frozen? I always freeze my macarons. They can live in an airtight container in the freezer for up to 3 months and just need to be taken out about 30 minutes before serving. For me this is perfect, as I always have fresh macarons on hand to have with a cup of tea!
You can also store macarons in the fridge for up to 3 days.
I always make Macarons for Christmas, as I can make them well ahead of time and freeze them. They're the perfect freezer-friendly dessert!
I hope you've enjoyed my (long!) post on how to make not just Biscoff Macarons, but how to make perfect French Macarons.
Happy baking, friends!
Biscoff Macarons
Equipment
- 2-3 baking sheets
Ingredients
Macarons
- 135 g almond meal
- 135 g icing sugar (powdered sugar)
- 90 g caster (superfine) sugar
- 4 g cream of tartar optional
- 100 g egg whites you'll need approx 3 room temperature eggs
- ¼ teaspoon cinnamon
- 3 Drops gel food colour I use 2 caramel and 1 orange
Biscoff Buttercream
- 120 g smooth Biscoff spread
- 60 g butter room temp
- 90 g icing (powdered) sugar
- 3 teaspoon cream
To Decorate
- 6 white chocolate melts
- 1 Biscoff cookie crushed
Instructions
Macarons
- Place the almond meal, icing sugar and cinnamon in a food processor and blitz until well combined and there are no visible lumps. If you're using almond flour, just go ahead and sift it 3 times with the icing sugar
- Place the egg whites and optional cream of tartar into a clean stand mixer mixing bowl. Use the whisk attachment to whisk on low-medium until frothy
- Gradually add the caster sugar, 1 tablespoon at a time. Mix for 30 seconds until adding the next spoonful. After adding the last spoonful, continue to whisk on medium-high for another 5 minutes. Mixture should be thick and glossy
- Add the food colour and whisk again to combine
- Remove the bowl from the mixer, then add the almond meal mixture. Use a large silicone spatula to fold the mixture through. Continue to fold the mixture until it is glossy and can form a smooth ribbon figure 8. The figure 8 should slowly melt back into the rest of the mixture -the batter is now ready to pipe
- Place a macaron mat onto each of the baking sheets and set aside
- Place a 1cm round piping tip into a large piping bag. Twist the the bag and tip to stop the mixture coming out when you pour it into the bag. Place the bag into a tall narrow jug or cup and fold the ends of the bag over to open the bag. Pour the batter into the bag
- Pipe small circles onto the tray, to about ⅔ to filling the circles on the mat. I count to 2, then twist and flick the piping bag
- Once the shells have all been piped, gently tap the trays onto a covered bench. Rotate the tray to tap both sides. Use a toothpick to pop any remaining holes, then set the trays aside to rest for 30 minutes
- While the shells are resting, heat the oven to 150°C or 300° conventional. If using a fan oven, reduce the temperature to 135°
- Bake the macarons for 18 minutes. Before removing them from the oven, check one of the middle macarons by giving it a wiggle. If it clearly wiggles, give it another 1-2 minutes of baking.
- Once baked, slide the macaron mats onto a bench and leave to cool completely, before gently lifting them from the mat. Match up even macaron shells and place into pairs
Biscoff Buttercream
- In the bowl of your stand mixer, fitted with a paddle attachment, cream the butter and Biscoff spread until smooth
- Mix in the icing sugar
- Add the cream and mix on high for 5 minutes
- Scoop the frosting into a piping bag fitted with a large round or star tip. Pipe onto the underside of half of the macaron shells, then sandwich together with the matching shells
Decorate
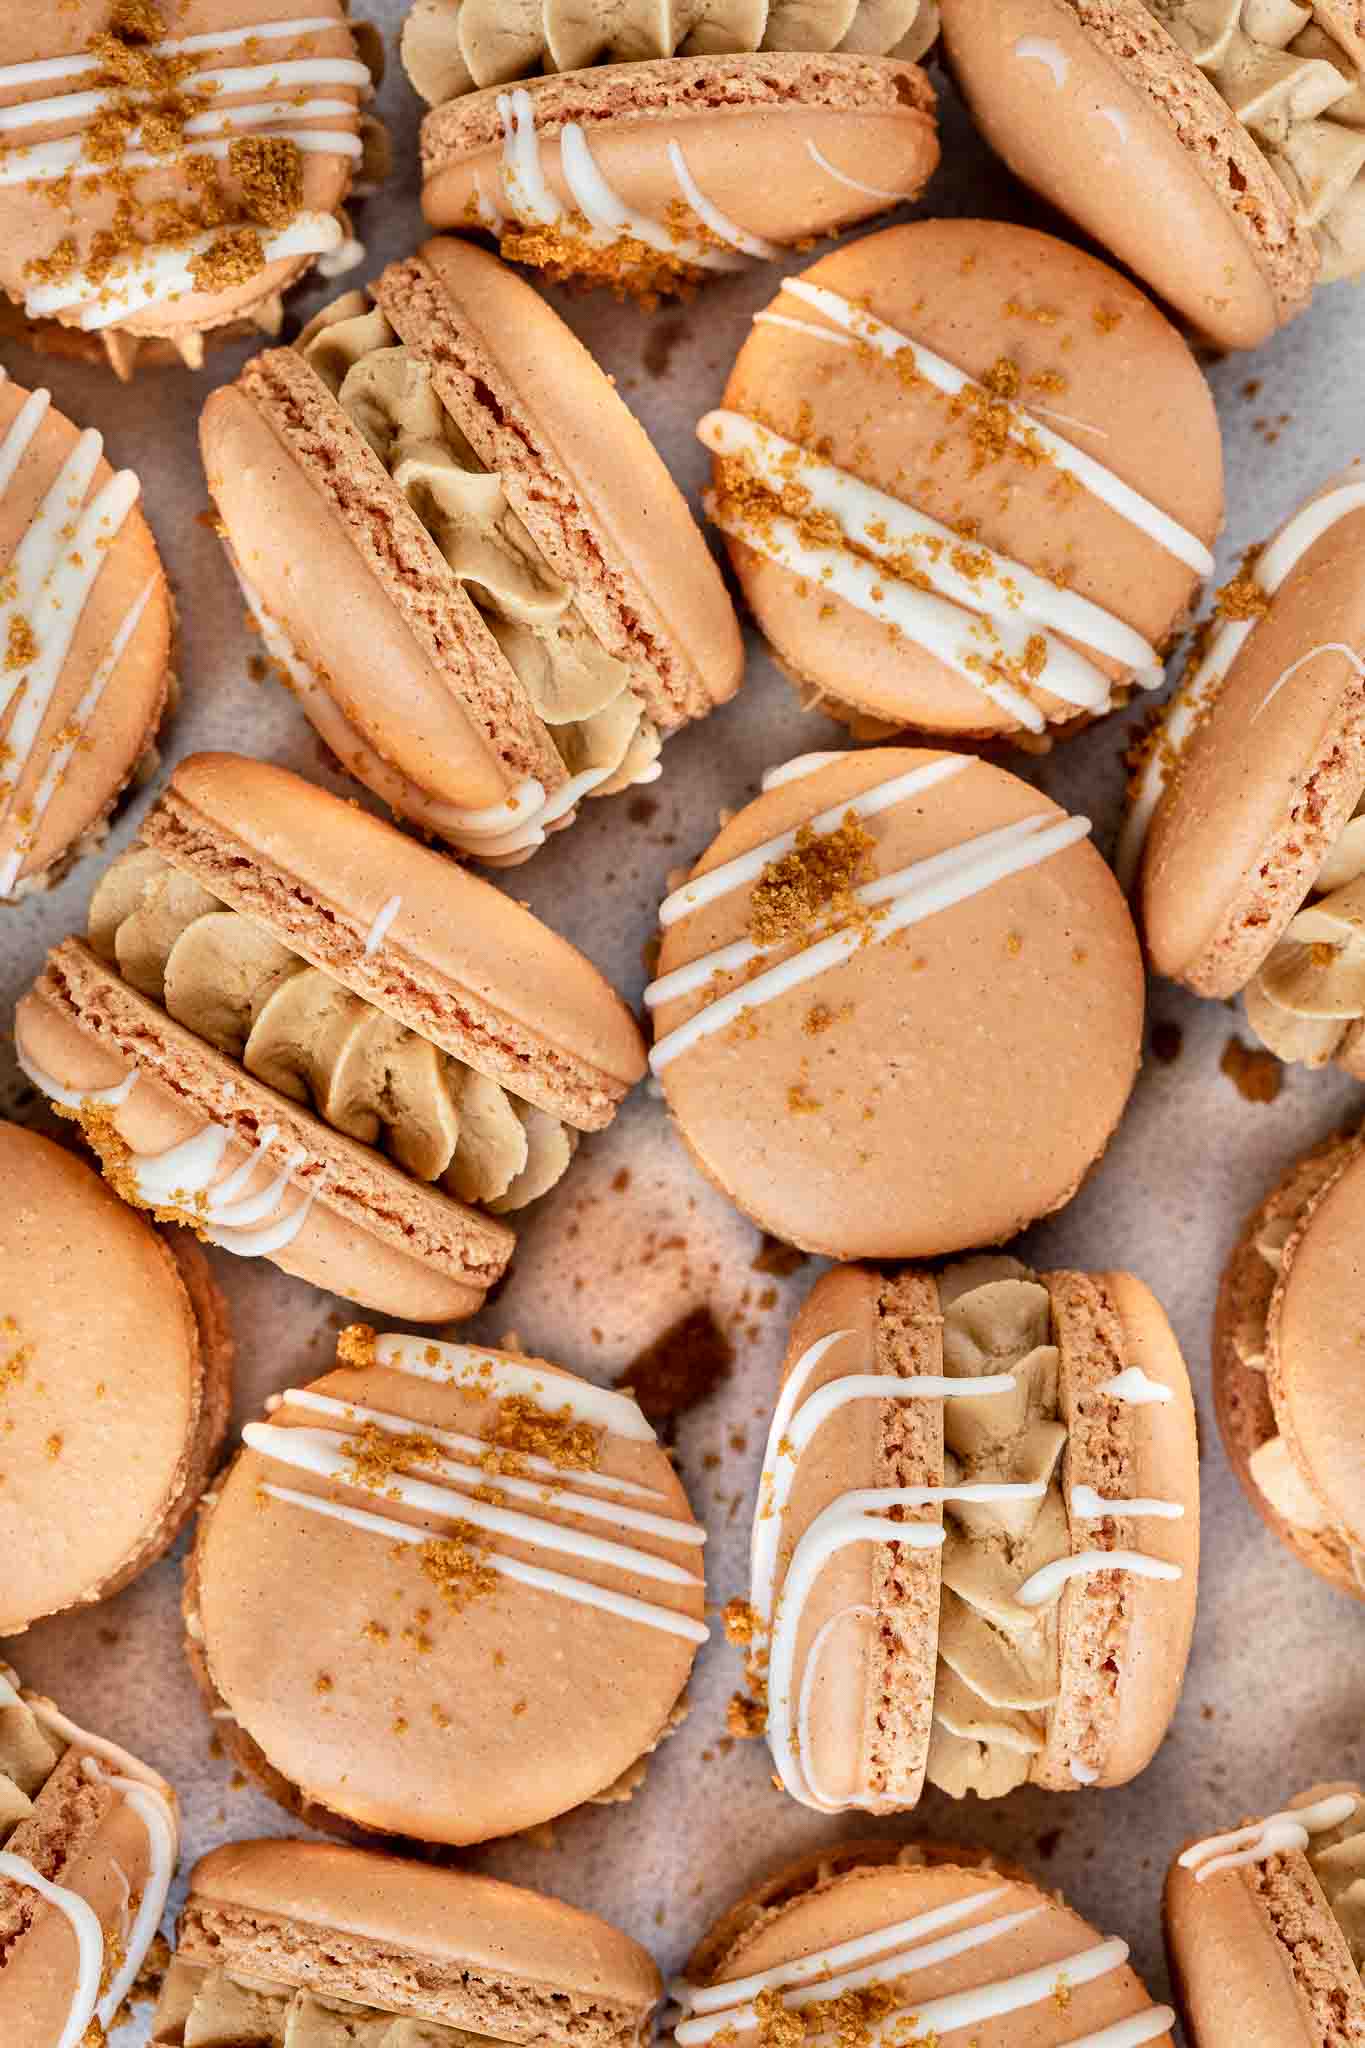
- Heat the chocolate melts in a microwave, then pour into a small snap lock bag. Snip off the end of the bag and quickly pipe lines over the macarons (it's easier if you line them up and pipe long lines). Sprinkle the chocolate with the Biscoff crumbs
- Macarons are best served the next day, to allow the flavors to absorb and the shells to become chewy. They are best stored in the fridge for 3-4 days or in the freezer for 3 months.


Leave a Reply
You must be logged in to post a comment.