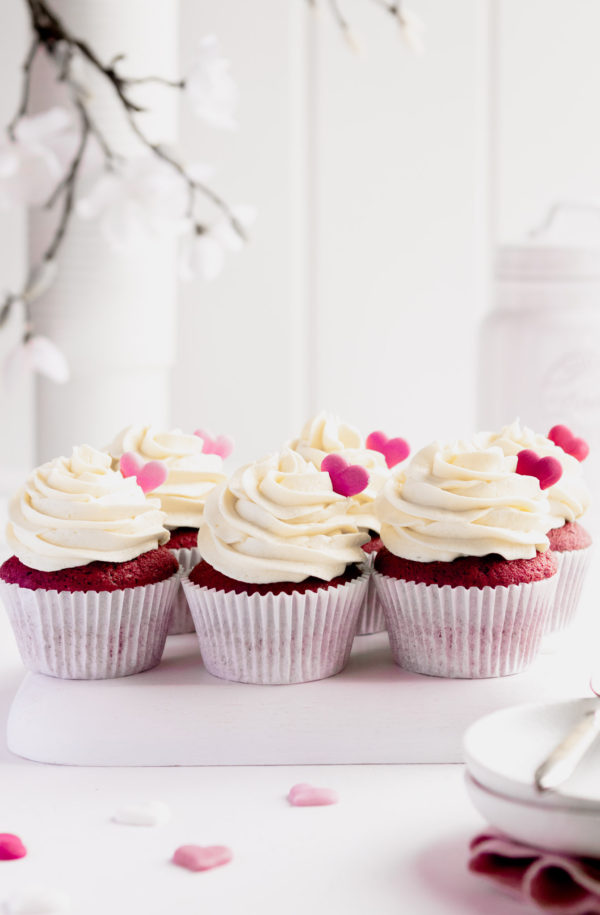
These Red Velvet Cupcakes are beautifully light and fluffy, have the perfect balance of chocolate and vanilla, are deliciously red and topped with the fluffiest traditional Heritage Frosting.
Save this recipe 💌
Red Velvet Cupcakes are my absolute dream cupcake! I love the simplicity of them. Perfectly fluffy, not too sweet and that beautiful red cake....what more could you ask for?
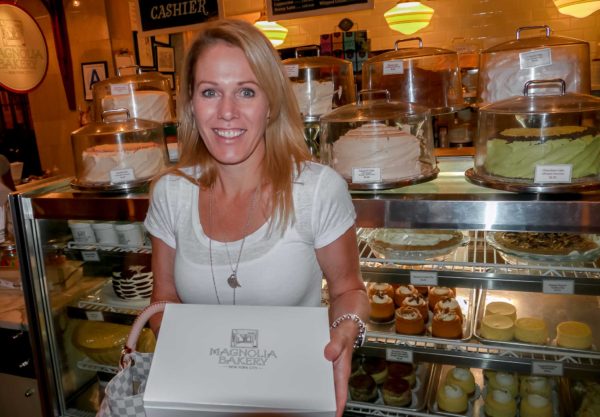
My obsession for cupcakes began a long time ago and it was during my first trip to NYC back in 2012 that I finally came face to face with THE most perfect Red Velvet Cupcake. My long awaited and highly anticipated visit to Magnolia Bakery on Bleeker St in Greenwich Village did not disappoint! That little box in the photo below housed some of the best cupcakes I've ever had, but it was the Red Velvet Cupcakes that won me over. And each time I've returned to New York, Magnolia Bakery has always been my first port of call!
WHAT MAKES RED VELVET CUPCAKES SO GOOD?
- obviously, that beautiful red colour is irresistable!
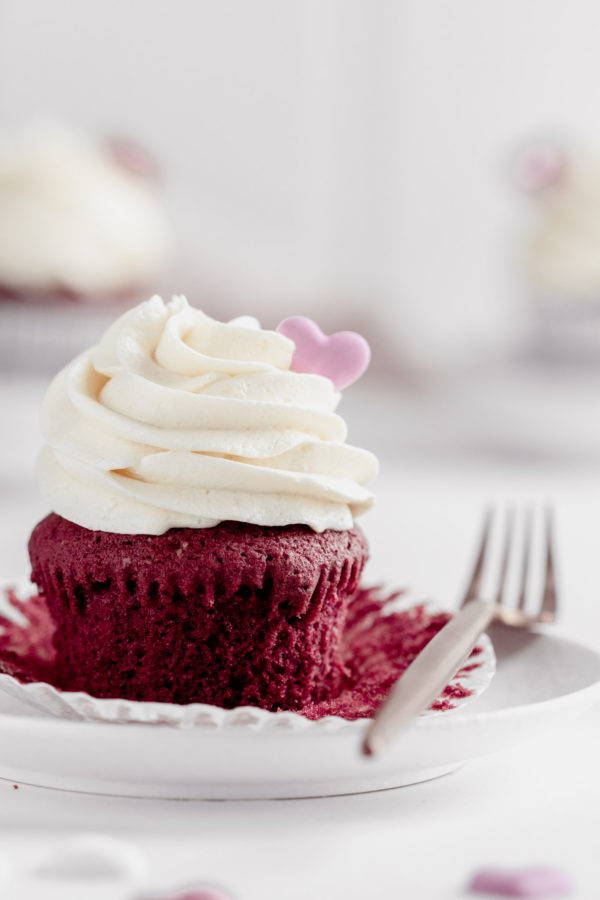
- the cupcakes are super light and fluffy, thanks to the buttermilk, cake flour and apple cider vinegar.
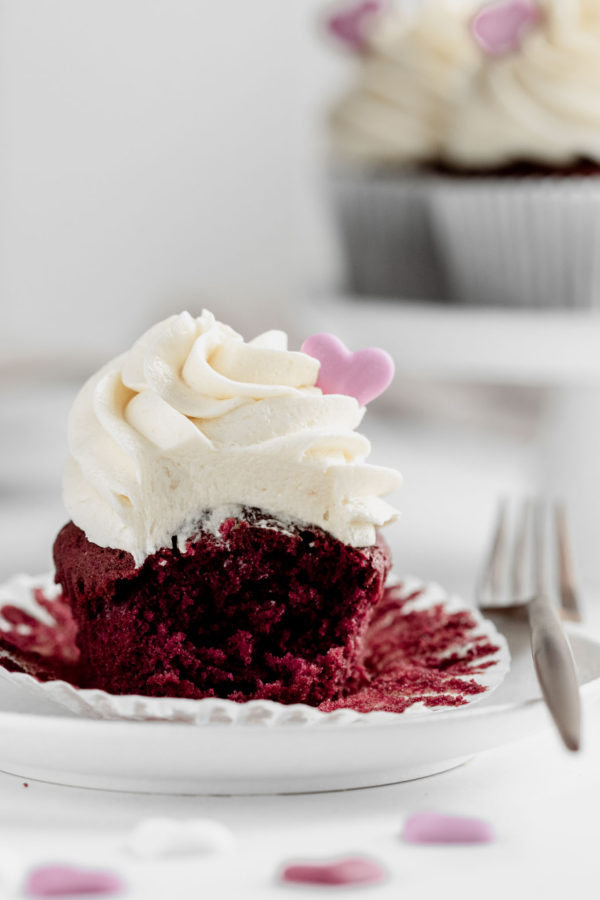
- the Heritage Frosting is deliciously fluffy and not too sweet.
WHY THEY'RE MY FAVOURITE CUPCAKE
Everything about these cupcakes remind me of New York. In particular, it reminds me of our first family trip to New York. One of the greatest thing we've given our boys is travel and I love that we've had so many wonderful experiences and memorable moments. And for me, food is such a huge part of our memories. It is, after all, the reason I have my blog! So every time I bake Red Velvet Cupcakes (let's face it, they're on a high rotation!) I think of the time we all walked across the Brooklyn Bridge, bathed in sunshine and just loving life. It absolutely fills my heart!

MY TIPS FOR MAKING PERFECT RED VELVET CUPCAKES
- Weigh your ingredients, for absolute accuracy.
- Have your ingredients at room temperature -this ensures they mix well together and avoids ingredients seizing.
- Make sure you beat the butter and sugar for the full 5 minutes, making it light and fluffy.
- Don't overmix the batter, as it will lead to denser cupcakes.
- Use a silicone spatula to regularly scrape the mixing bowl -this makes sure every ingredient is well incorporated.
- An ice cream scoop helps to keep your cupcakes the same size and avoids messy drips!
- Make the milk and flour mixture of the frosting beforehand, so it has enough time to cool.
- Consider making a double batch, as these don't last long (well not in my house anyway!).
TRADITIONAL FROSTING FOR RED VELVET CUPCAKES
In my opinion, you can't beat the original and best; traditional Heritage Frosting. Also known as Ermine or cooked flour frosting, Heritage Frosting is super light and fluffy. It's not overly sweet and is the perfect accompaniment to Red Velvet Cupcakes, as it doesn't take away from the cupcake's delicate flavour. If you've never tried Heritage Frosting before, then you seriously need to do yourself a favour! My boys don't like huge amounts of sweet frosting, but they never say no to a Red Velvet piled high with with this light and fluffy frosting.
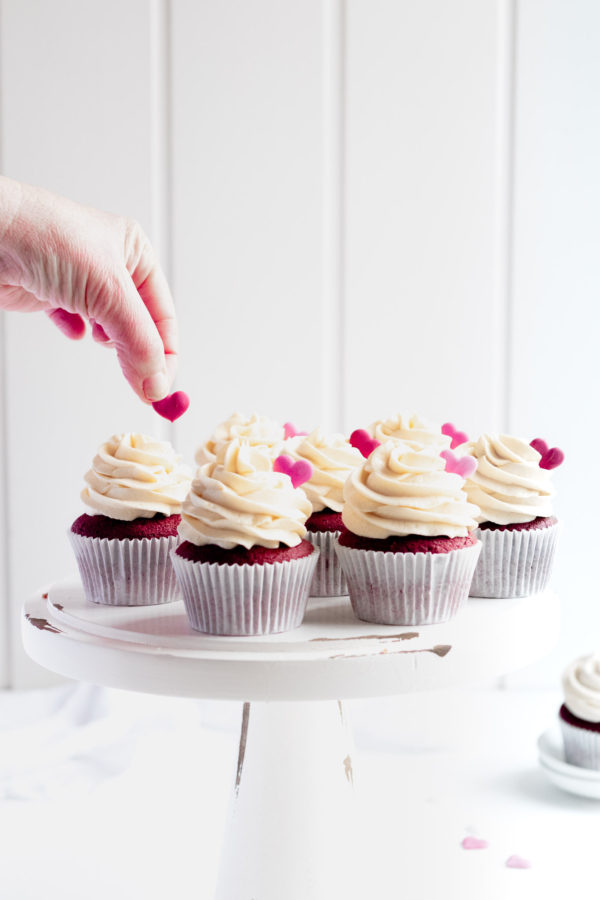
I hope you enjoy these Red Velvet Cupcakes. The recipe below is from Magnolia's cook book, with just a few minor changes. I'm sure these cupcakes are going to become a favourite for you too. Please let me know what you think, by rating my recipe or by leaving a comment.
More Favourite Cake Recipes
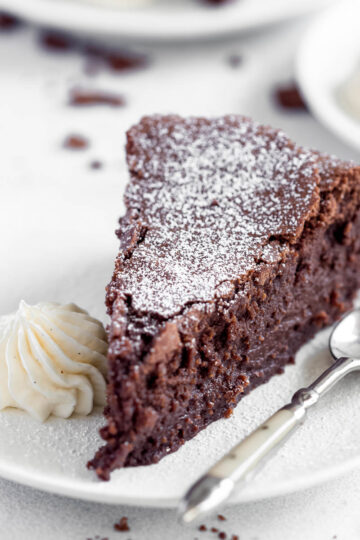
Simply Perfect Chocolate Cake for one of the easiest, no-fail and versatile chocolate cakes.
Vanilla Cupcakes with Fluffy Heritage Frosting for the perfect vanilla cupcake, that can be customised in so many ways.
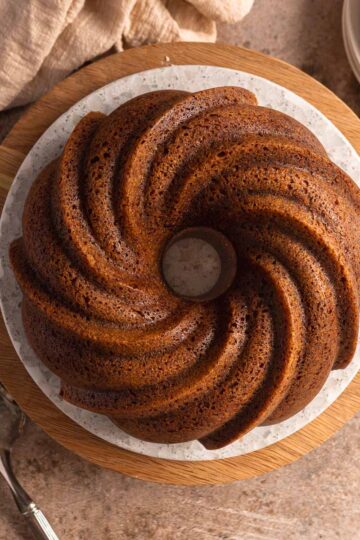
Lemon Bundt with Vanilla Bean Glaze a simple lemon pound cake that's been elevated simply by turning it into a bundt!
Red Velvet Cupcakes
Ingredients
Red Velvet Cupcakes
- 140 g cake flour
- 1 tablespoon Dutch cocoa
- ½ teaspoon baking soda (bi carb soda)
- 60 g unsalted butter at room temperature
- 150 g sugar
- 1 egg XL
- ½ cup buttermilk room temperature
- ½ teaspoon salt
- ½ teaspoon apple cider vinegar
- ½ teaspoon vanilla extract
- 1 teaspoon concentrated red food colouring if using regular food colouring from the supermarket, you will need up to 1 tablespoon
Heritage Frosting
- 40 g plain flour
- 1 cup milk
- 1 teaspoon vanilla extract
- 230 g unsalted butter room temperature
- 200 g sugar
Instructions
Red Velvet Cupcakes
- Pre heat oven to 180°C/165°FF/350°F
- Line a cupcake pan with paper liners
- In a stand mixer, beat the butter and sugar on medium for 5 minutes.
- Add the egg and beat until combined.
- Into a bowl, sift together the flour, cocoa and baking soda.
- Add salt to the buttermilk.
- Alternating between the 2, add the combined flour/cocoa/soda and the buttermilk/salt to the stand mixer in batches, beating on low until just combined.
- Stir in the food colour, vanilla and vinegar and beat until just combined.
- Using a large ice cream scoop, scoop the batter into the 12 paper liners.
- Bake for 20 minutes, until an inserted skewer comes out clean.
- Cool the cupcakes in the pan for 10 minutes, then cool completely on a cake rack, before frosting them.
Heritage Frosting
- In a small saucepan over medium heat, whisk the flour and milk.
- Continue stirring with a rubber spatula (it reaches the edges of the saucepan better) while the mixture comes to a simmer and thickens and begins to bubble.
- Remove from the heat and stir through the vanilla.
- Place a sheet of baking paper directly onto the surface of the mixture, pressing down to seal the edges. This will stop the mixture from forming a skin. Scrunching the baking paper helps it shape better to the mixture.
- Allow the mixture to cool completely (you can pop it in the fridge to speed this up)
- In the bowl of a stand mixer, cream the butter and sugar on medium-high until light and fluffy (5 minutes).
- Add the cooled milk mixture in 3 batches, beating on medium speed until light and fluffy (another 3 minutes)
- Place frosting into a piping bag fitted with a 1M nozzle and pipe generous amounts of frosting onto each cupcake.

Leave a Reply
You must be logged in to post a comment.