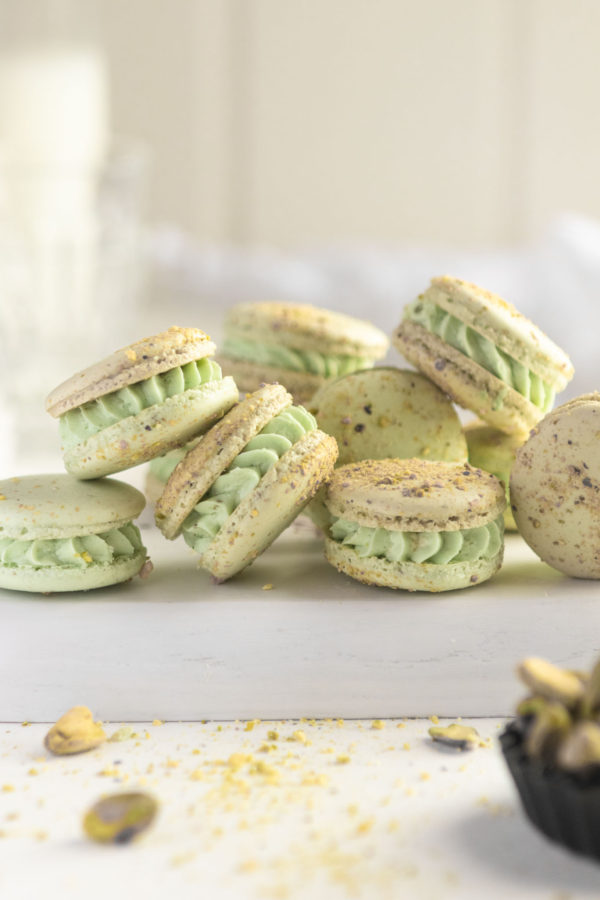
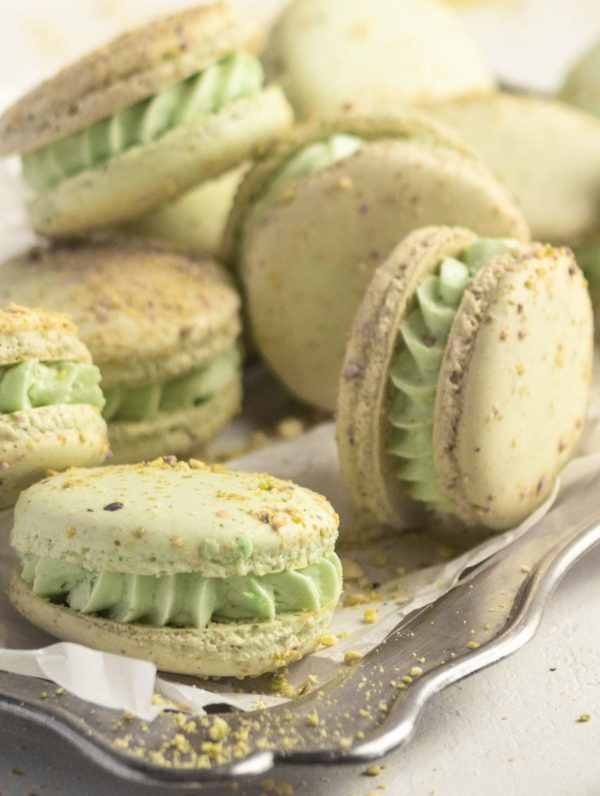
A deliciously light and chewy macaron shell filled with a silky smooth white chocolate pistachio ganache; these classic French Pistachio Macarons have to be my ultimate flavour. Here's my must-have tips on making perfect French Macarons and the reasons why Pistachio Macarons will always hold a special place in my heart.
Save this recipe 💌
I don't think I'd eaten a proper macaron until the first time I went to Paris, back in 2008. And my first time was at none other than the ultimate Parisian pâtisserie, Ladurée, who invented the Macaron. Talk about starting at the top! However, I didn't go into the Tea room on the Champs-Elysées, opting for the gorgeous boutique on rue Bonaparte, which was just around the corner from our hotel. Overwhelmed by the amazing array of irresistible little treats, I chose the classics; vanilla, chocolate, salted caramel and pistachio. While I loved them all, it was the pistachio macaron that won my heart. Such a delicious, delicate and absolutely divine flavour. That and the fact that I was in Paris! In the most beautiful store ever (ok, the Louis Vuitton may have been a little nicer, but that's a whole other story!).
And since then, I've returned to Paris a couple of times, always stopping at Ladurée, but adding some others to the list. Last trip was Pierre Hermé, known for his unique and incredible flavour combinations....I still included the pistachio!
INGREDIENTS FOR PISTACHIO MACARONS
AGED/LIQUIFIED/CLARIFIED EGG WHITES: To age or liquify egg whites, weigh them in a small bowl, cover with plastic wrap and pierce a few holes in the plastic wrap, before placing in the fridge for a few days. This will make the egg whites lose their elasticity so they whip up nicely, without being grainy. Bring back to room temperature before making the macarons.
ALMOND MEAL/ALMOND FLOUR: This is just blanched almonds that have been ground to a fine flour. If you're making your own tant pour tant, you will need to sift the almond meal and icing sugar together three times.
GROUND PISTACHIOS: Just a handful of pistachios is all you need. You can grind them in a small food processor, or with a Bamix
ICING SUGAR/POWDERED SUGAR: Is the other half of Tant Pour Tant
SUGAR SYRUP: Is made with exact quantities of water and caster sugar, and is added to the beaten egg whites to make an Italian meringue.
CREAM OF TARTAR: I always put a good pinch of cream of tartar into my egg whites before whisking. It stops the egg whites from being grainy and helps to stabilize the meringue.
PISTACHIO WHITE CHOCOLATE GANACHE: I use a Pistachio Paste for a lovely smooth flavour, but you can also grind your own if you have a strong food processor.
HOW I MADE SALTED CARAMEL MACARONS
[su_youtube url="https://youtu.be/mFFShyTxuLg" title="How to make Salted Caramel French Macarons"]
MY TIPS FOR PERFECTING PISTACHIO MACARONS (AND WHAT DOESN'T WORK FOR ME)
BEATING EGG WHITES FOR THE ITALIAN MERINGUE
Don't mix too fast or on a high speed. I always mix on medium, which will create even, small bubbles -no large air pockets.
I start beating my egg whites once the sugar syrup reaches 110ᴼ C and I do this next to my stove, so I can keep an eye on the temperature of the syrup. You want the egg whites to get to a soft peak by the time the syrup reaches 118ᴼ C
SIFT THE TANT POUR TANT, THEN SIFT IT AGAIN. AND AGAIN!
If making your own tant pour tant, you will need to sift the almond and pistachio meal as well as the icing sugar together three times.
ADDING SUGAR SYRUP TO BEATEN EGG WHITES
As soon as the syrup reaches 118ᴼ C, remove the thermometer and pour the syrup into the egg whites in a thin, steady stream, while continuing to beat the egg whites on low. Continue to beat on a medium speed until the meringue cools to 35ᴼ C
MACARONAGE
The best way I find to mix the paste and Italian meringue, is to take a little of the meringue and add it to the paste, so as to loosen the thick paste. Once loose, add the rest of the meringue and fold through with either the rubber spatula or dough scraper, to create a supple and shiny batter. Do this by scraping and folding, while also turning the bowl as you go. It should be like a cake batter and not too thin, as it will not hold it's shape during baking. But if it's too thick, it will not be shiny and you'll end up with little peaks on your shells. The batter should be smooth and flow gently, rather than spread quickly out of shape.
FILLING THE PIPING BAG
Snip off the end of the piping bag and insert the piping tip. I find the easiest way to fill the bag is to twist the end with the nozzle and fold the nozzle back up (to seal the opening), then place the bag into a deep cup or jug (the sort you make smoothies in). Fold the ends of the bag back over the edge of the cup and start filling the bag. For me, this is much easier than trying to hold it in one hand and scoop batter with the other.
PIPING THE SHELLS
If I haven't done this for a while, I get a little nervous and usually end up with a wonky first shell!
Make sure the piping bag is twisted at the end, so no batter can escape, and that there are air bubbles inside the bag. Hold the bag upright, with the nozzle pointing directly down and squeeze gently with the hand holding the twisted end of the bag. Pipe to the inside of the marked circles on the silpat mat, release the pressure and give the bag and nozzle a little twist to stop the batter. I never pipe to the edge of the circle, as the batter will spread and inevitably join with the other shells. If you want larger macarons, maybe just fill every second circle.
SPRINKLE AND TAP
Once piped, sprinkle the macarons shells (totally optional) with the extra ground pistachios. Give the trays a gentle but firm tap on the kitchen bench, to get rid of any large air pockets (you can pierce any leftovers with a toothpick). This will also flick the loose sprinkled pistachios onto the shell. Warning: place a tea towel on the bench beforehand -I have more than one chip in my marble bench from doing this without a tea towel!!
CROÛTAGE (DRYING)
Depending on the weather conditions, you will need to rest you macarons for 15-60 minutes. Warm and dry conditions are best, as the shells need to dry out a little and form a skin. It's this skin that helps trap the steam and allows the macarons to rise. If you don't dry the shells out enough, you may end up with little vulcano shells. This is the steam breaking through the top. In my house I usually only need 30 minutes. Just as long as the unbaked shell is no longer sticky, you should be fine.
DOUBLE TRAY
Always! This prevents burning the base of the shells.
OVEN TEMPERATURES
I've tried every which way to bake my macarons! Conventional, fan forced, one tray at a time.... Every oven is different (believe me, I know!) so there may be a little experimentation involved. What works for me is a fan forced oven set to 145 celsius. I bake 2 trays at a time and have no issues.
NO WOBBLE
I've seen some people suggest the macaron shells are ready when there's still a slight movement when you wiggle them. This DOES NOT WORK for me! If I took my shells out when they still wobbled, I wouldn't be able to get them off the mats! For my macaron shells, they're ready when there's no more wobble.
REMOVE THE SILPAT MATS
As soon as you take the macaron shells out of the oven, slide the silpat mat off the baking sheet and onto the bench to cool. Once cooled, simply (and gently) peel each shell off the mat. I usually lift the mat, then peel it away from the macaron. Be gentle.
DID YOU KNOW
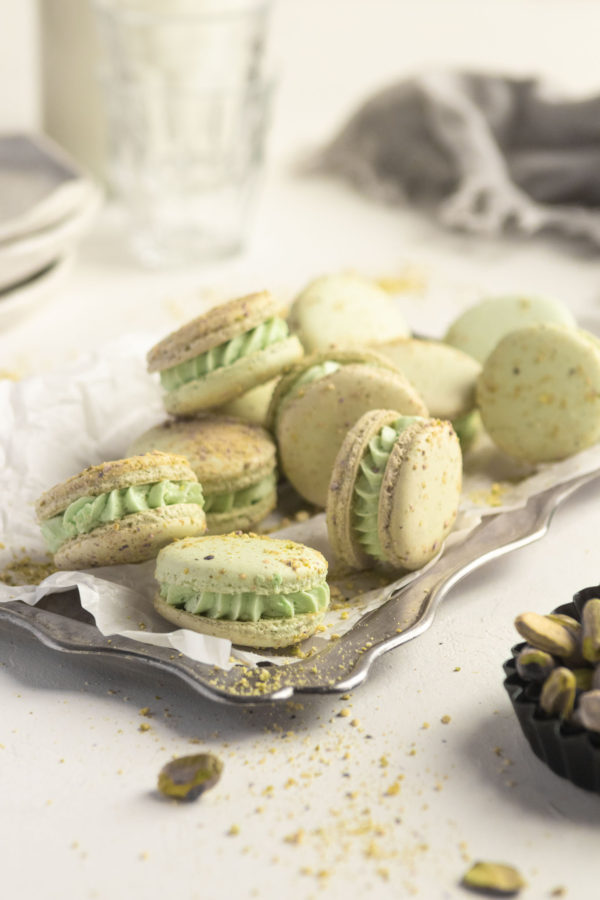
Pistachio Macarons (like all macarons) are best eaten a day or two after they are made. This gives them time for the flavours to develop and to create that delicious, chewy texture.
Possible Faults in Macarons
SHELLS ARE LUMPY AND DULL
The almond meal wasn't fine enough and/or you didn't work the batter long enough.
PEAKS ON THE MACARON SHELLS
Batter was too firm and not mixed long enough.
VOLCANO SHELLS
The shells didn't dry long enough. They need a protective skin to stop the steam escaping. If they're not dry, the steam breaks through the top during cooking, creating a volcano effect.
NO FEET
The batter was overworked and broken, or the uncooked shells didn't dry long enough.
SHELLS ARE STICKING TO THE MAT
They haven't cooked long enough. If the shells are cooked and you can't get them off the mat, pop the tray into the freezer for a few minutes, then try again.
HOW TO STORE PISTACHIO MACARONS
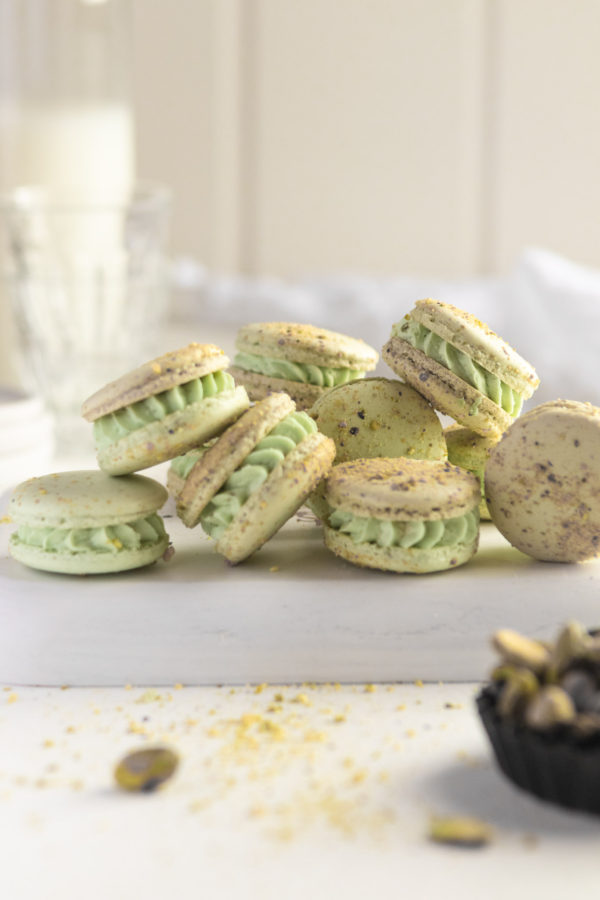
Most people can't eat 56 macarons in one sitting, so it's a good thing that macarons can be frozen! I always freeze my macarons. They can live in an airtight container in the freezer for up to 3 months and just need to be taken out about 30 minutes before serving. For me this is perfect, as I always have fresh macarons on hand to have with a cup of tea!
NOTE: I make macarons as Christmas presents, as I can make them well ahead of time and freeze them. And seriously, who doesn't love macarons?!
You can also store macarons in the fridge for up to 3 days.
I hope you enjoy my Pistachio Macaron recipe. They can be a little tricky at first, but if you have the right equipment and follow my directions closely, you'll be rewarded with a beautiful batch of macarons!
And please.....help me with my blog by leaving a review. This let's others (and Google) know how good it is. Just rate or review below.
More Macarons
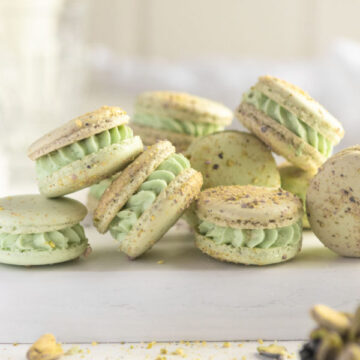
Pistachio Macarons
Ingredients
Macaron Shells
- 150 g Almond Meal
- 150 g Pure icing sugar
- 55 g Aged egg whites (A) see post
- 55 g Aged egg whites (B)
- pinch Cream of tartar
- 150 g Caster sugar
- 38 g Water
- Green food colouring
- Ground Pistachios Optional, for sprinkling
White Chocolate Pistachio Ganache
- 60 g Pistachio Paste
- 345 ml Cream
- 345 g White chocolate chopped
Instructions
Macaron Shells
- Preheat oven to 145°C fan forced and place 2 empty baking trays on 2 racks
- In a food processor, combine the almond meal, ground pistachios and icing sugar (this will be your "tant pour tant"). Now sift it 3 times into a large mixing bowl.
- Line baking trays with silpat mats (you'll need 4 mats, if you want to pipe the macarons all at once).
- Prepare a large disposable piping bag with a #1A piping tip and place the bag inside a tall cup/jug, ready to be filled (see post for tips on using the piping bag).
- In a small saucepan, heat the caster sugar and water over medium heat. Give a little stir as you insert the digital thermometer. Once the syrup starts to boil, stop stirring, as this will cause crystals.
- In a separate mixing bowl, combine the tant pour tant (almond meal, icing sugar and cocoa) with the remaining egg whites (B) with a rubber spatula, to form a thick paste.
- In a medium sized bowl and using an electric hand mixer, begin whisking the egg whites (A) and cream of tartar once the sugar syrup reaches 110°C. Use the mixer on medium speed to form soft peaks, keeping watch of the syrup, as it must not go over 118°.
- As soon as the sugar syrup reaches 118°, remove the thermometer and (with the mixer turned to low) pour the syrup into the whisked egg whites in a thin, steady stream. This is the Italian meringue.
- Increase speed to medium and continue to whisk until mixture cools to 35°.
- Mix through the green food colouring until it's incorporated.
- Once the Italian meringue has cooled to 35°, scoop some out with the rubber spatula and mix it into the paste to loosen it.
- Add the remaining meringue in a couple of batches and continue to fold through, scraping the bowl and folding the mixture over, whilst rotating the bowl. Make sure you scrape the bottom, to get all of the paste.
- Continue folding, scraping and rotating (macaronner) until the batter is smooth and shiny. Batter should have the consistency of cake batter and not too thin (see post).
- Scoop batter into prepared piping bag, then place the bag on the bench and push out air pockets. Twist the end of the bag and secure with a rubber band (I find twisting it is sufficient).
- Piping the shells: holding the nozzle end with one hand and the twisted end with the other, hold the bag directly above the marked silpat mat and gently squeeze from the top hand. Release pressure before the batter reaches the inside edge of the circle and give the bag a little twist at the nozzle end, to break the release of batter.
- Sprinkle with the extra ground pistachios, for decoration
- Place a tea towel onto the kitchen bench, then give a gentle whack of the tray, to release air bubbles. Rotate tray and repeat. This will also get the sprinkled pistachios to stick to the shells.
- Let macarons rest for at least 15 minutes, to dry a little. You want the shells to not be sticky.
- Place 2 trays with the piped shells into oven, directly on top of the trays that are already in there.
- Bake at 145°C fan for 15 minutes.
- After the 15 minutes check macaron shells -if they still wiggle, they're not quite ready. Give them another minute.
- Once cooked, immediately slide silpat mat off the baking trays and onto the bench to cool. Once completely cooled, shells can be gently lifted from mat (see post), put into pairs and filled.
Pistachio White Chocolate Ganache
- In a small saucepan over medium heat, combine the pistachio paste and cream, then heat until it just reaches boiling.
- Place the finely chopped white chocolate into a heatproof bowl
- Pour the hot cream mixture over the chopped chocolate and let it sit for a minute, then mix together with a stick blender/Bamix
- Cover the ganache with plastic film so that it touches the surface of the ganache. Refrigerate until cooled and thick enough to pipe.
Filling the Macarons
- Stir the ganache, then scoop it into a piping bag fitted with a large round nozzle (#1A) and pipe onto half of the macaron shells, sandwiching with the other half.
- Refrigerate or freeze macarons in an airtight container.



Leave a Reply
You must be logged in to post a comment.