
If you've ever had a cake stick to the pan, tear as you tried to get it out, or crumble around the edges....it's time to fix that for good. I'll show you exactly how to line a round cake tin with baking paper, so you'll never lose half your cake to the pan again.
Save this recipe 💌
One time, my husband decided to bake my birthday cake. Me being the control freak that I am, hovered nearby, trying not to interfere. It wasn't until he asked how to line the cake tin that I realised - not everyone knows how! So here we are, going back to basics with one of those good old-fashioned baking hacks that every home baker should know.
And if you're planning on making my 4 Ingredient Christmas Cake, check out the extra steps required when lining a tin for a fruit cake. Knowing how to line a Christmas cake tin properly makes all the difference (we don't do dry cake!)
Jump to:
Why You should line your cake tin
Lining your cake tin does more than just stop your cake from sticking. It:
- Creates a barrier, so your cake releases easily.
- Helps the cake rise evenly by insulating the edges.
- Prevents over-browning on the base and sides.
- Keeps syrup or fillings from seeping out.
So next time you grease and line a cake tin, remember that you're setting your cake up for success before the batter even goes in.
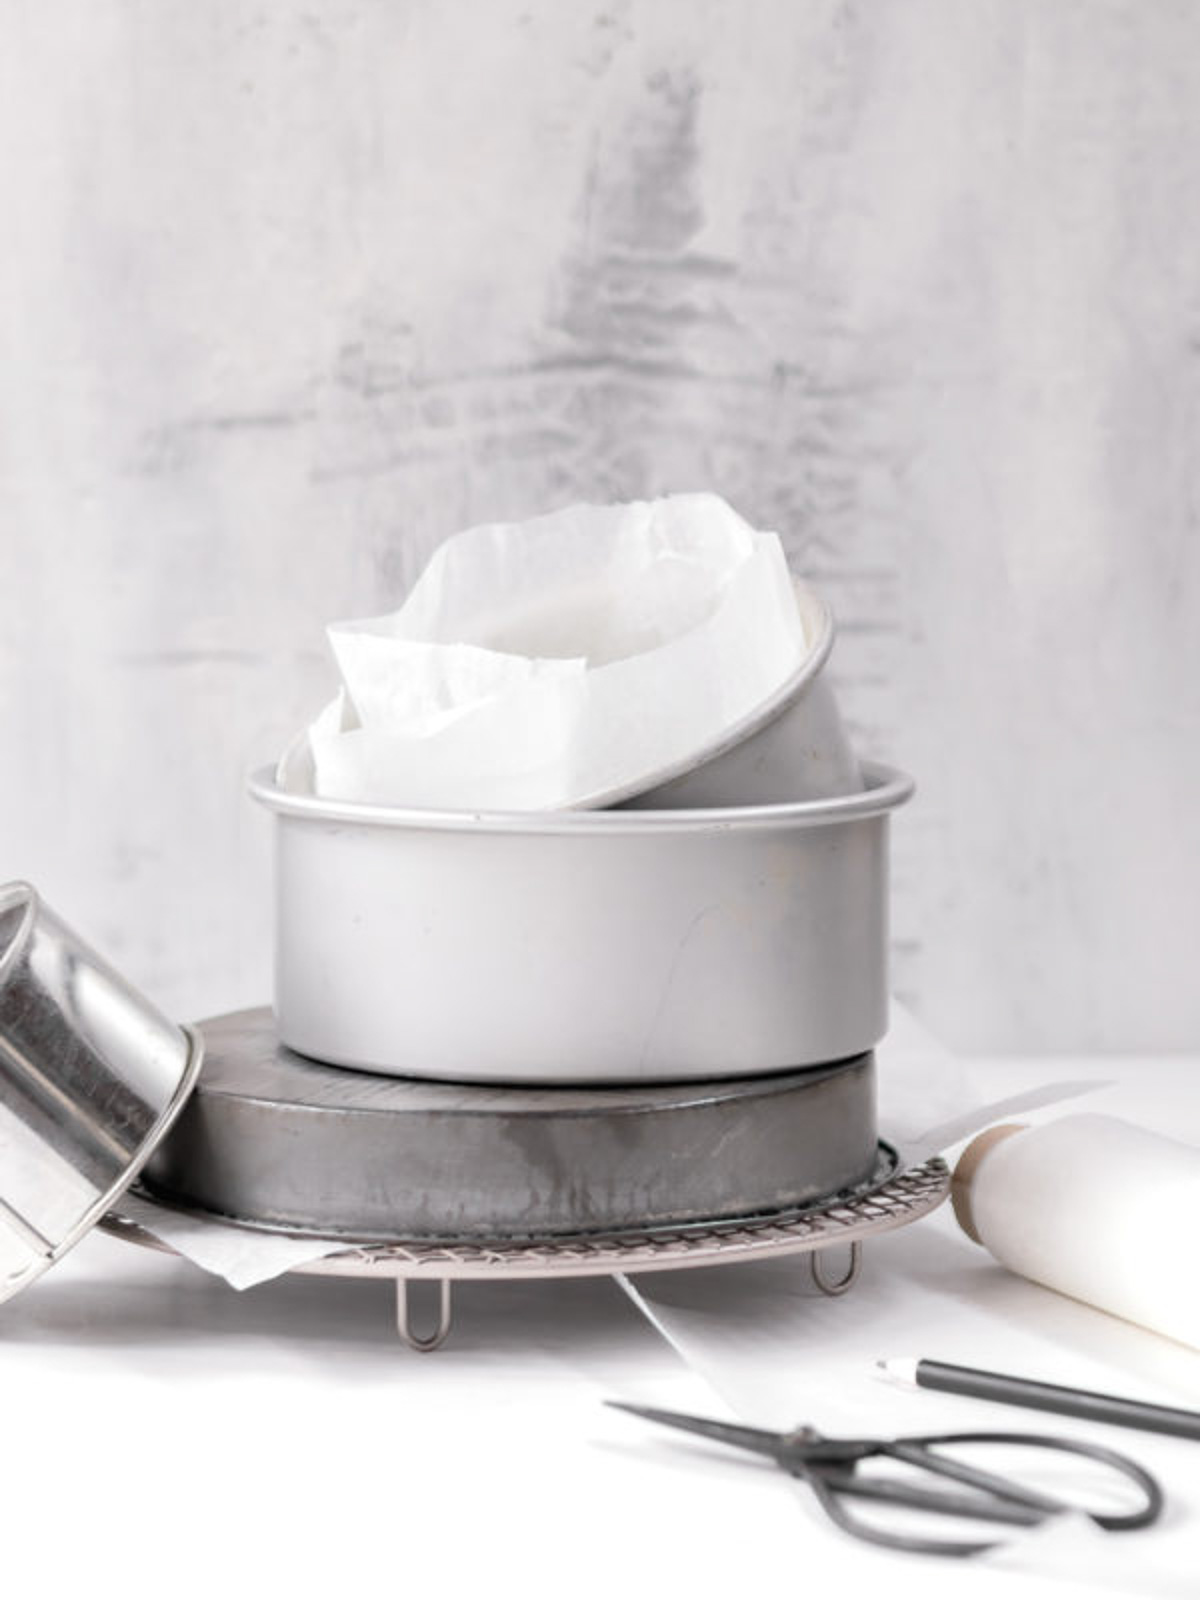
What You'll Need
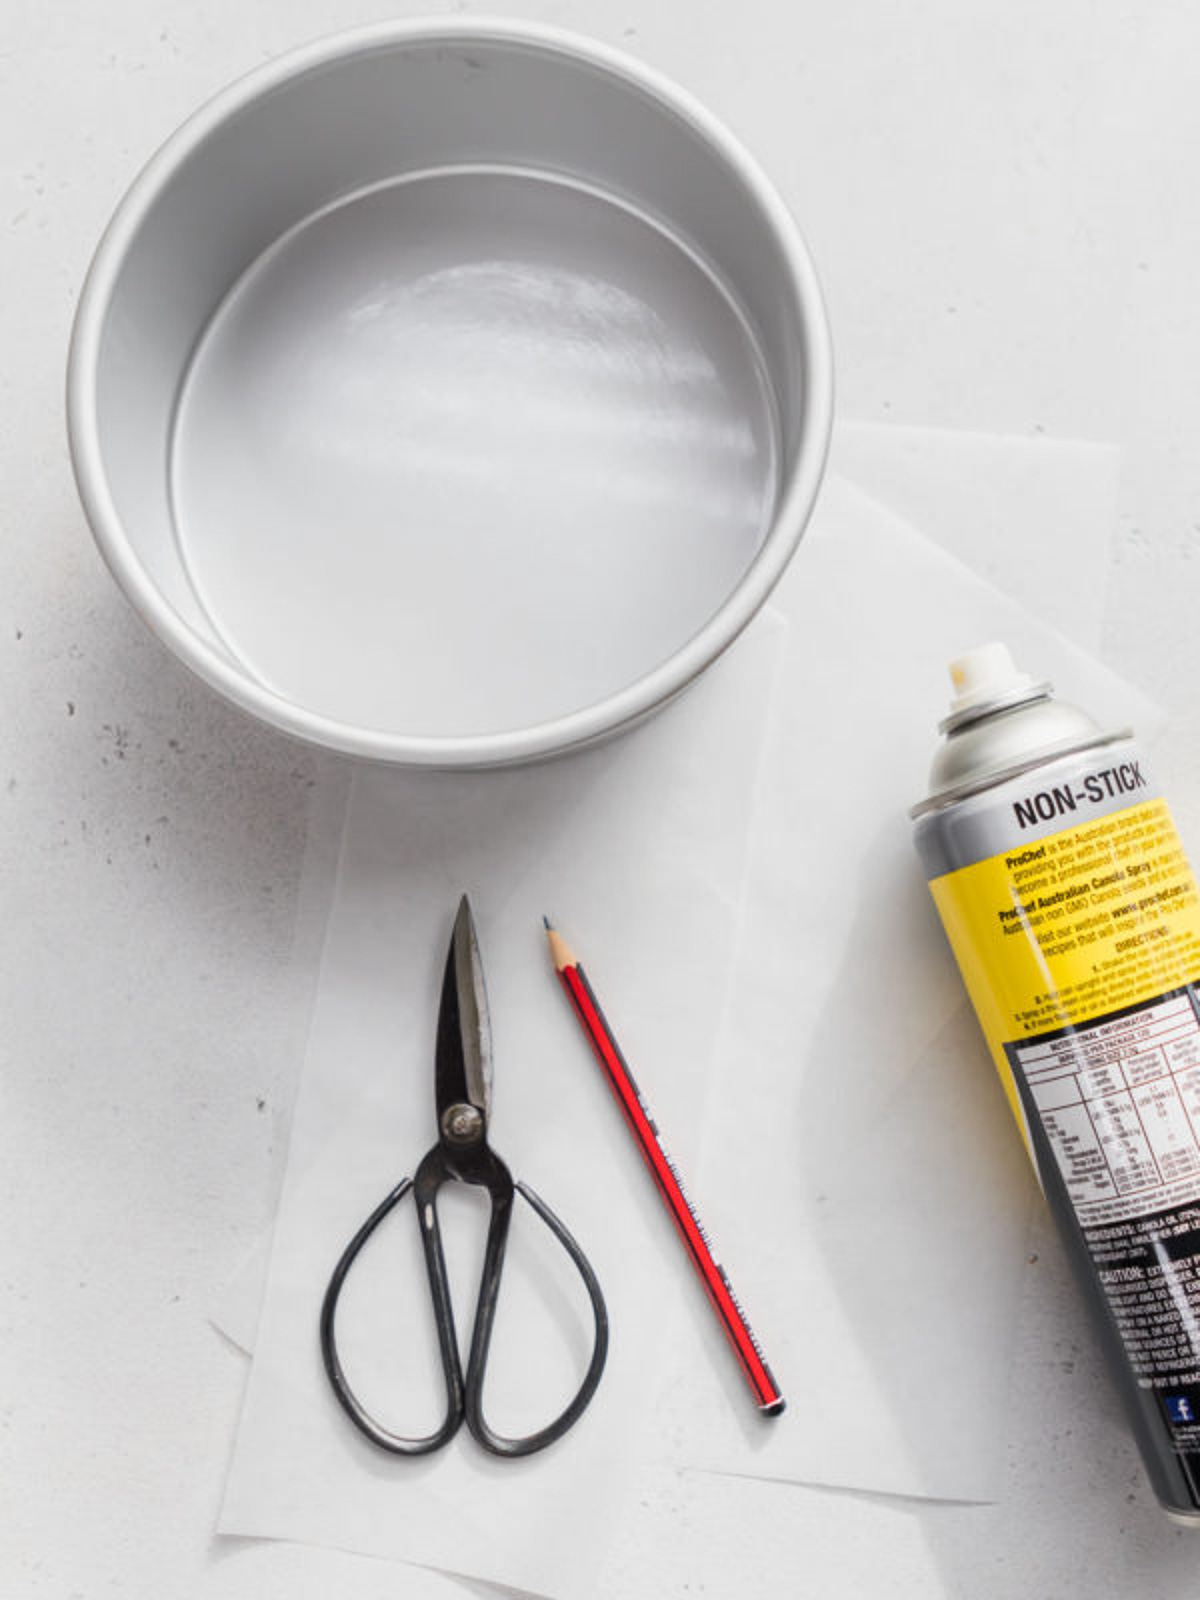
- Round cake tin (any size)
- Baking paper
- Pencil or pen
- Scissors
- Cooking spray (or butter for greasing)
How To Line A Round Cake Tin
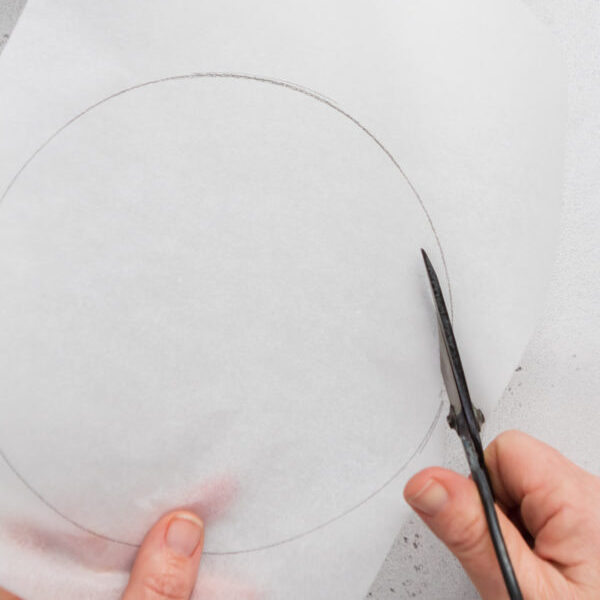
- Step 1: Place your cake tin on a sheet of baking paper and trace around the outside with a pencil.
Cut just inside the line (about 5mm in) so the paper fits perfectly into the tin without leaving pencil marks.

- Step 2: Cut two long strips of baking paper that are about 5cm taller than your tin. Fold one long edge over by 2-3cm. This fold will guide your tabs in the next step.
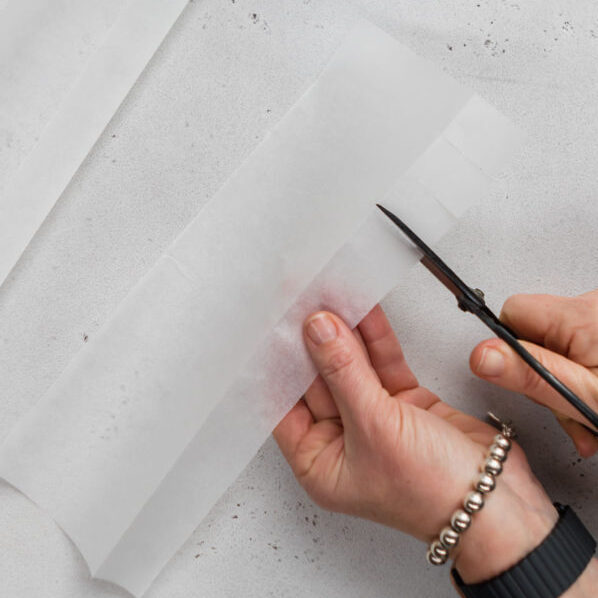
- Step 3: Using scissors, cut small slits (1-2cm apart) along the folded edge, stopping at the crease. These tabs will help the paper sit neatly against the tin's curve without bunching.
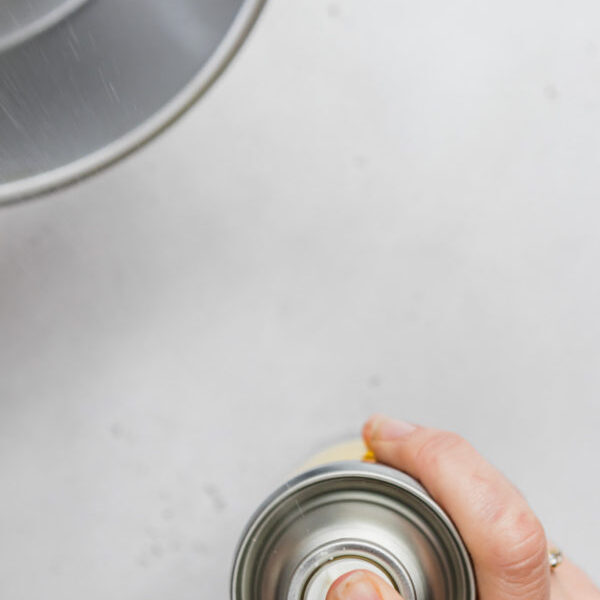
- Step 4: Lightly grease the cake tin with cooking spray or butter - this helps the paper stick in place.
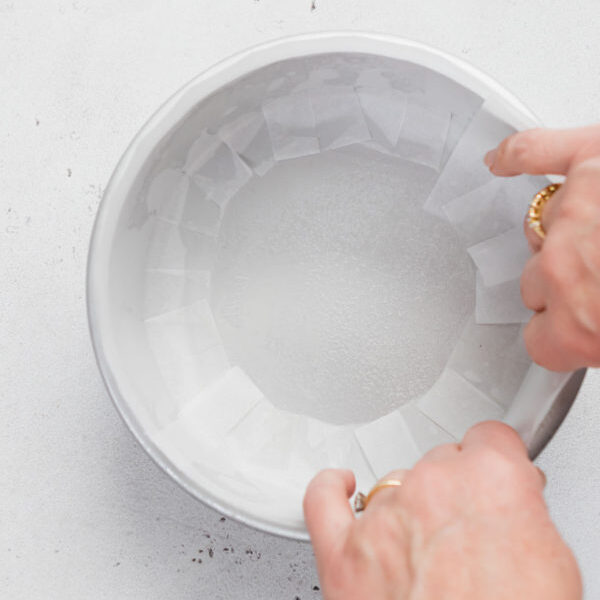
- Step 5: Place the strips inside the tin so the tabs overlap slightly and rest flat on the base. Continue until the sides are fully lined.
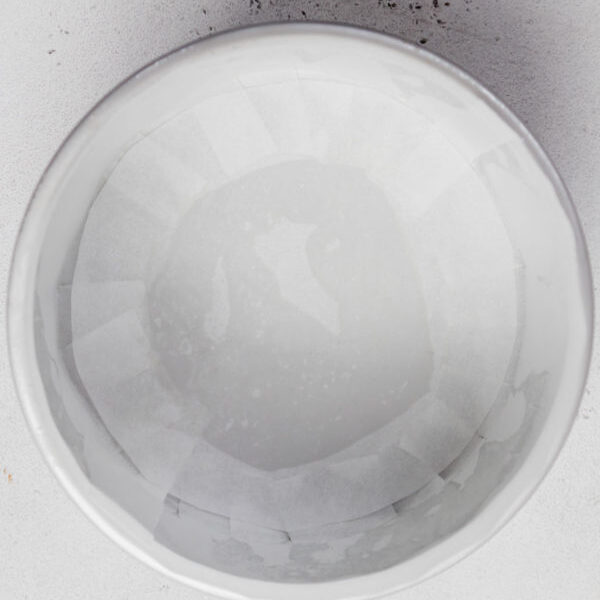
- Step 6: Give the base a light spray again, then pop the paper circle on top, pressing gently to seal. Your tin is now ready for batter!
Hint: Always line your cake tin before mixing the batter -you'll save yourself a last-minute panic.
Keep the tabs narrow so they overlap neatly and create smooth sides.
Use leftover scraps from your circle to line smaller tins or mini cakes.
For fruitcakes or dense batters (like Christmas cake), you can even double-line for extra insulation.
Top Tip
If you bake often, pre-cut a few circles and strips in advance. Store them flat in a ziplock bag, and next time you go to line a cake tin, you'll thank yourself.
FAQ
If you're baking a delicate or sticky cake, absolutely. For brownies or dense cakes, at least line the base.
Foil doesn't release as cleanly, especially for cakes, so stick with baking paper.
For deeper tins, extend the side strips higher (up to 8-10cm) to prevent over-browning.
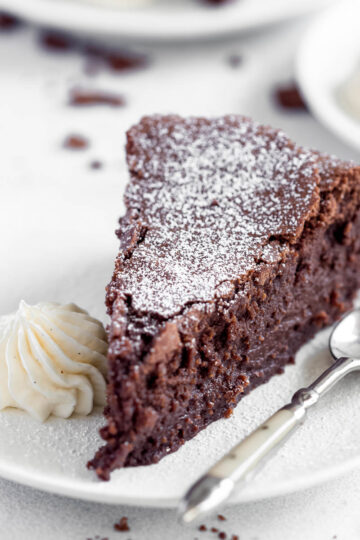
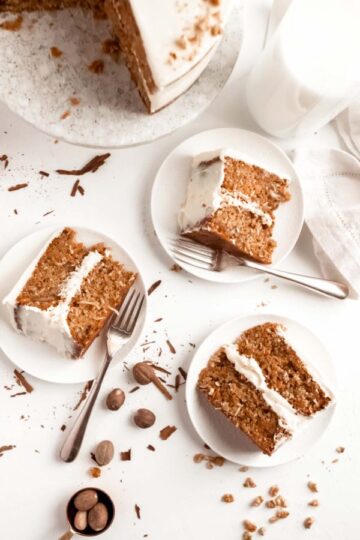
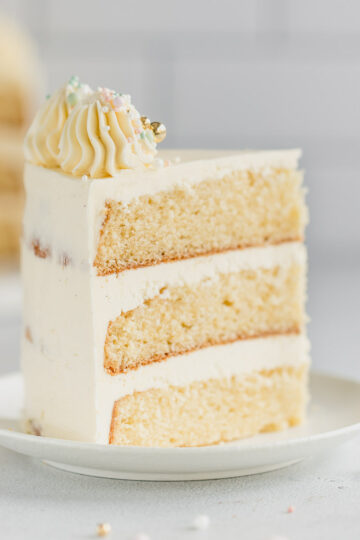
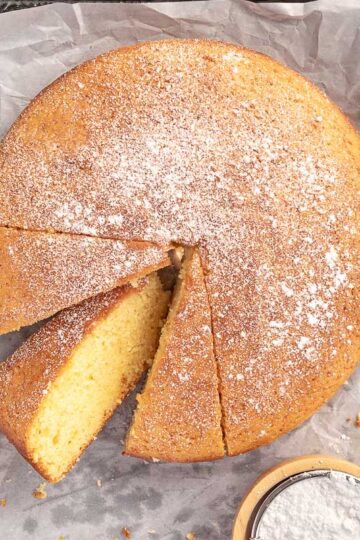
Favourite Cakes
Practice your cake-lining skills on one of these:

2 responses to “How To Line A Round Cake Tin”
-
I followed this guide, as I had never fully understood how to line the sides properly without a gap between the base.
-

I'm so glad you found this helpful! Thanks for the feedback x
-
Leave a Reply
You must be logged in to post a comment.