

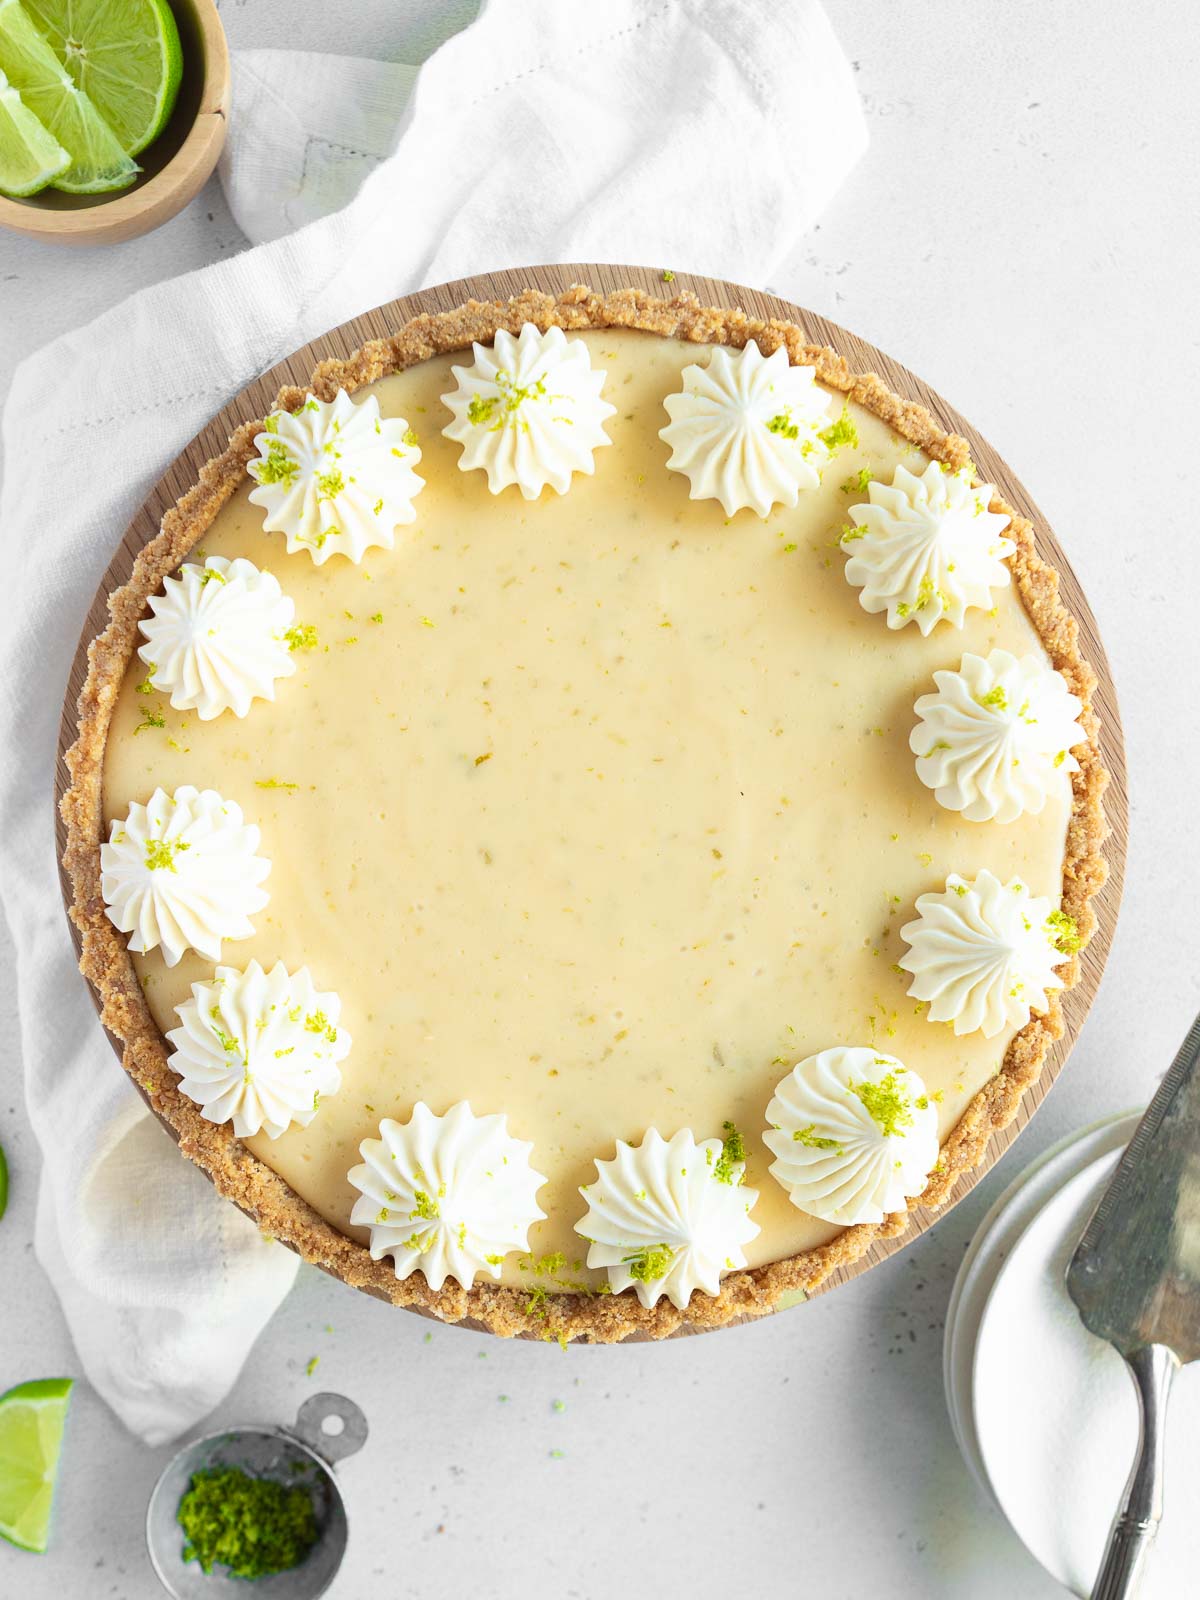
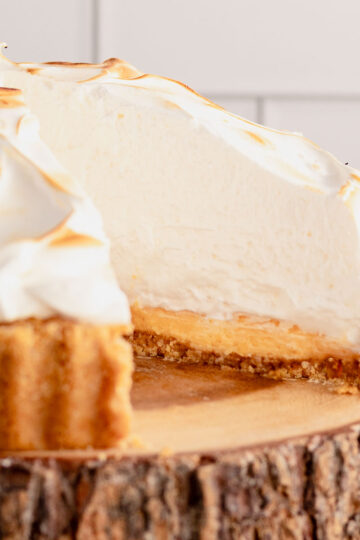
This gluten-free Key Lime Pie is my version of the classic Florida dessert - tangy, creamy and so incredibly easy to make! I first fell for it when I was holidaying in Key West back in 2022, where I had two non-negotiables: visit the famous polydactyl cats at Hemingway's house (love!), and eat as much Key Lime Pie as humanly possible. Let's just say I taste-tested my way down the Florida Keys until I found the perfect slice! 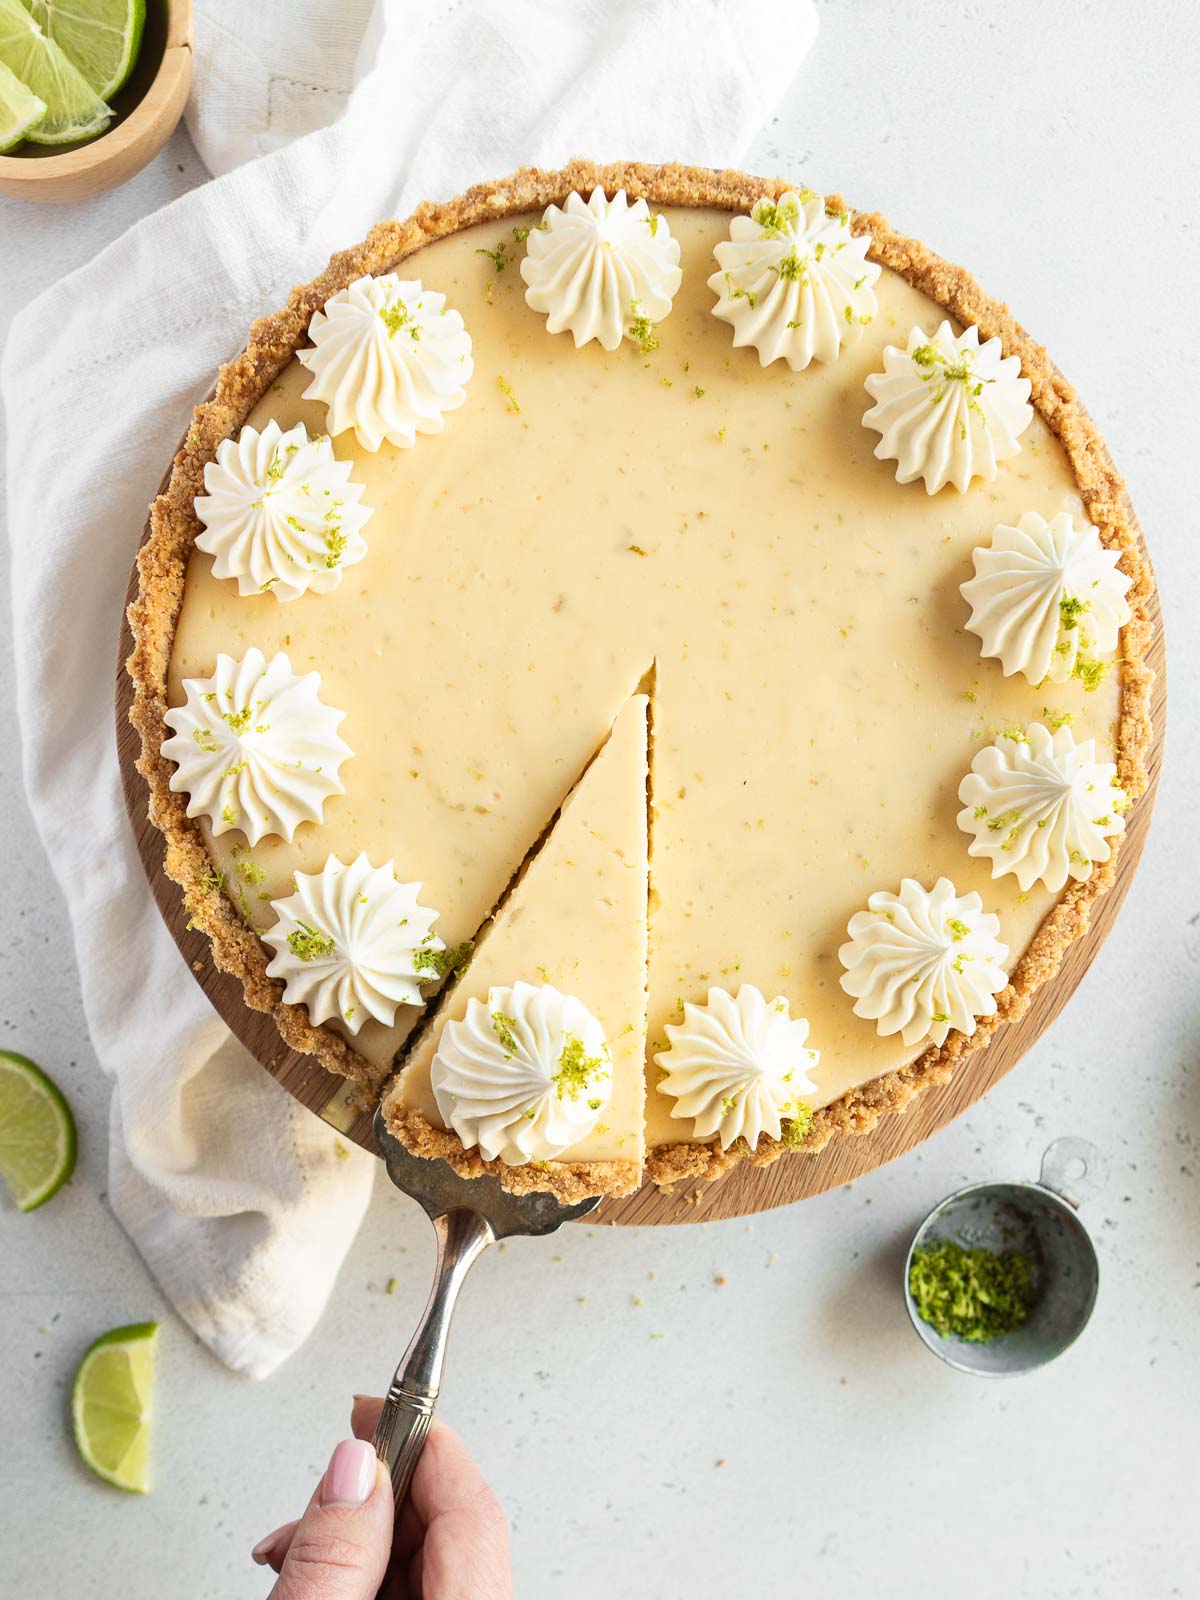
Save this recipe 💌
Back home in Australia, I wanted to make my own version of this creamy Key Lime Pie. One that even my gluten-free friends could enjoy. So I swapped out the regular biscuits for gluten-free digestives and left everything else the same, because the filling is already gluten-free. Easy.
❤️ Why You'll Love This Gluten-Free Key Lime Pie
- It already has gluten-free filling! No messy swaps, just a biscuit change and you're good.
-
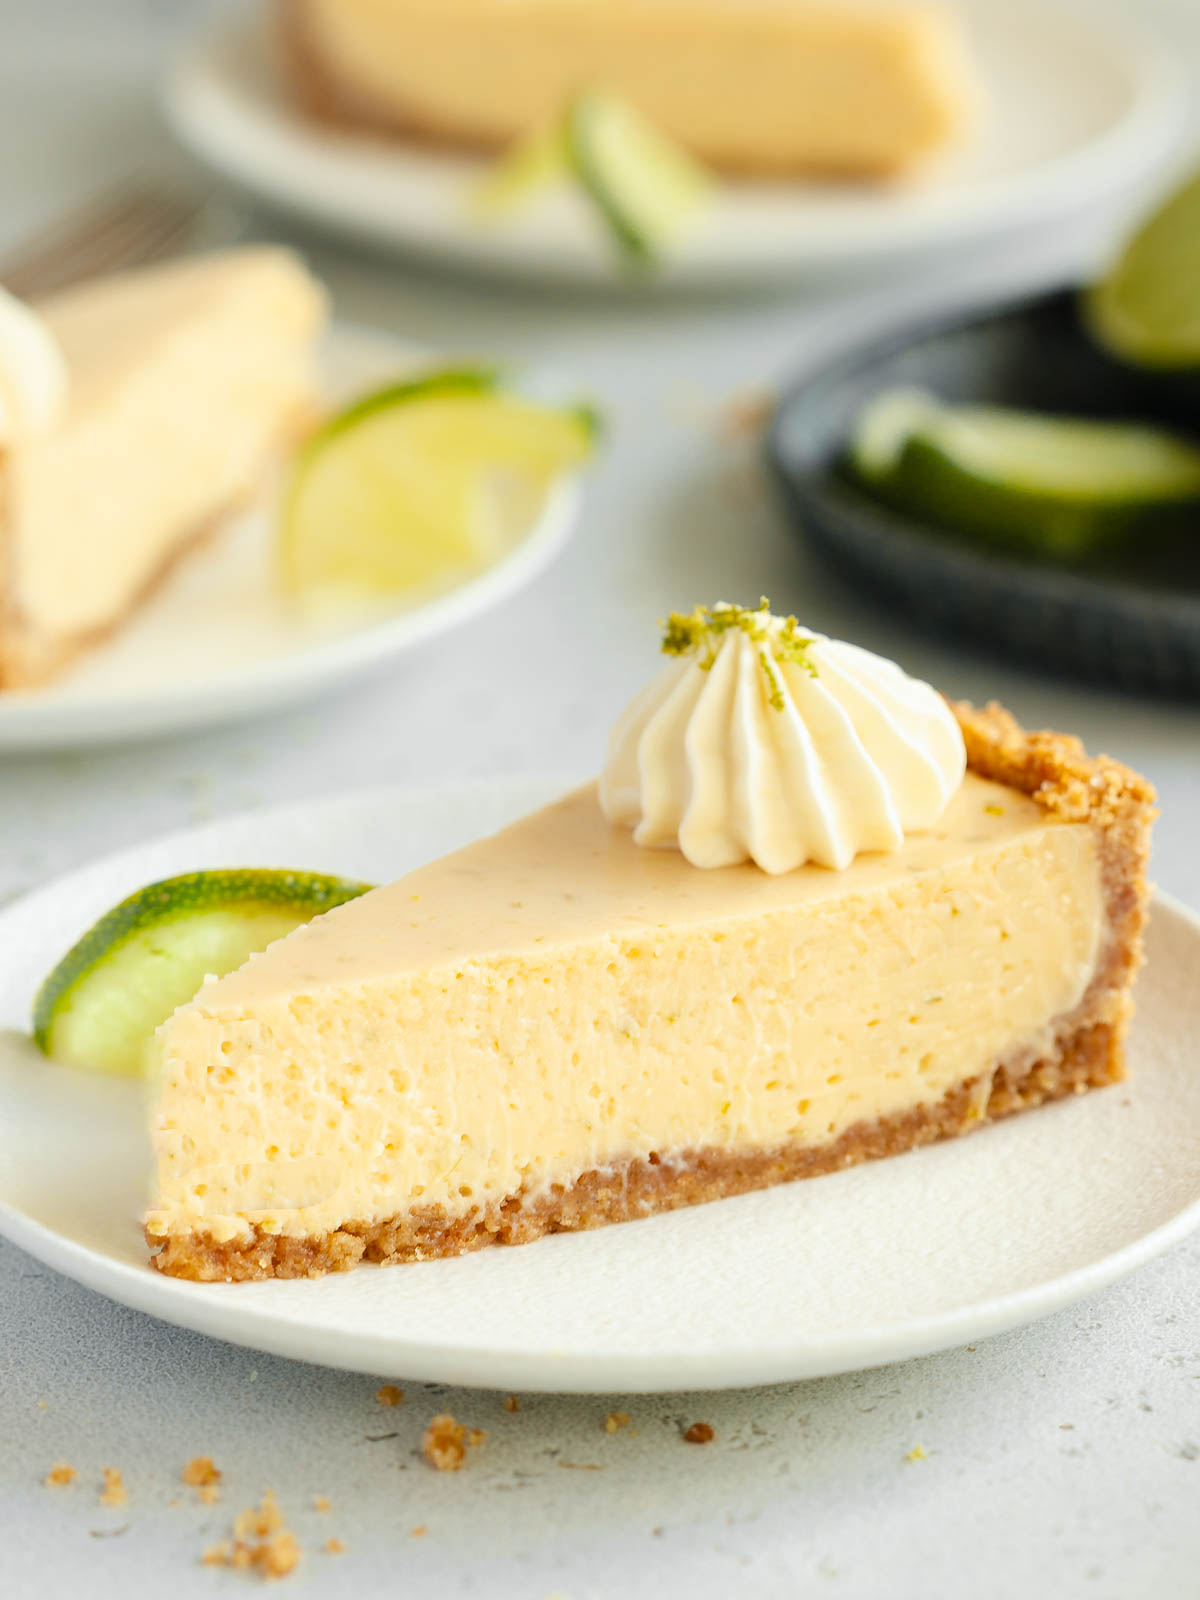
Flavour: Zesty lime and a creamy filling. She's smooth, she's tart.....and seriously delicious!
-
Simple Ingredients: honestly, it's just a few basics!
-
No Meringue, Just Whipped Cream: I'm team chantilly cream all the way when it comes to topping my Key Lime Pie, but there's room for meringue lovers too. Just follow the recipe for my Pavlova, plonking the raw meringue on top of the lime filling and bake it for the 20 minutes already listed in the recipe.
📝 Key Ingredients
-
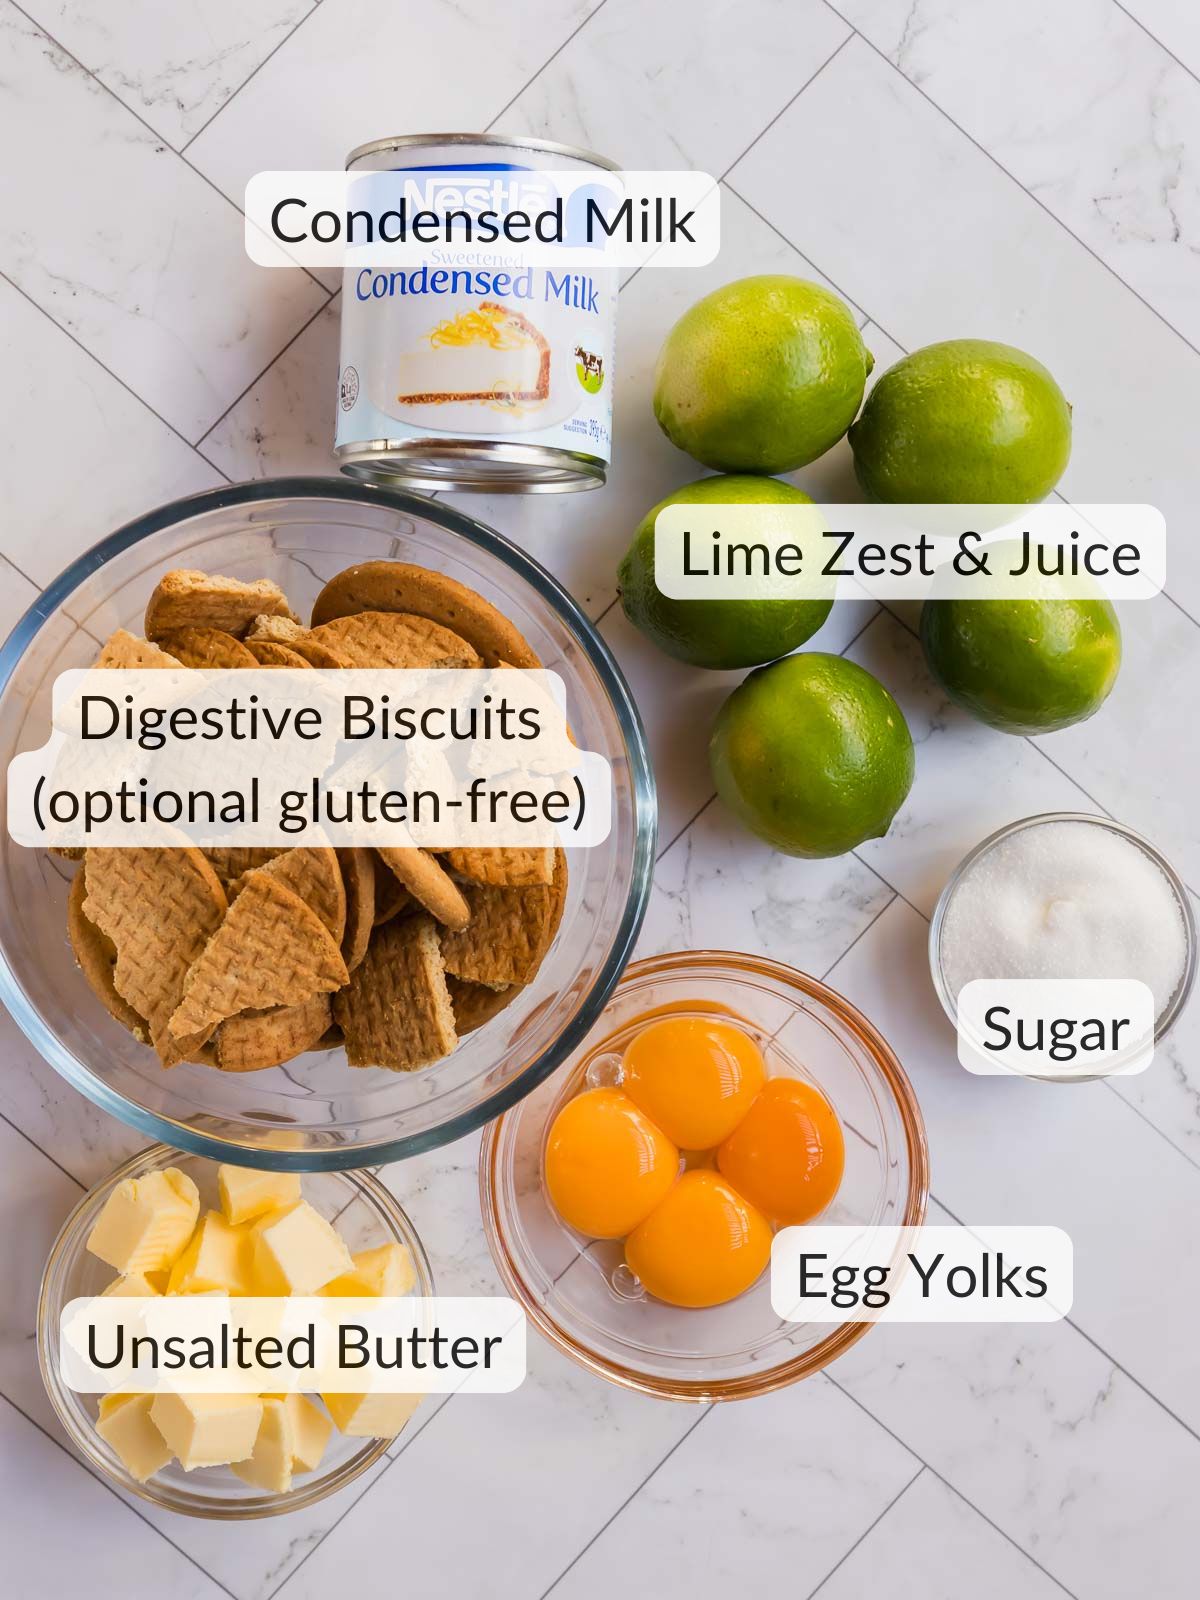
Gluten-Free Digestive Biscuits: These make up the crust. They're buttery, crunchy and hold up beautifully. If you're not avoiding gluten, regular digestives or Graham crackers work just as well.
-
Sweetened Condensed Milk: makes the filling rich and creamy, and it gives that classic pie texture and sweetness.
-
Egg Yolks: thicken the filling and add richness without making it too heavy.
-
Tahitian Limes: use fresh juice and zest from Tahitian limes. They're the perfect Aussie alternative to Key limes. You may need a little extra zest, but the flavour is delicious.
-
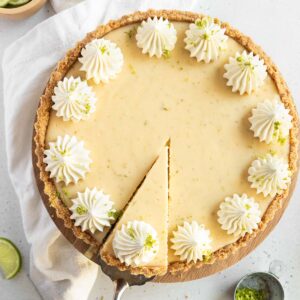
Whipped Cream: I use chantilly cream instead of meringue. It's soft, lightly sweetened and balances the tart filling perfectly.
🍯 Variations and Substitutions
-
Gluten-Free Crust: Any gluten-free biscuit will do, but digestives give the best flavour and texture.
- Pie crust variations: why not try Biscoff biscuits for a caramelly cookie crust (not gluten-free, but delicious).
-
Dairy-Free? no problem! Simply swap the condensed milk for a coconut condensed milk and use a plant-based whipped cream instead.
-
Prefer meringue? I get it! You can use the meringue topping from my Pavlova recipe. Pile it onto the filling and bake as directed.
🥣 Step-by-Step Instructions
-
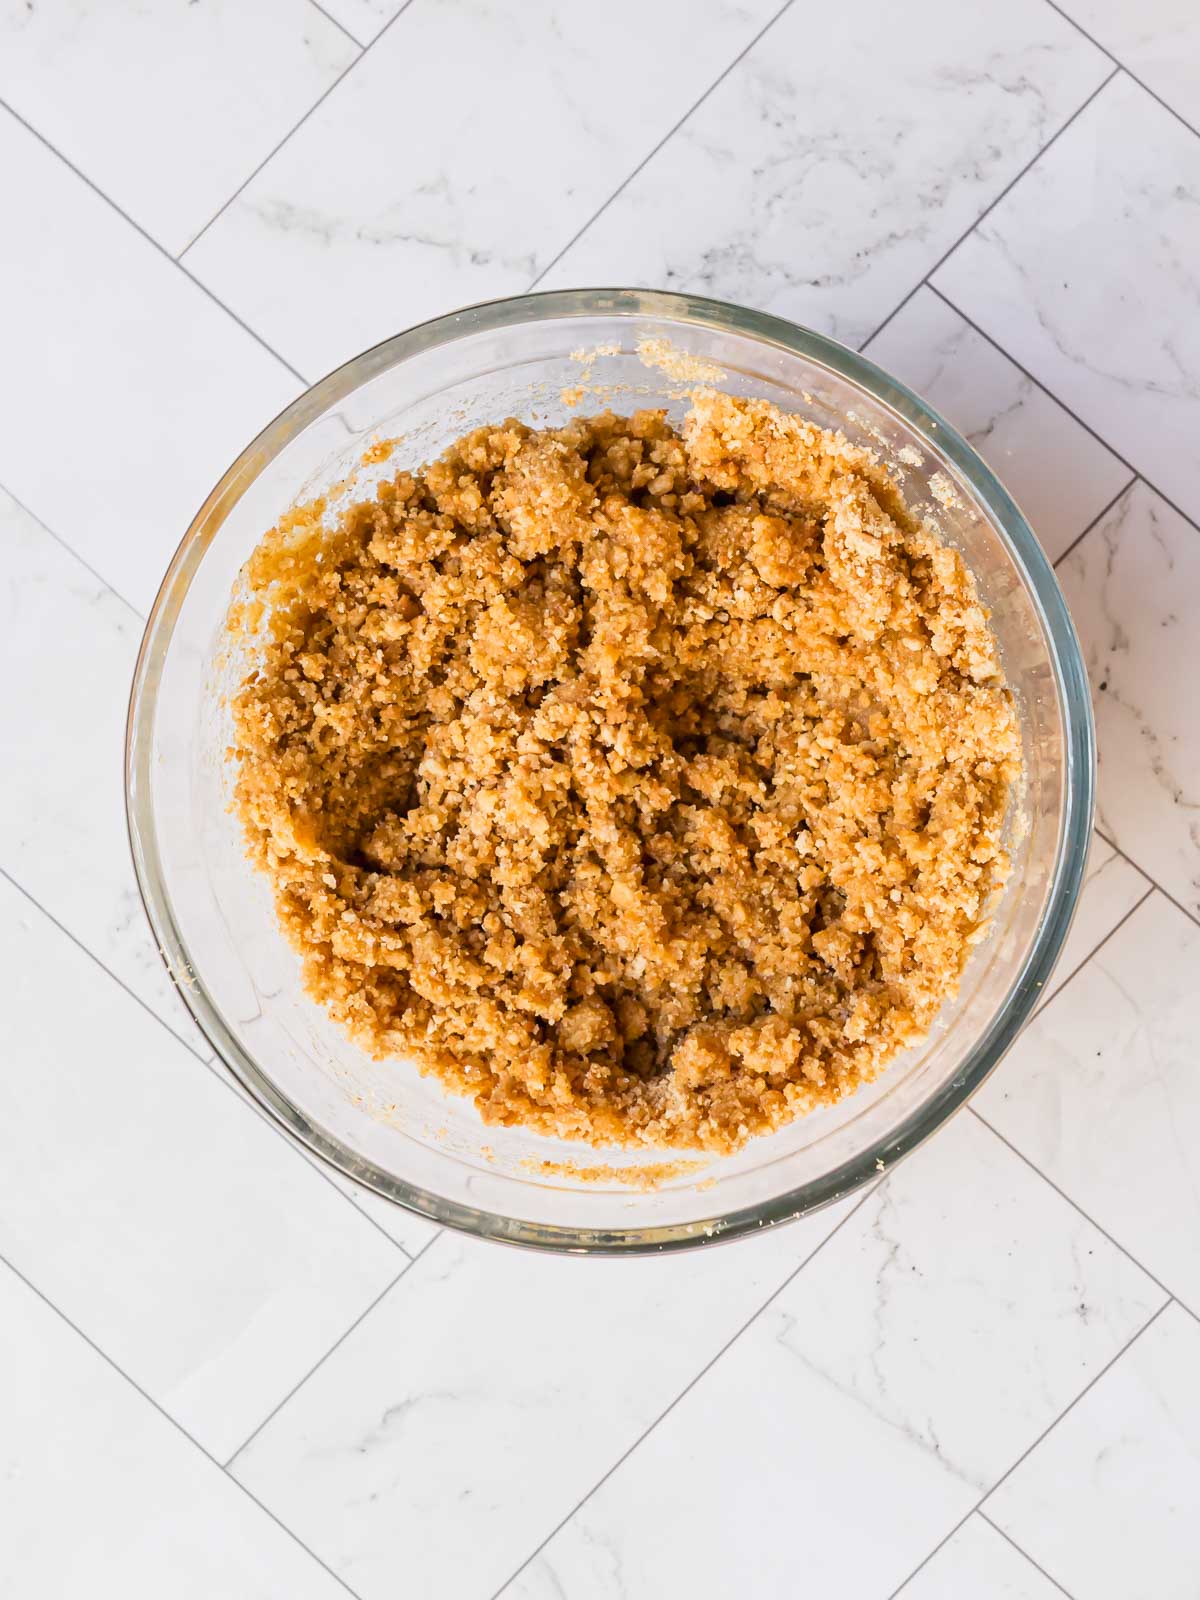
For the Crust: Crush your gluten-free digestive biscuits, mix in the sugar, then combine with the melted butter.

-
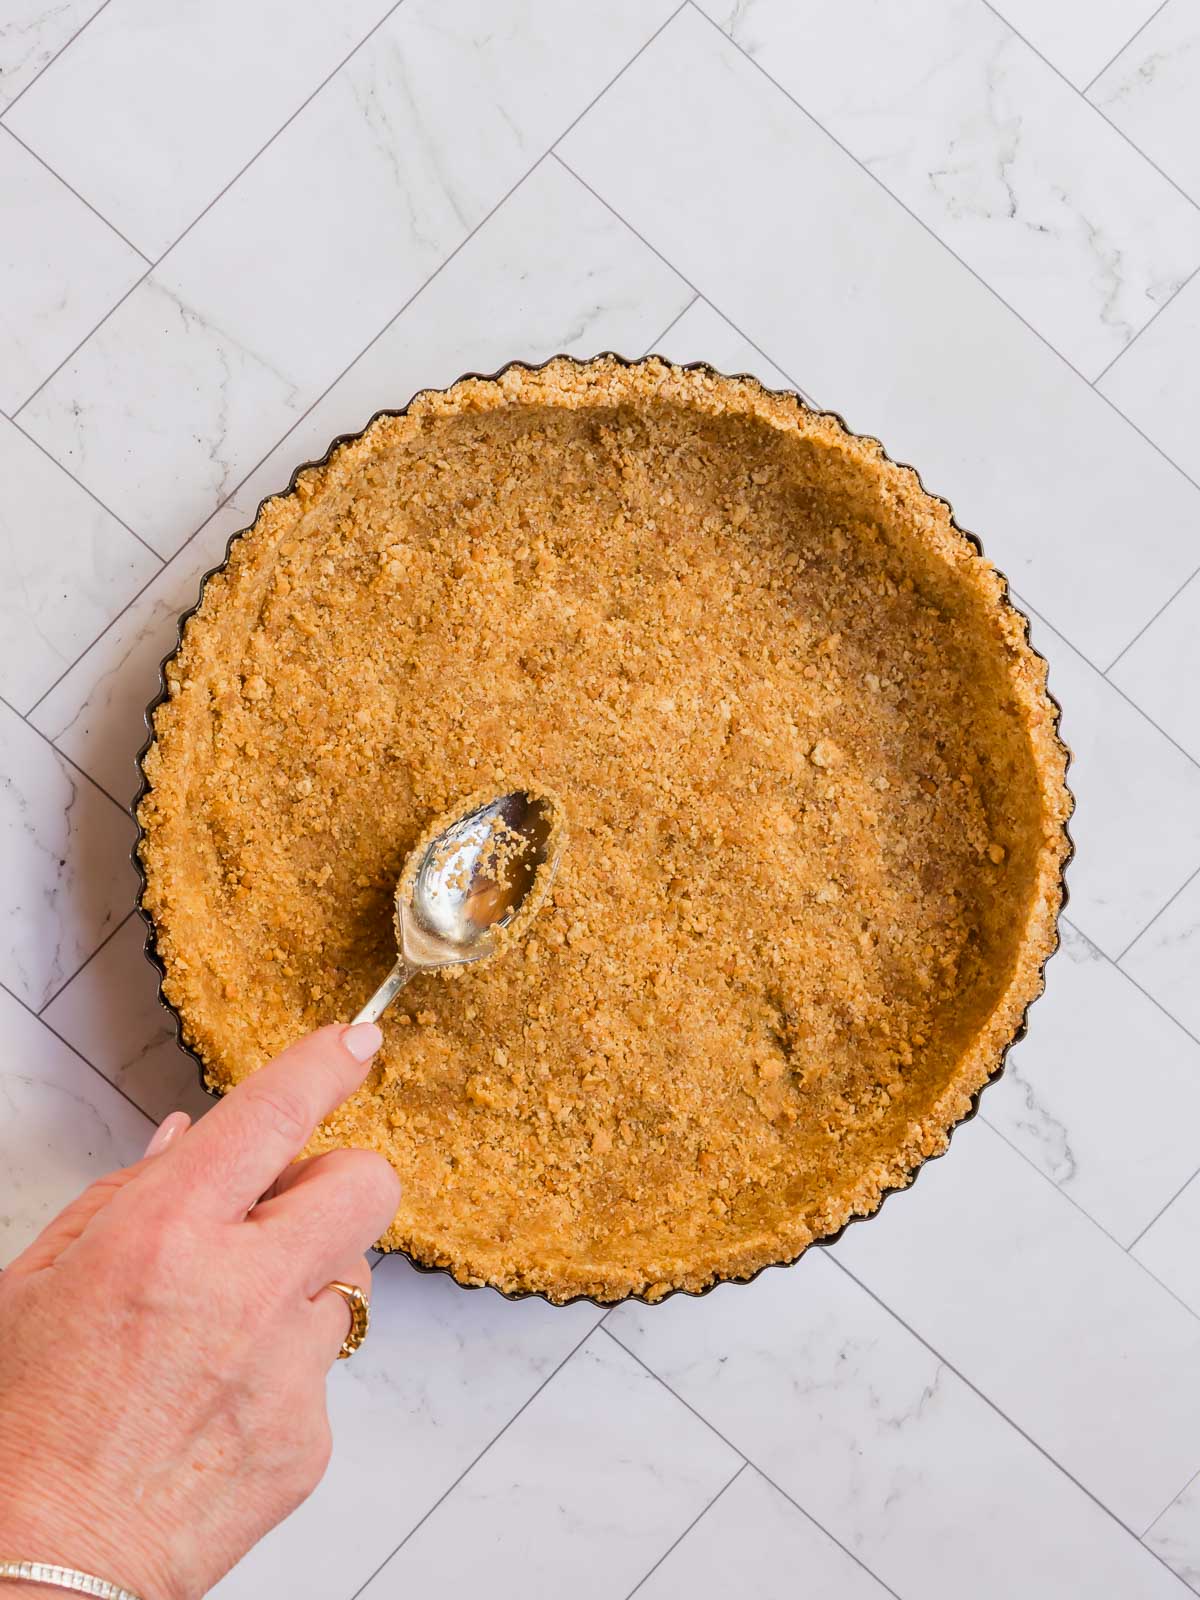
Press the mixture it into a pie dish and press well to compact the mixture. A large spoon will help here. Bake it at 180°C/ 350°F for 10 minutes. Let it cool.
-
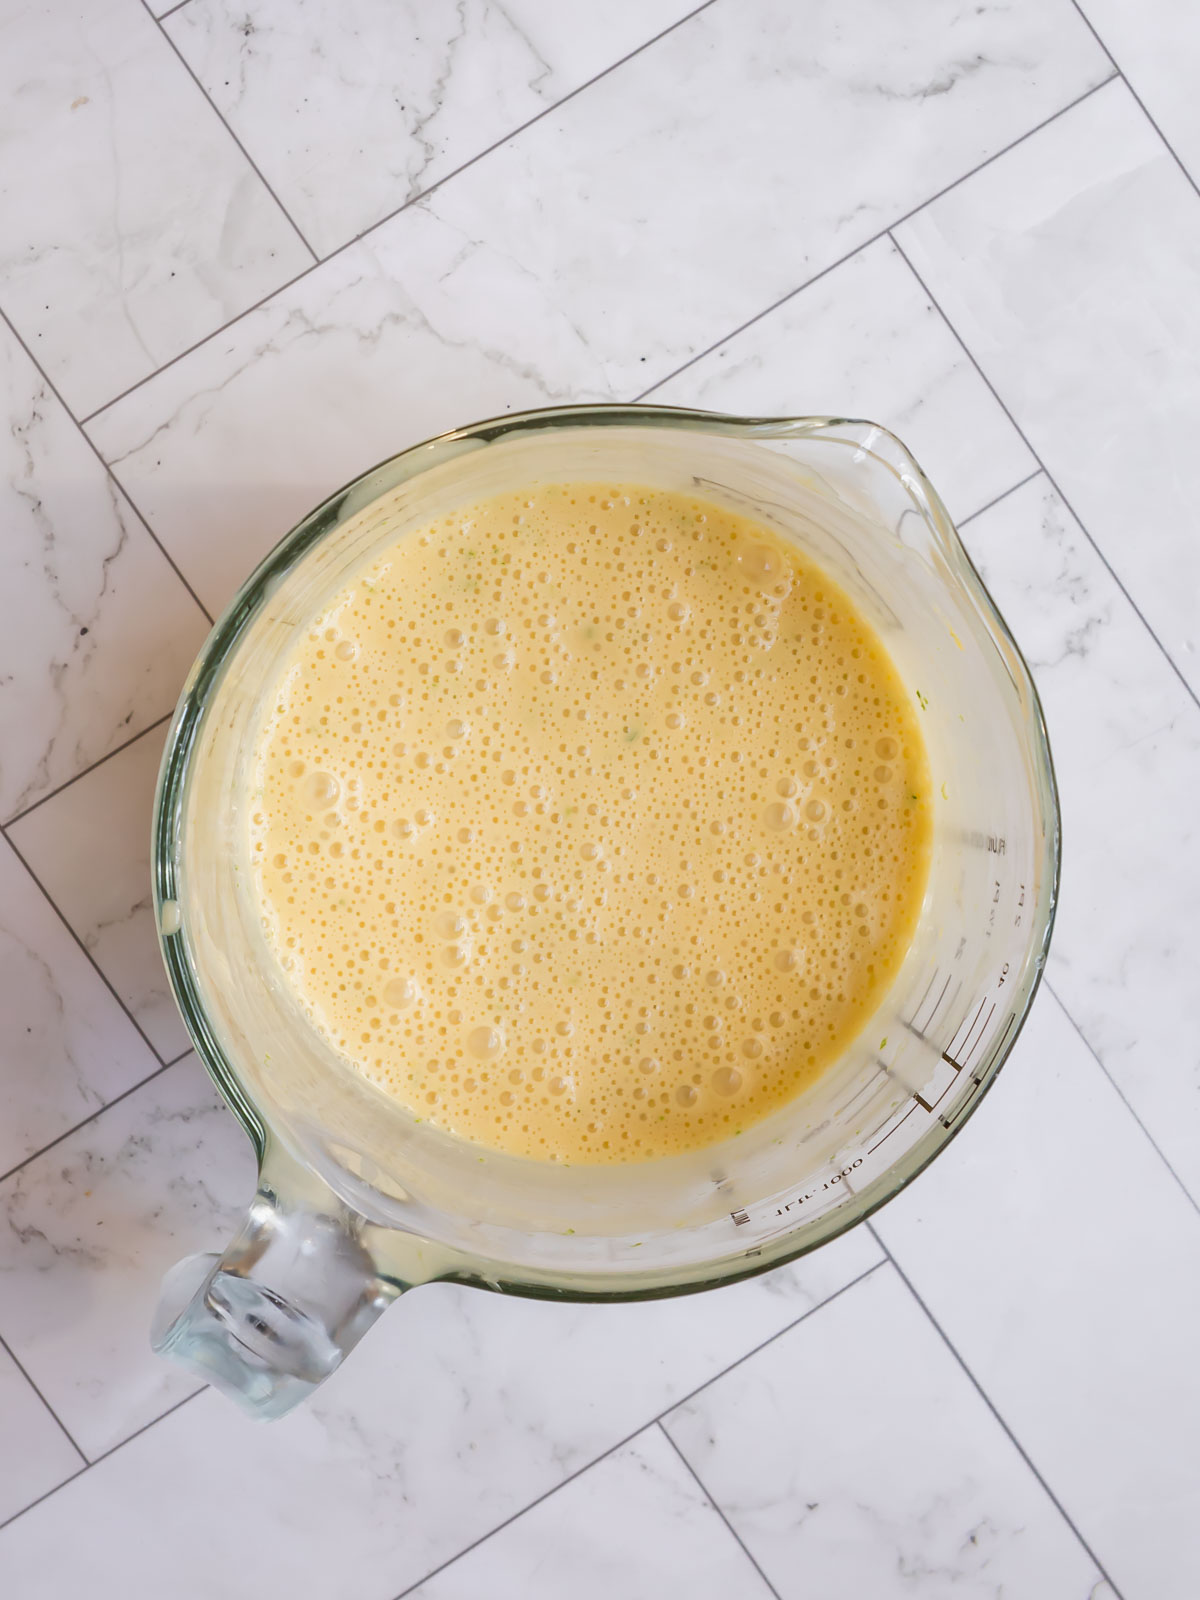
Make the Filling: In a bowl, whisk together the sweetened condensed milk, egg yolks, lime juice, and lime zest until smooth.
-
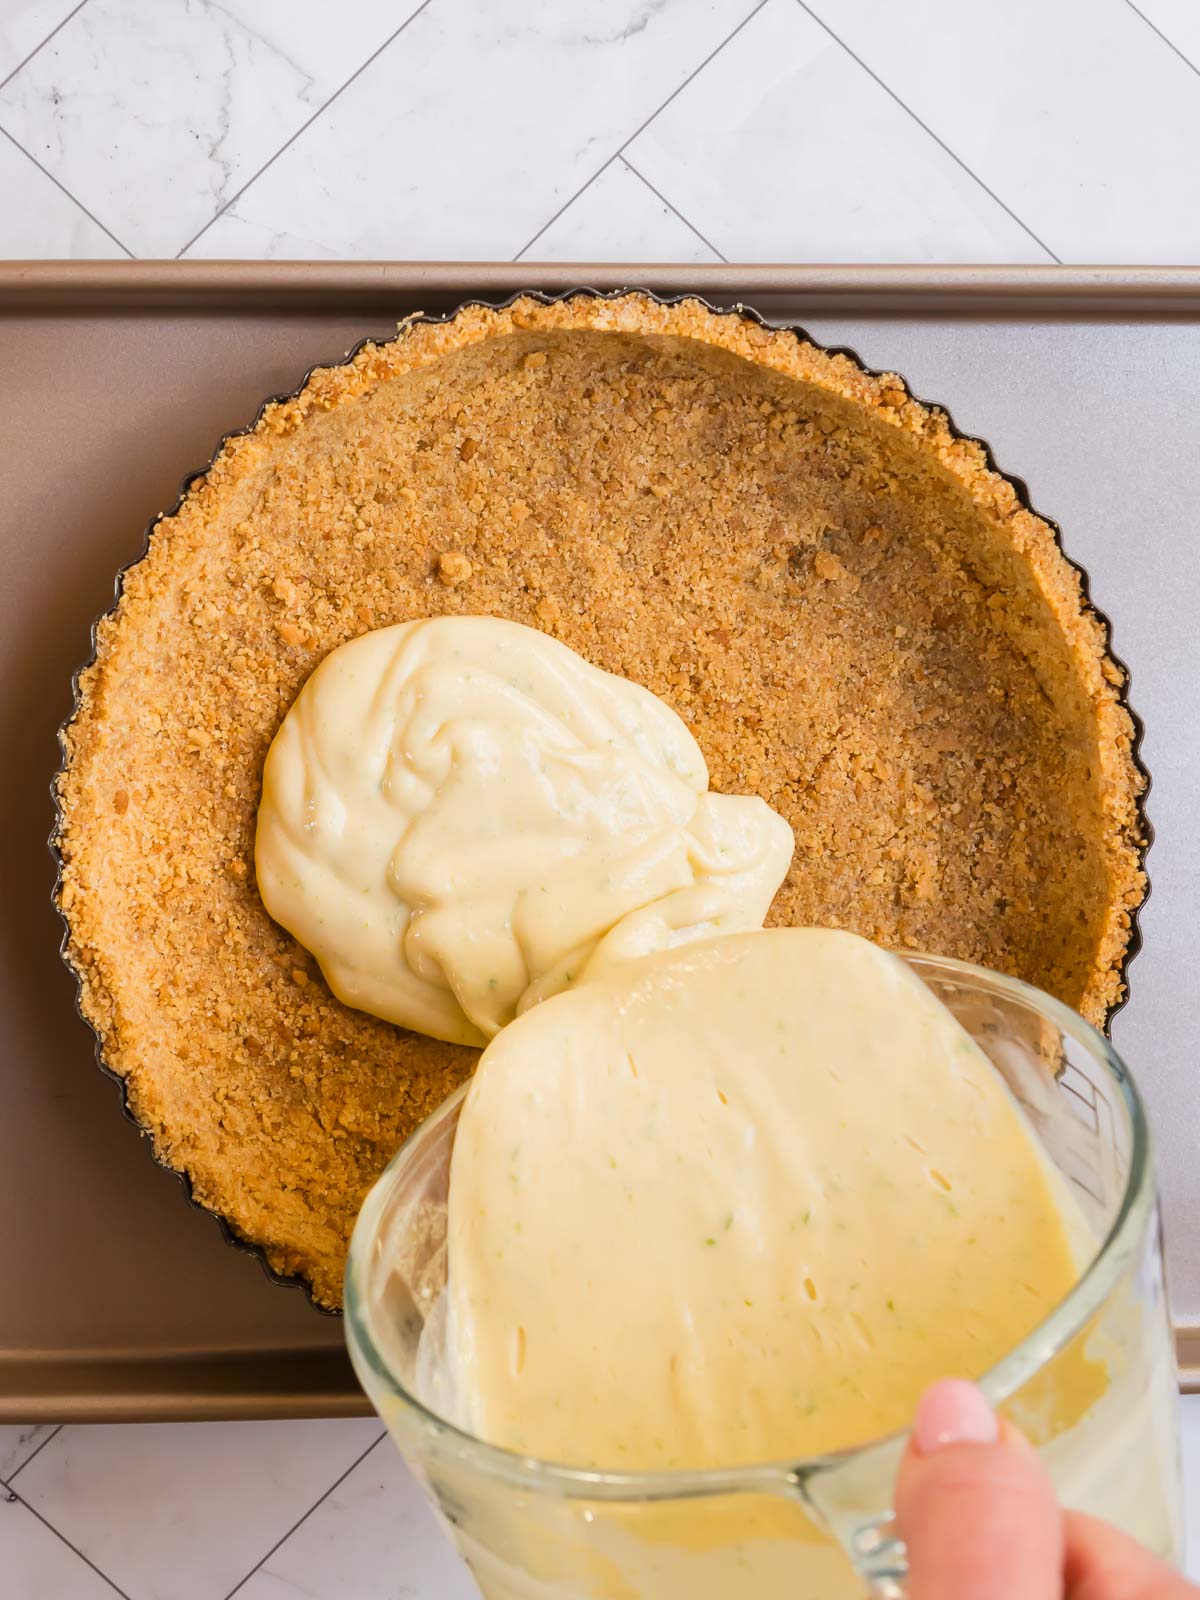
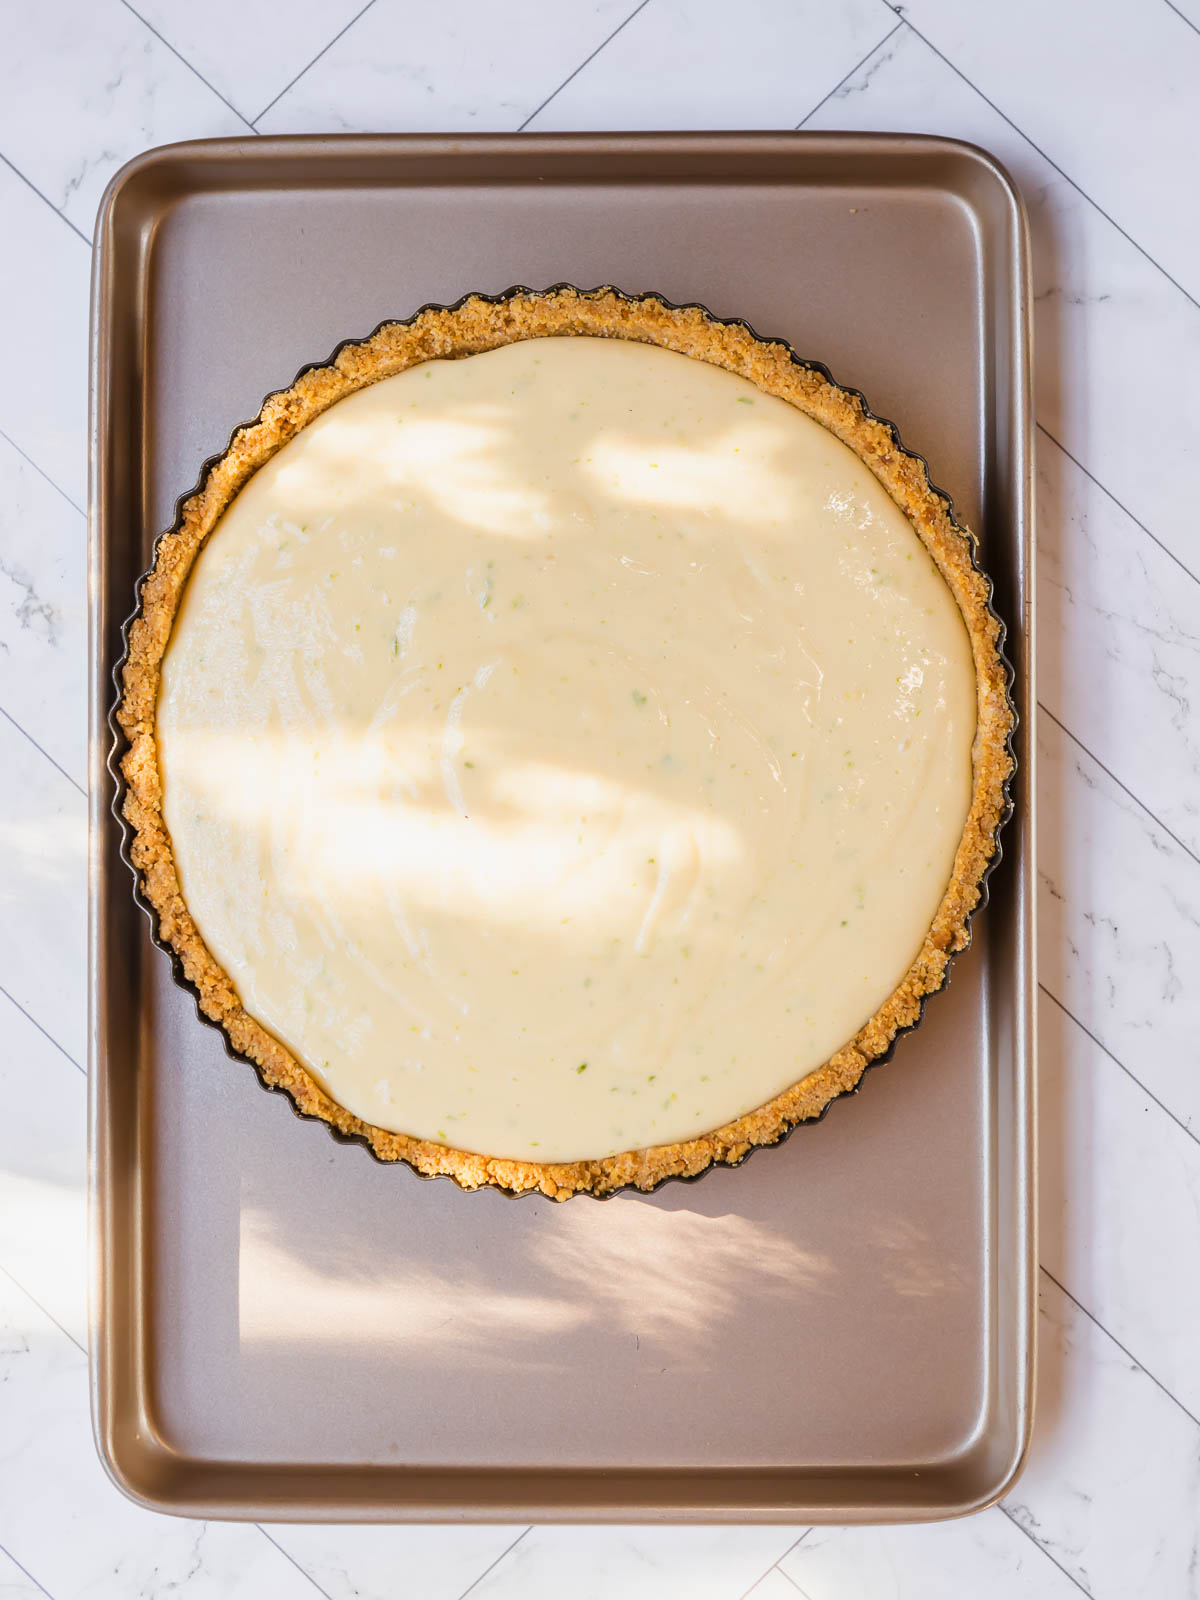
Pour the filling into the cooled crust and bake for 15 minutes. You want the center to set but still be a little wobbly.
-
Let the pie cool to room temp, then pop it in the fridge for at least 3 hours. This is the part where the pie really comes together.
-
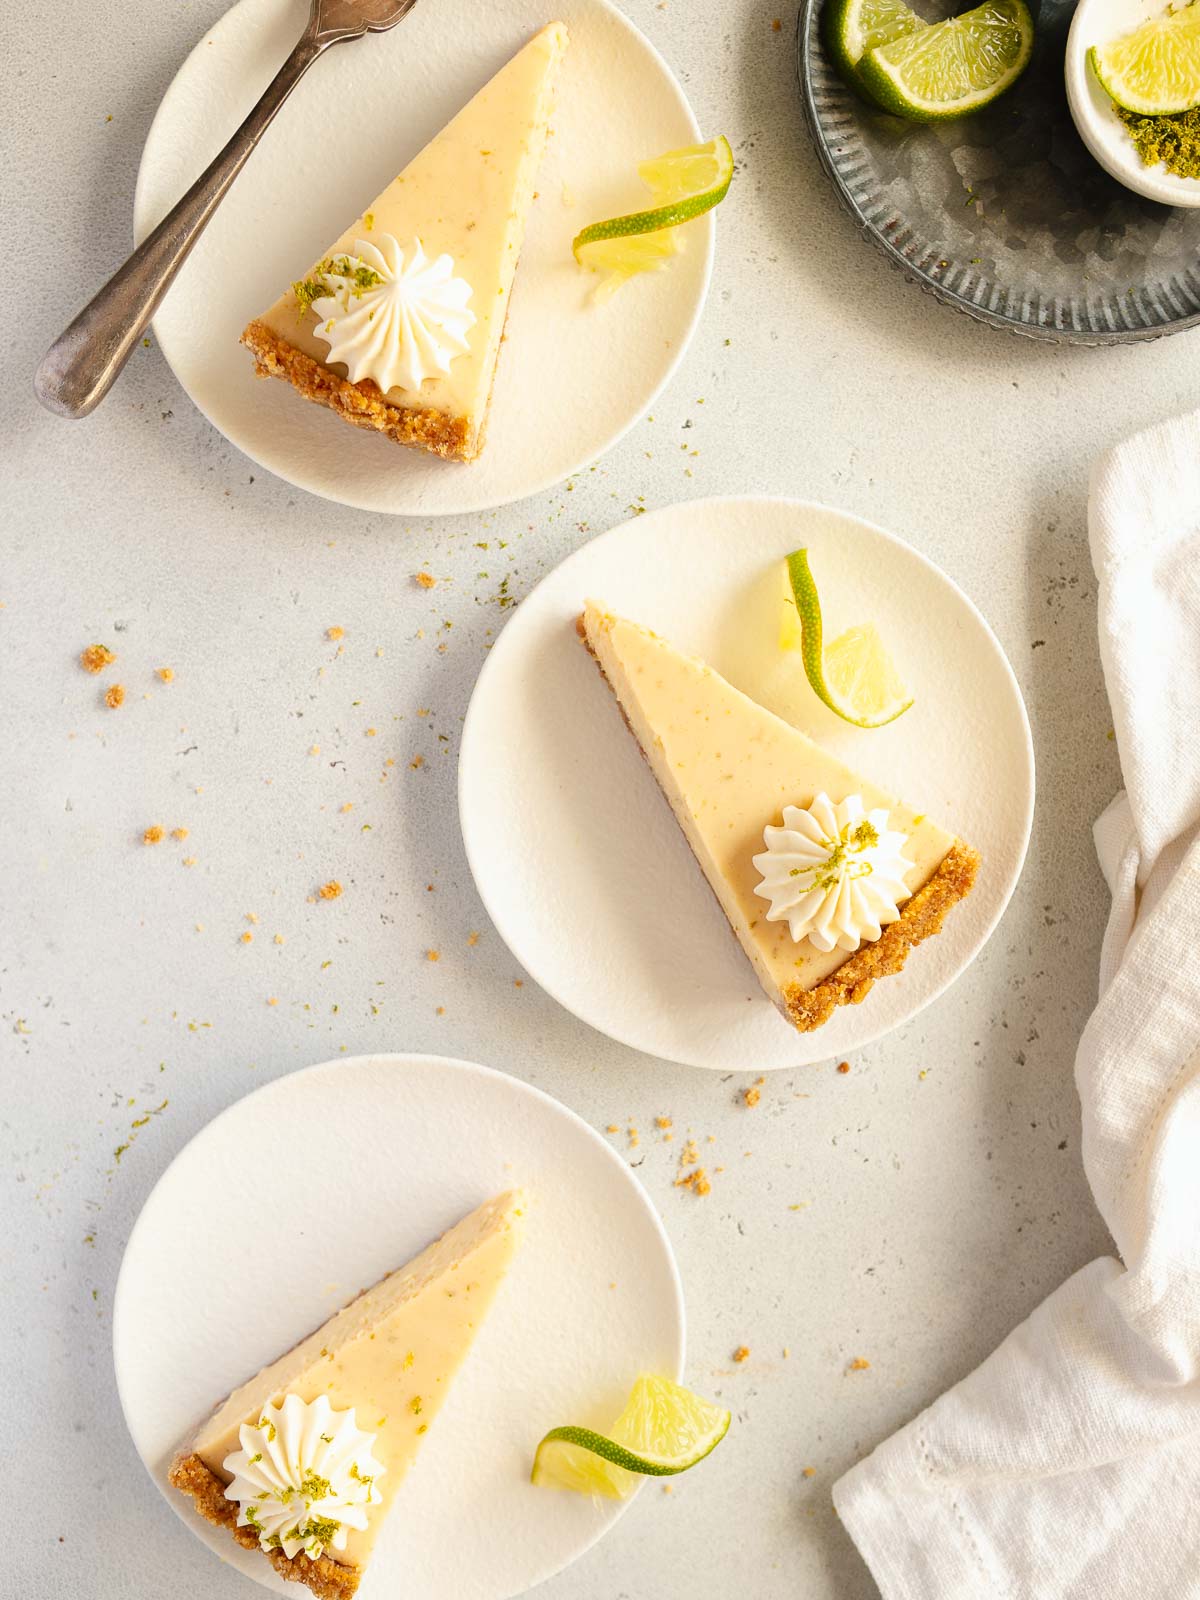
Top with freshly whipped Chantilly Cream or (place a spoonful on the side) and garnish with lime slices or zest for that final touch.
👩🏼🍳 Expert Baking Tips
-
Use fresh limes: Bottled lime juice won't give you the same flavour. Fresh Tahitian limes are perfect and give the pie it's signature zing
-
Don't overwhisk: You want the filling to be smooth and creamy, not airy
-
Let it chill properly: The pie needs a few hours in the fridge to set fully and develop its flavour
-
For clean slices: Use a sharp knife, run it under hot water and wipe it dry between cuts, then slide it under the crust to loosen it from the tin.
🫙 Storage Suggestions
Fridge:
In an airtight container, store your pie in the fridge for up to 3 days. The flavour actually gets better with time!
Freezer:
If you want, you can freeze your (untopped) pie for up to a month. Defrost overnight in the fridge and add the cream topping just before serving.
🍽️ Serve Your Gluten-Free Key Lime Pie With
-
An iced tea, a summery spritz, or a cheeky summer cocktail.
-
A bougie prawn cocktail, if you want to channel that Florida Keys vibe.
-
A second slice....just putting it out there...
❓ Frequently Asked Questions
Can I use regular limes?
Yes. Tahitian limes are perfect. You'll just need to add a bit more zest to get that classic Key lime flavour.
Can I use different gluten-free biscuits?
Absolutely. Any gluten-free biscuit with a similar crunch will work. I've found GF digestives give the best flavour.
Can I make this ahead of time?
Yes. In fact, I recommend it. Make it the night before and let it chill overnight for the best texture and flavour.
👩🏼🍳 More Gluten-Free Desserts
While my recipes are not specifically gluten-free recipes, many of them are naturally gluten-free desserts! Try one of my Pavlovas, Meringues, Meringue Cookies or Macarons next, for a gluten-free dessert.
💌 Stay Connected
Like this recipe? Join the Apple Cake Annie newsletter to get new recipes, tips and sweet ideas straight to your inbox.
📸 Share Your Bake!
Made this gluten-free Key Lime Pie? I'd love to see it. Tag me on Instagram so I can see your delicious pies!
Gluten-Free Key Lime Pie
Equipment
- 1 Zester
Ingredients
Cookie Crust
- 225 grams Gluten-free Graham cracker or Digestive biscuits finely crushed
- 60 grams Sugar
- 100 grams Unsalted butter melted
Instructions
Cookie Crust
- Preheat oven to 180℃ or 350℉ and place your ungreased tart pan on a baking sheet.
- In a small mixing bowl, combine the biscuit crumbs and sugar, then mix through the hot melted butter.
- Tip mixture into tart pan and use the back of a metal spoon to evenly spread the mixture, pressing it down to compress it. Using your hands also helps to push the mixture into the tart pan, as you can really get into the edges with your fingertips.
- Bake for 10 minutes, then remove from the oven.
Lime Filling
- Beat the egg yolks and lime zest with a handheld electric mixer until light and thick.
- Add the condensed milk and beat for another 5 minutes.
- Add the lime juice and mix until fully incorporated, then pour into the baked cookie crust and bake for another 20 minutes. The centre will still have a slight wobble.
- Allow pie to cool completely, before placing it in the fridge to chill.
- If desired, top with a little Chantilly Cream
Notes
Nutrition
Save this recipe 💌

Sandra says
This worked exactly as written, thanks!
Harvey says
My family loved this!