
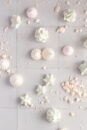
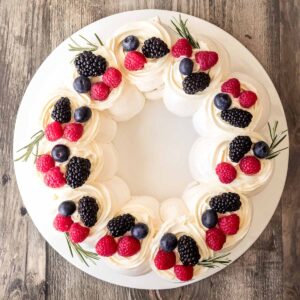
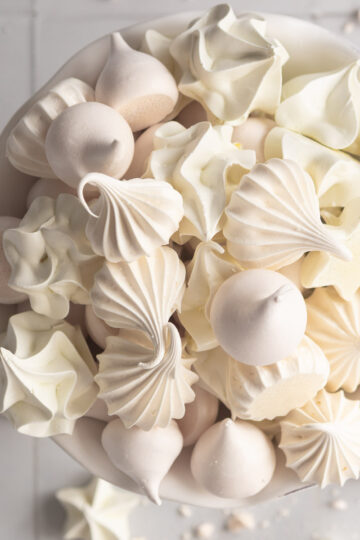
This Christmas Pavlova Wreath is an absolute showstopper dessert for Christmas (but it's so easy to make!). It's crisp on the outside, soft in the middle, and made using the Swiss meringue method for a crispy white finish and a fluffy, full marshmallow centre.

Save this recipe 💌
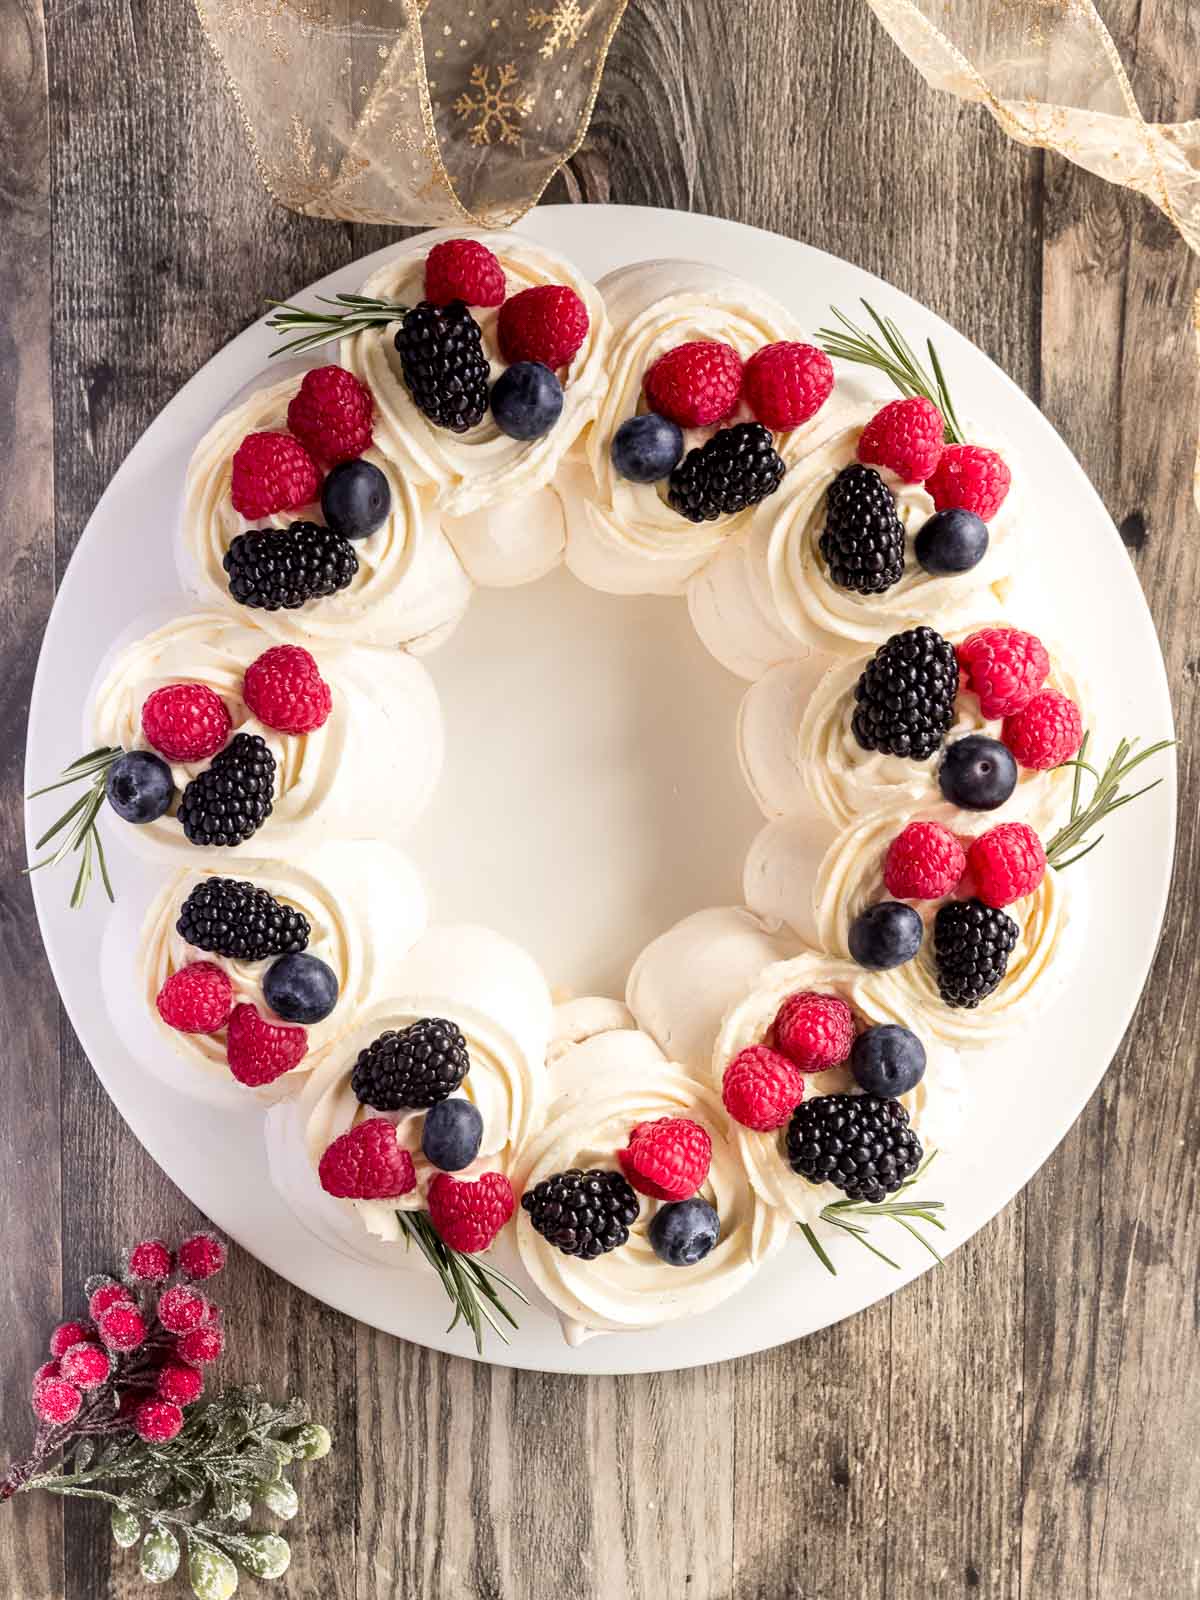
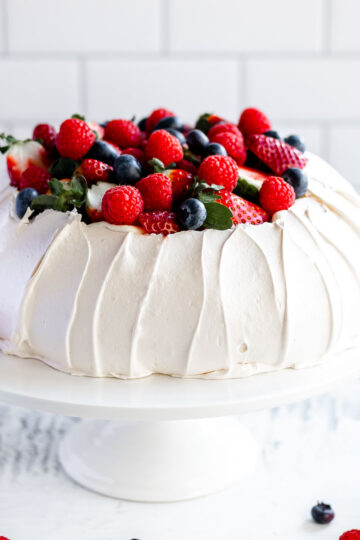
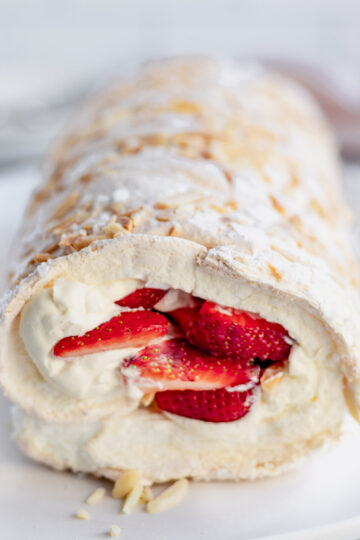
The wreath is made from 10-12 little "pavlova nests", so it's ideal for serving a crowd on Christmas Day. The Swiss meringue method is super stable and so easy to make. If you prefer the French meringue method, like in my Pavlova Roll or my Classic Pavlova and Individual Christmas Pavlovas, you can absolutely use that method as well -the Pavlova will be a little more delicate though. No matter which style you love, this wreath delivers the perfect pavlova crunch with a soft, fluffy filling every time.
Jump to:
Why You'll Love This Recipe
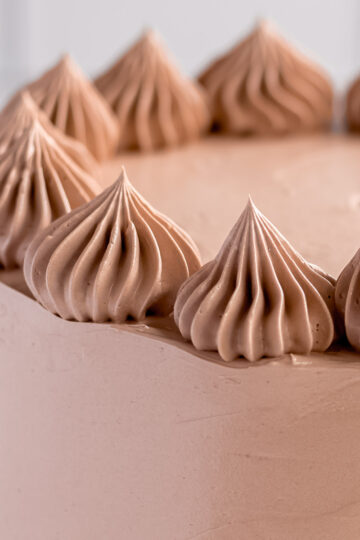
- Swiss meringue gives a crisp shell and a full, marshmallow-soft centre
- A collection of individual pavlova nests, so everyone gets their own serving
- Decorate with whatever suits your season or celebration
- Easy to prep ahead and assemble just before serving
Recipe Ingredients
- Egg Whites - use room-temperature whites whip to more volume.
- Caster Sugar - dissolves quickly for a smooth, glossy finish and stable peaks.
- Cornflour - absorbs moisture to keep the shells crisp even in humid weather.
- Cream of Tartar - stabilises the meringue and helps maintain its structure.
- Vanilla Paste or Extract - adds flavour; I use paste for a more intensity.
How To Make Crispy Mini Meringues
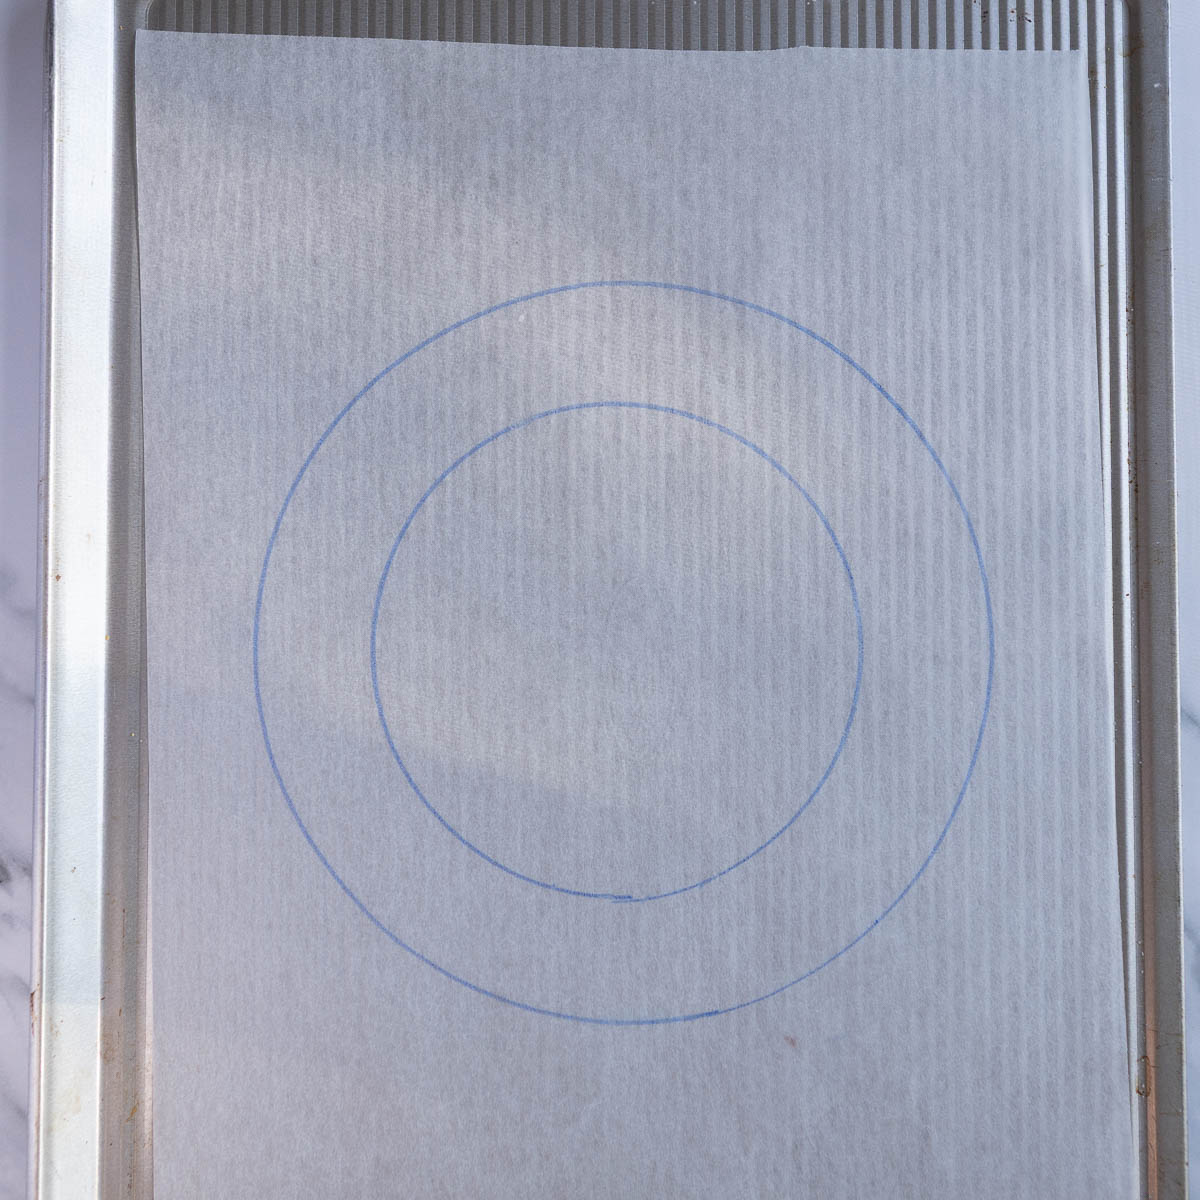
- Step 1: Preheat oven to 115°C (240°F). Draw a 9-inch circle on baking paper, then a 6-inch circle inside it. Flip the paper over and place on a baking tray.

- Step 2: Place all ingredients into the bowl of your stand mixer and rest it over a small saucepan of gently simmering water. Whisk constantly and gently for a few minutes, until the sugar has dissolved and the mixture feels smooth (around 65°C/149 °F).

- Step 3: Move the bowl to your stand mixer and whisk on medium-high for 3-4 minutes, until thick and glossy.
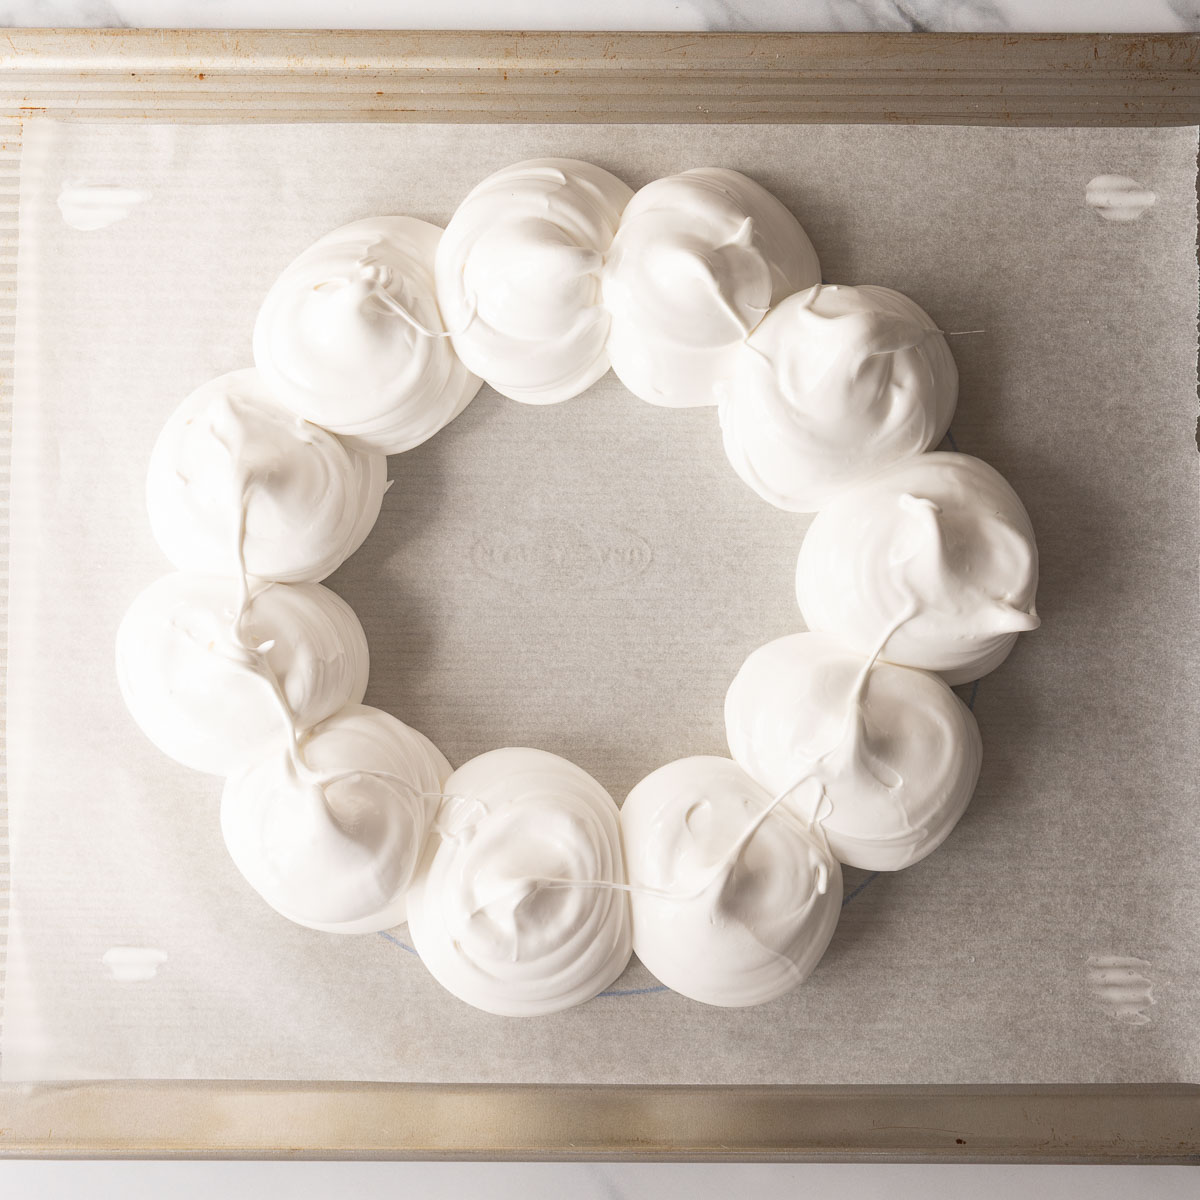
- Step 4: Spoon the mixture into a piping bag and snip the end to create a large opening. Pipe 10-12 mounds around the traced circle. Each mound becomes its own individual pavlova nest.
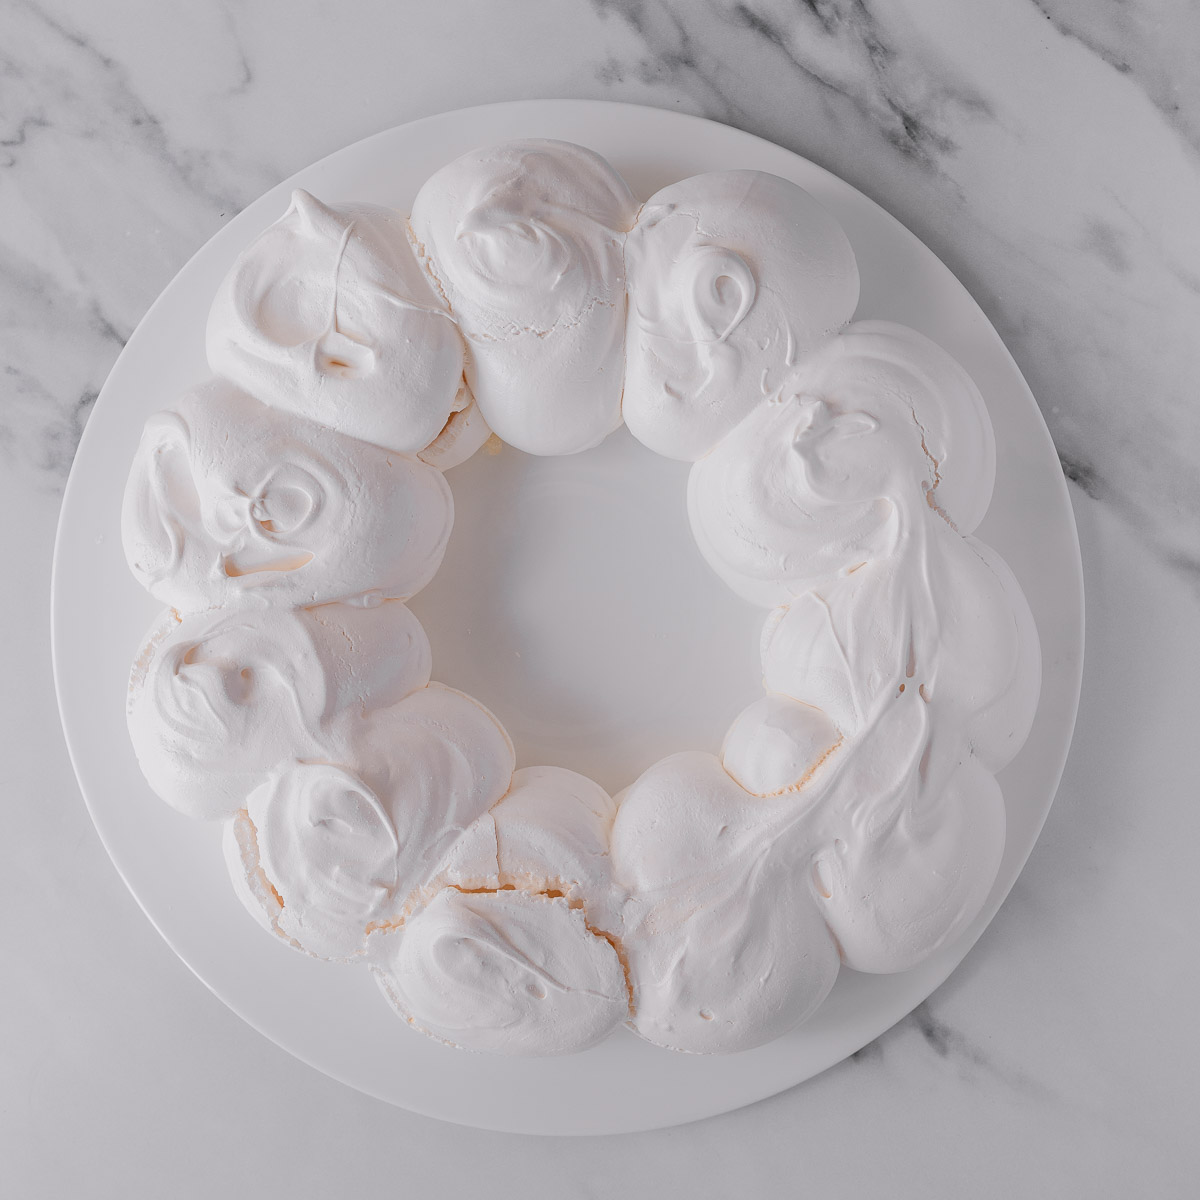
- Step 5: Bake for 1 hour and 10 minutes. Turn off the oven and leave the wreath inside to cool completely before moving it to a serving plate

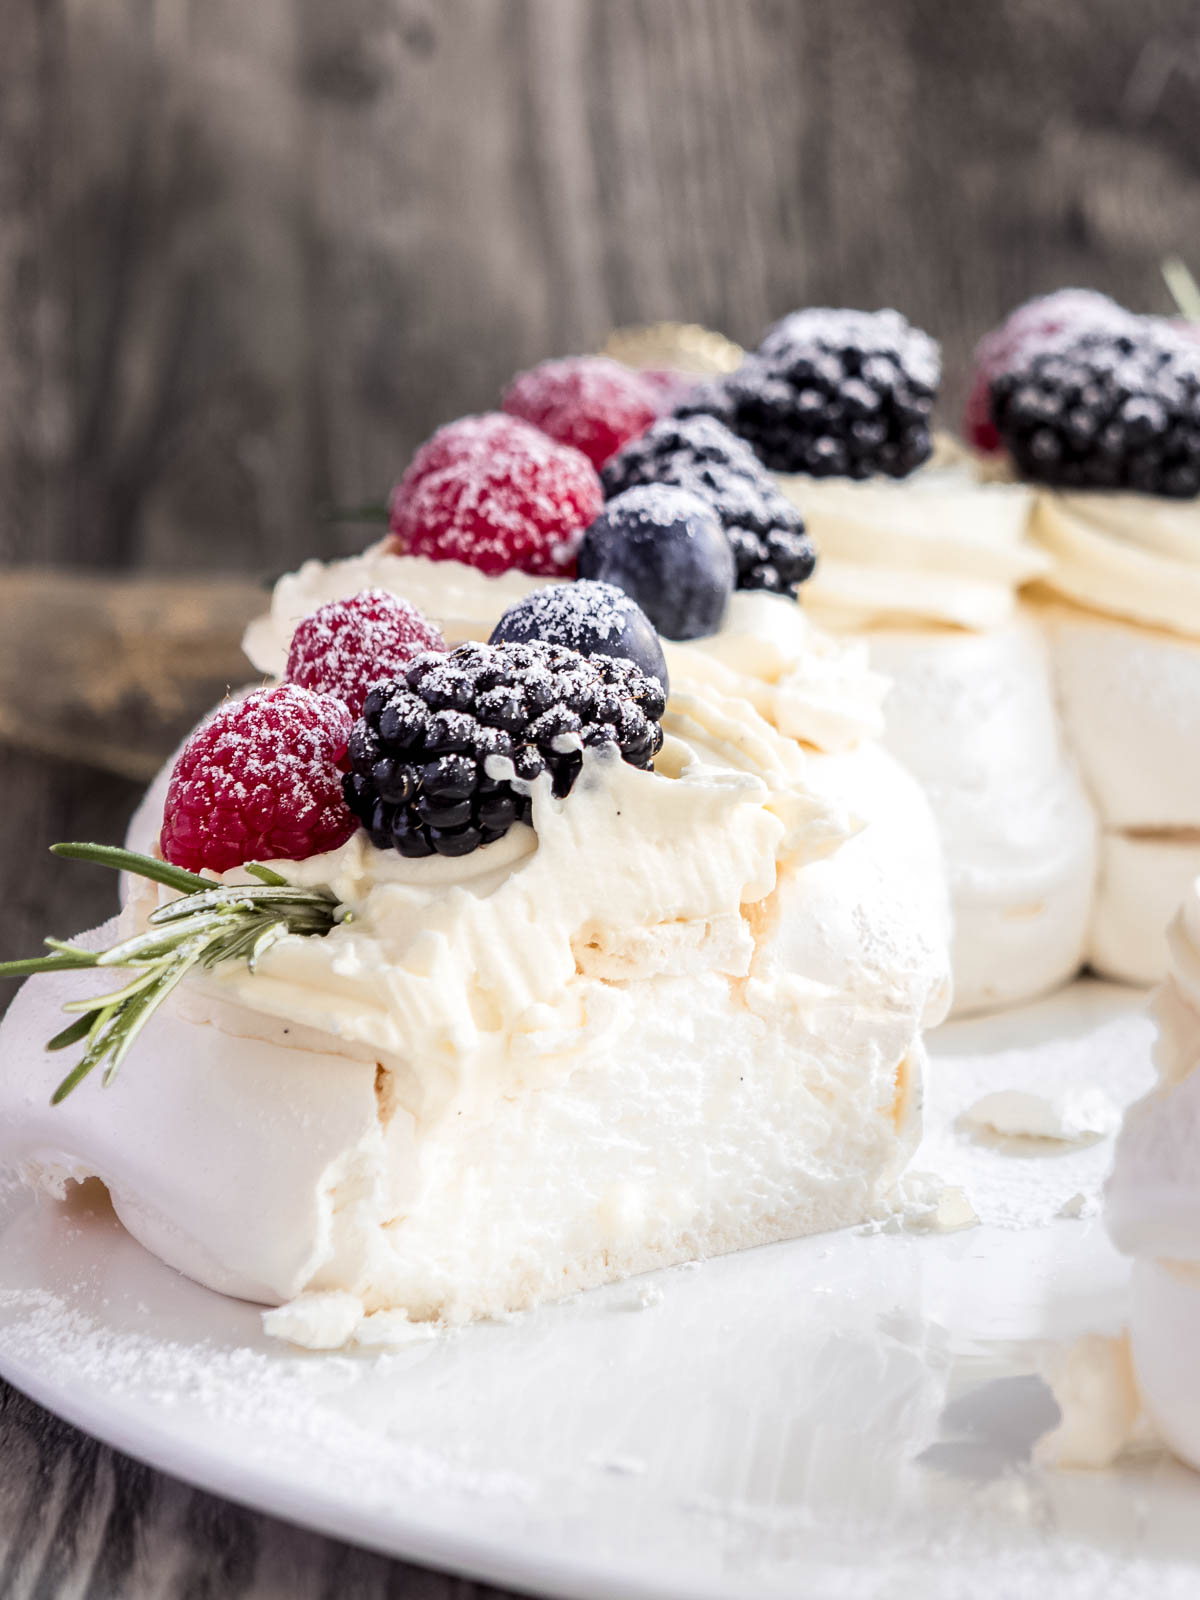
- Step 6: Top with Chantilly cream, double cream or whipped mascarpone. Add fresh berries and sprigs of rosemary, then dust with icing sugar.
Hint: To avoid extra cracking in your pavlova, move it to a serving platter, using a cake lifter.
the best pavlova ever!
...the marshmallow centre was so fluffy". -Georgia
Substitutions & Variations
Use these topping ideas to change the flavour, or mix and match across the wreath.
- Berry Pavlova Wreath: Layer with whipped cream, fresh berries and lemon zest. A great match for summer.
- Cherry Pavlova Wreath: Use fresh cherries or a quick homemade cherry compote.
- Fig Pavlova Wreath: Top with mascarpone, sliced figs and a drizzle of honey.
- Mixed Dietary Options: Since each mound is its own nest, decorate a few with lactose-free cream, coconut cream or mascarpone to suit everyone's needs.
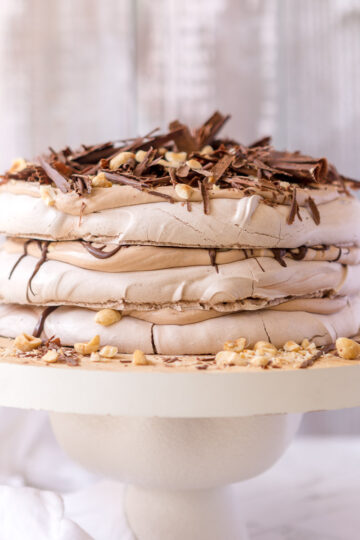
- You can also bake the same mixture as classic pavlova nests for a more casual dessert spread.
Equipment
- I use a stand mixer, a large baking sheet, baking paper and a piping bag. A large cake lifter is fabulous for moving pavlovas from baking trays to serving platters.
Storage
Room temperature: Undecorated meringue keeps 24 hours in an airtight container
Fridge: Once topped, enjoy within 1-2 days
Top Tip
No thermometer? Rub a little warm mixture between your fingers. If it feels smooth with no gritty sugar, it's ready.
FAQ
Both are great. French is classic and delicate, while Swiss is extremely stable, dissolves the sugar completely and gives a white crispy shell with a thick, fluffy centre.
Cracking always occurs in Pavlovas, but excessive cracking usually happens when the temperature changes too quickly. Leave the wreath to cool completely inside the oven and use a cake lifter to easily move the baked wreath.
Sugar that hasn't dissolved fully or humid weather can cause weeping. Make sure the mixture is smooth before whisking.
Yes, I always do! Bake the Pavlova the day before and keep it undecorated until serving. I will bake mine on Christmas eve and leave it to cool in the oven overnight.
My Favourite Meringue Recipes

Christmas Pavlova Wreath
Equipment
- 1 Thermometer optional
- 1 Large Cake Lifter optional
Ingredients
- 200 grams Egg whites 6 XL eggs
- 400 grams Caster (super fine) sugar
- ½ teaspoon Corn flour
- ¼ teaspoon Cream of tartar
- 1 teaspoon Vanilla paste or extract
Instructions
- Preheat oven to 115℃/240℉
- Draw a 9 inch circle on a sheet of baking paper, then a 6 inch circle in the middle of the 9 inch circle. Turn the paper over and place on a baking sheet
- Place all ingredients into the bowl of your stand mixer and place over a small saucepan of simmering water (this is a double boiler).
- Constantly whisk ingredients gently, for a few minutes, or until the mixture reaches 63-65 or it's not longer gritty when you rub it between your fingers.
- Transfer bowl to your stand mixer and whisk on medium-high, until the mixture is thick and glossy (3-4 minutes).
- Scoop mixture into a large piping bag, then cut the end off the piping bag, to create an opening. Pipe the mixture into 10-12 mounds, using the traced circles as a guide on your tray (you can use a little meringue to glue the edges of the paper to your tray).
- Place in the oven. Bake for 1 hour and 10 minutes, then leave to cool completely in the oven.
- Top the Pavlova wreath with Chantilly Cream, double cream, or whipped mascarpone, then with berries, sprigs of rosemary and a sprinkle of icing sugar.
Sandra says
This was so easy to make!
Thays says
Thank you for sharing this recipe
Monica says
This worked exactly as written, thanks!
Jacinta says
My family loved this!