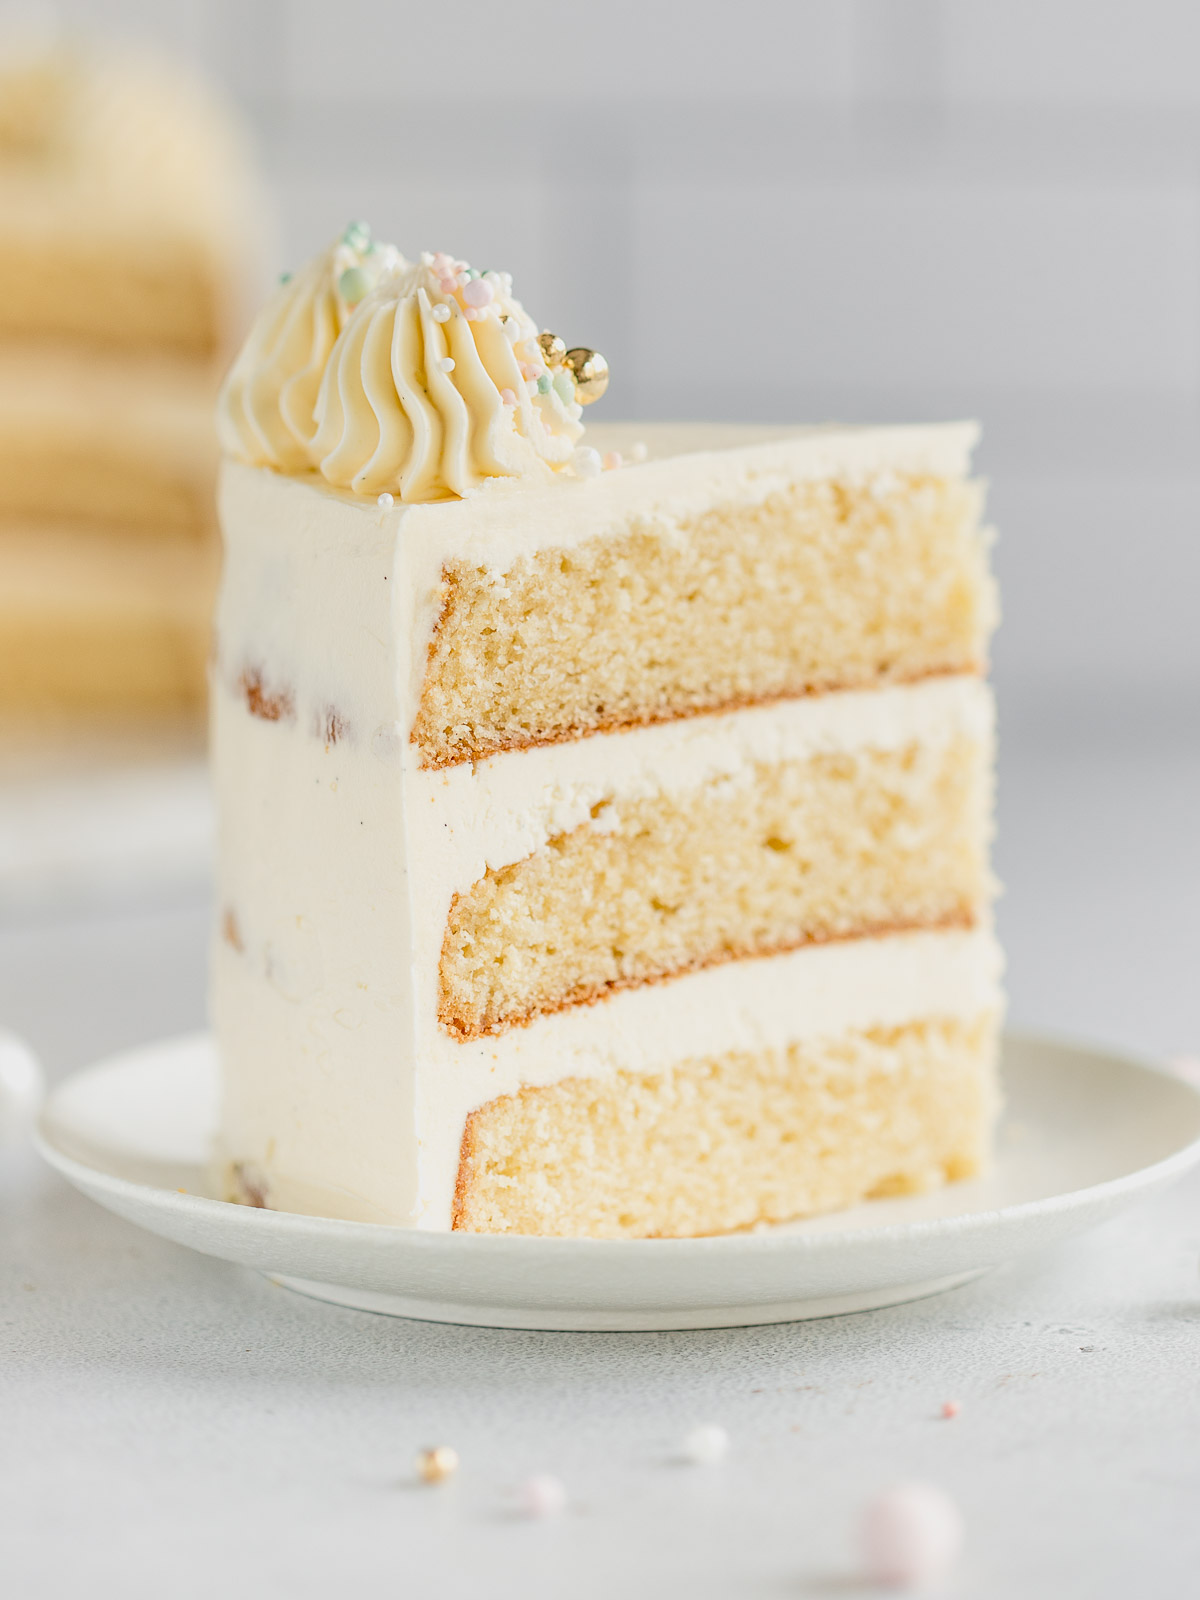
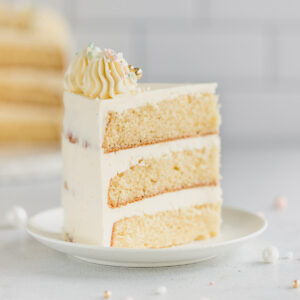
This 3 layer vanilla cake is soft, buttery, and full of rich vanilla flavour. It's my go-to for birthdays, family dinners, or when you need a classic cake that holds its shape, slices beautifully, and still tastes amazing the next day. The crumb is light but sturdy enough for stacking, making it perfect for celebrations big or small.
Save this recipe 💌
I've baked this cake more times than I can count, and it never disappoints. It's slightly different from my Fluffy Vanilla Cupcakes with a little more structure, but it has a softness that lasts for days! I love pairing it with my Vanilla Heritage Frosting and it's delicious with Lemon Curd or Salted Caramel Sauce between the layers.
Why You'll Love This Recipe
- Soft, buttery crumb with just the right amount of structure for layering
- Stays moist for days, and is even delicious straight from the fridge
- Scales perfectly for cupcakes or a 2 layer Vanilla Cake as well
Recipe Ingredients

- Cake flour: Gives the cake a fine, soft crumb. Make your own by mixing 330 grams of plain flour with 45 grams of cornflour -you can find the full instructions here.
- Buttermilk: Adds tang and keeps the crumb moist. It also reacts with the bicarb to create lift.
- Butter + Oil: Butter adds flavour; oil keeps it moist for longer, even in the fridge.
See recipe card for full list of ingredients and quantities.
How To Make A 3 Layer Vanilla Cake
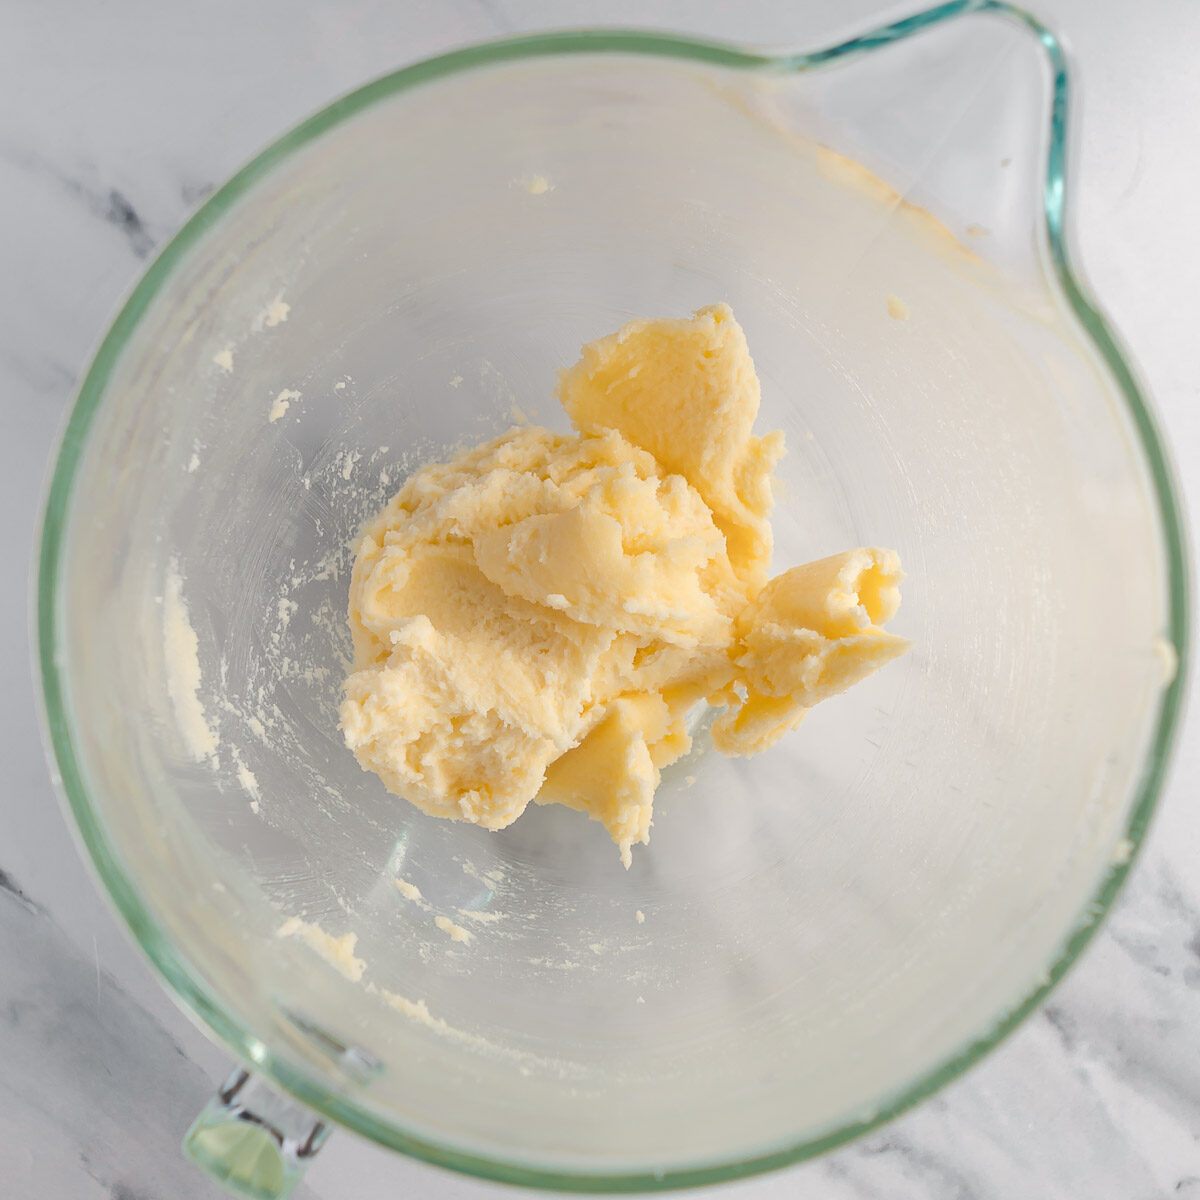
- Cream butter and sugar.
Beat for 5 minutes until pale and fluffy.

- Add oil.
Drizzle in slowly with the mixer on low. Beat until glossy.
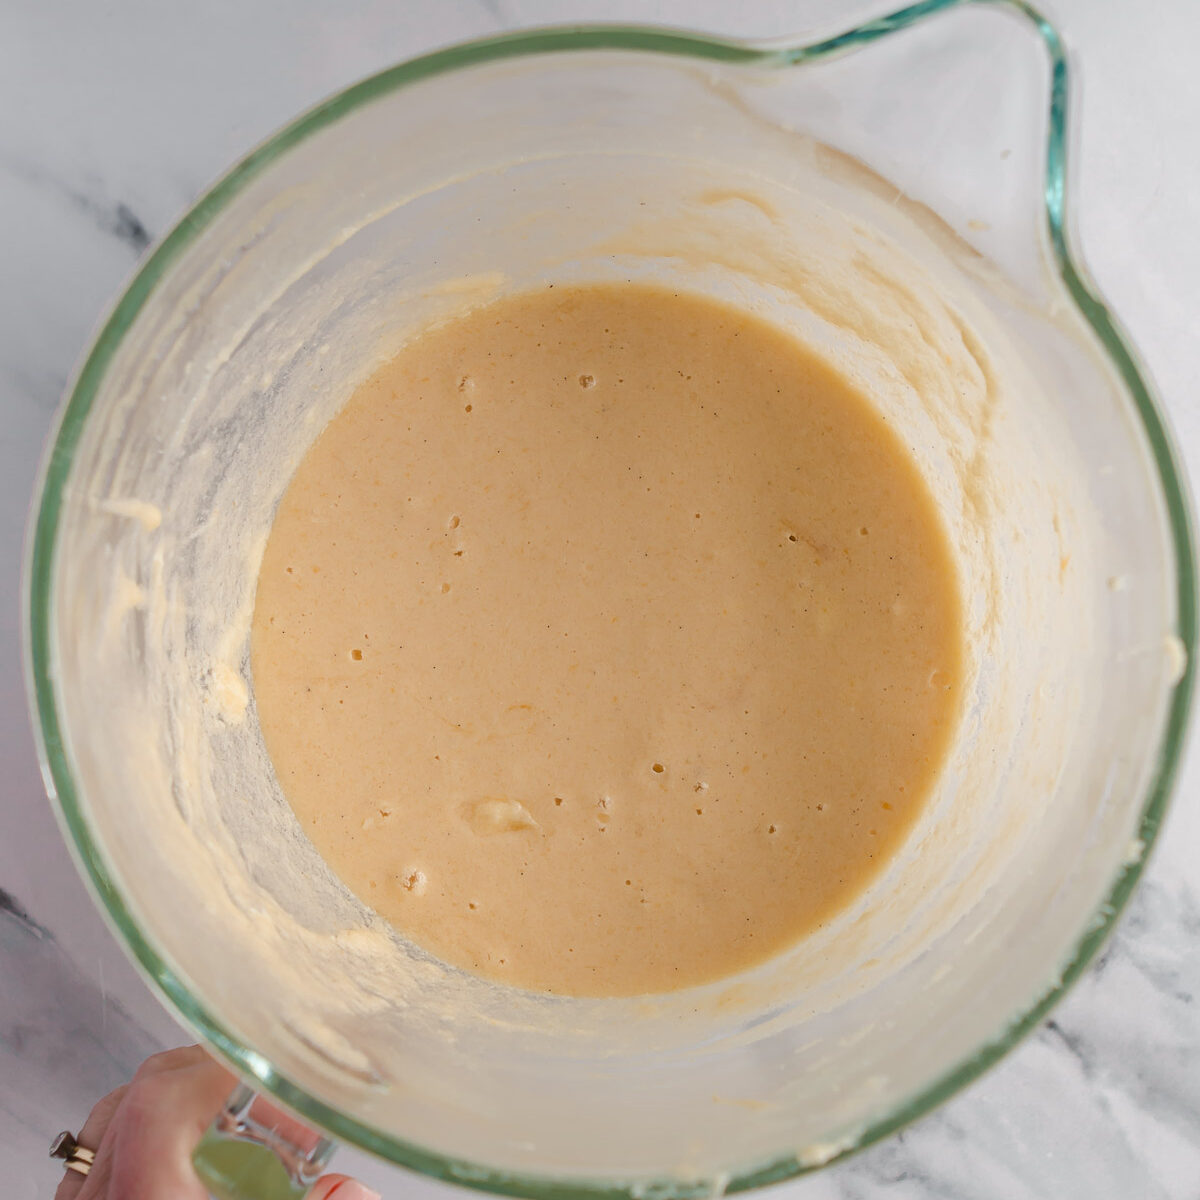
- Mix in eggs and vanilla.
Add eggs one at a time, beating well. Stir in the vanilla extract.
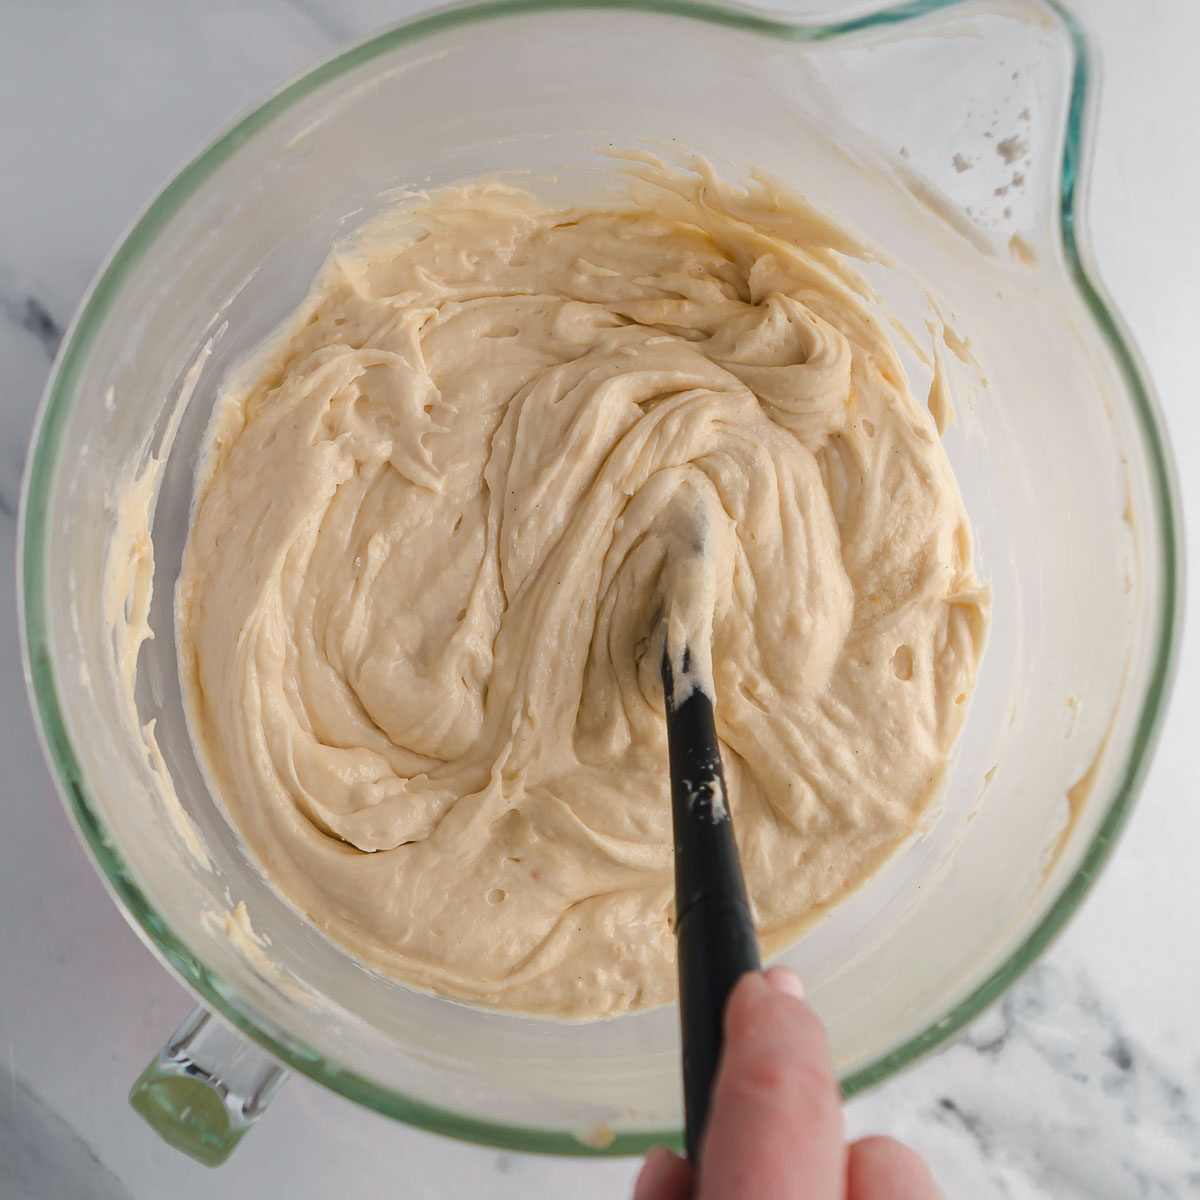
- Alternate wet and dry. Add combined dry ingredients in 3 parts, alternating with buttermilk. Start and finish with flour. Mix gently.
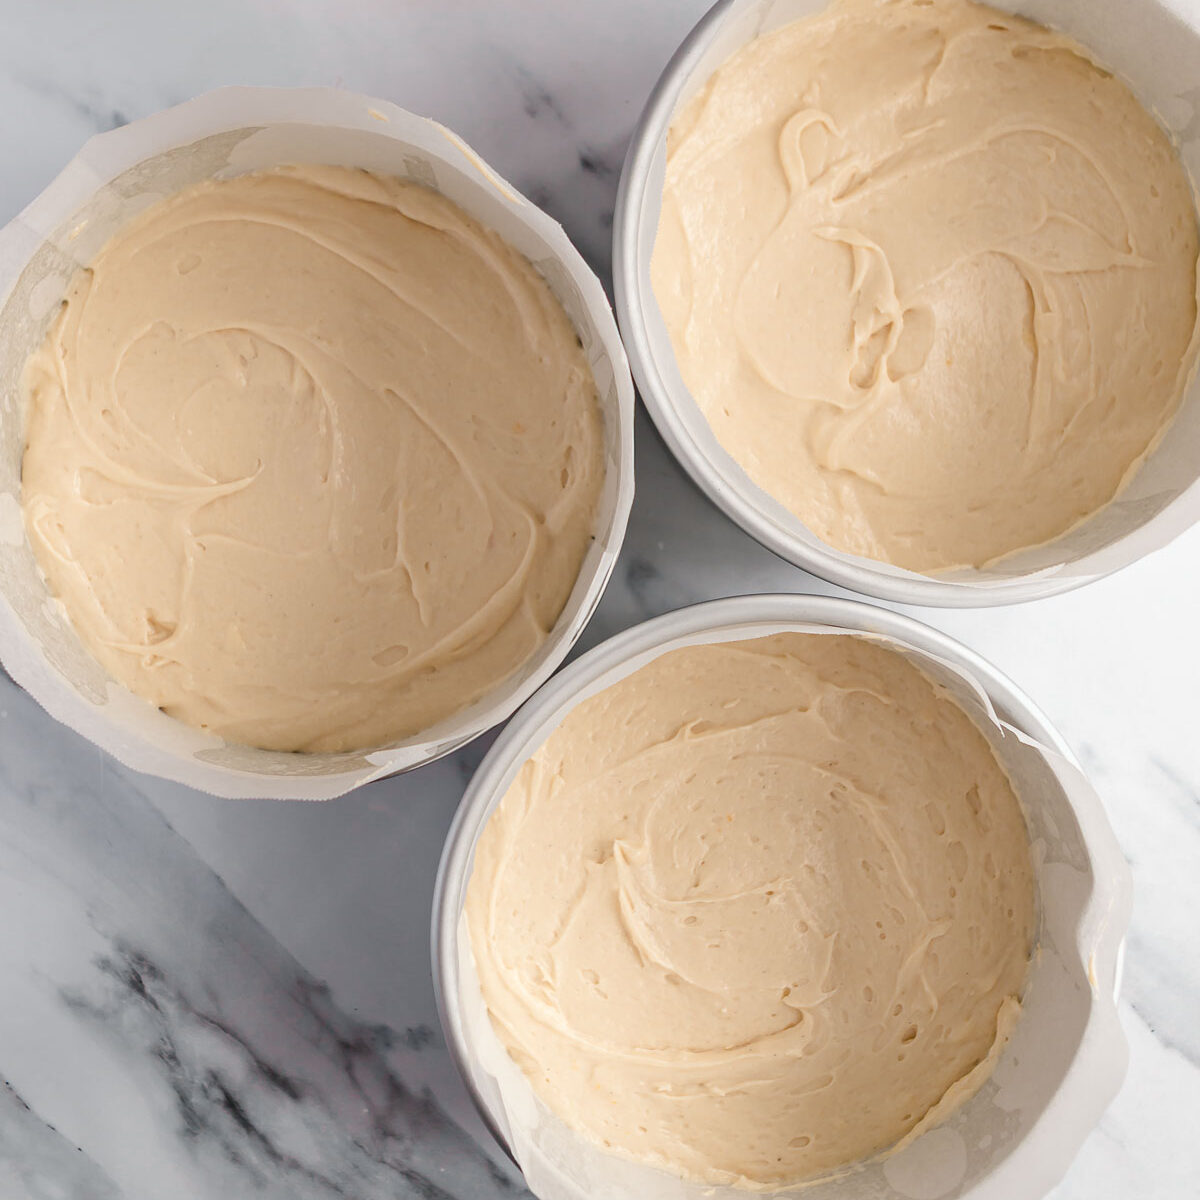
- Bake. Divide evenly between pans (around 500g per pan) and bake for 28-30 minutes until golden and a skewer comes out clean.
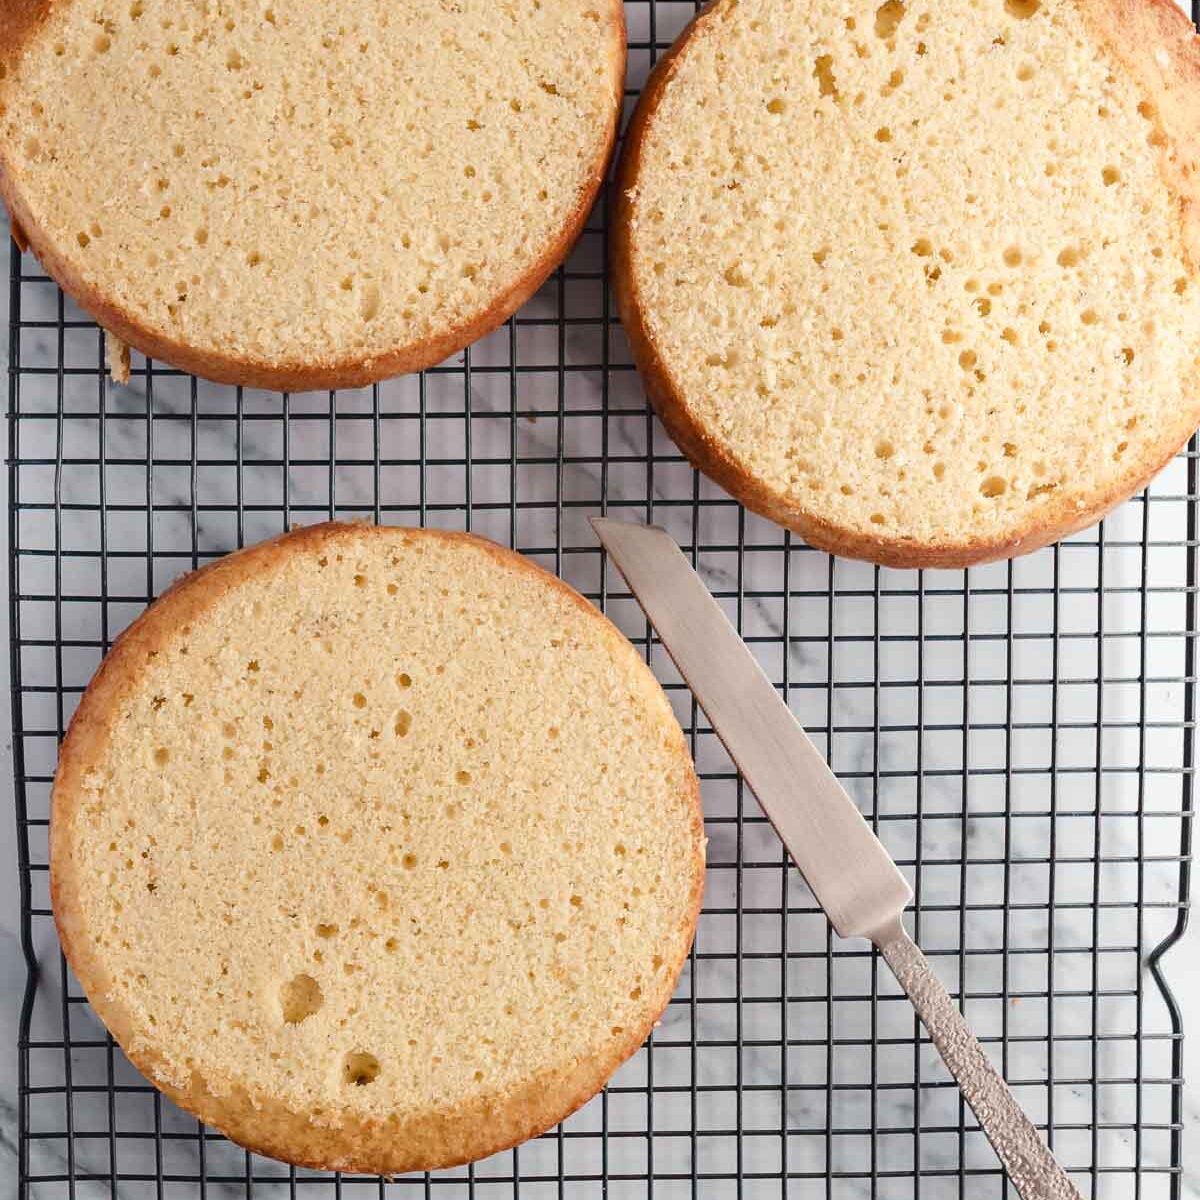
- Cool.
Let cool in tins 10 mins, then transfer to wire racks. Trim tops with a sharp knife (optional)
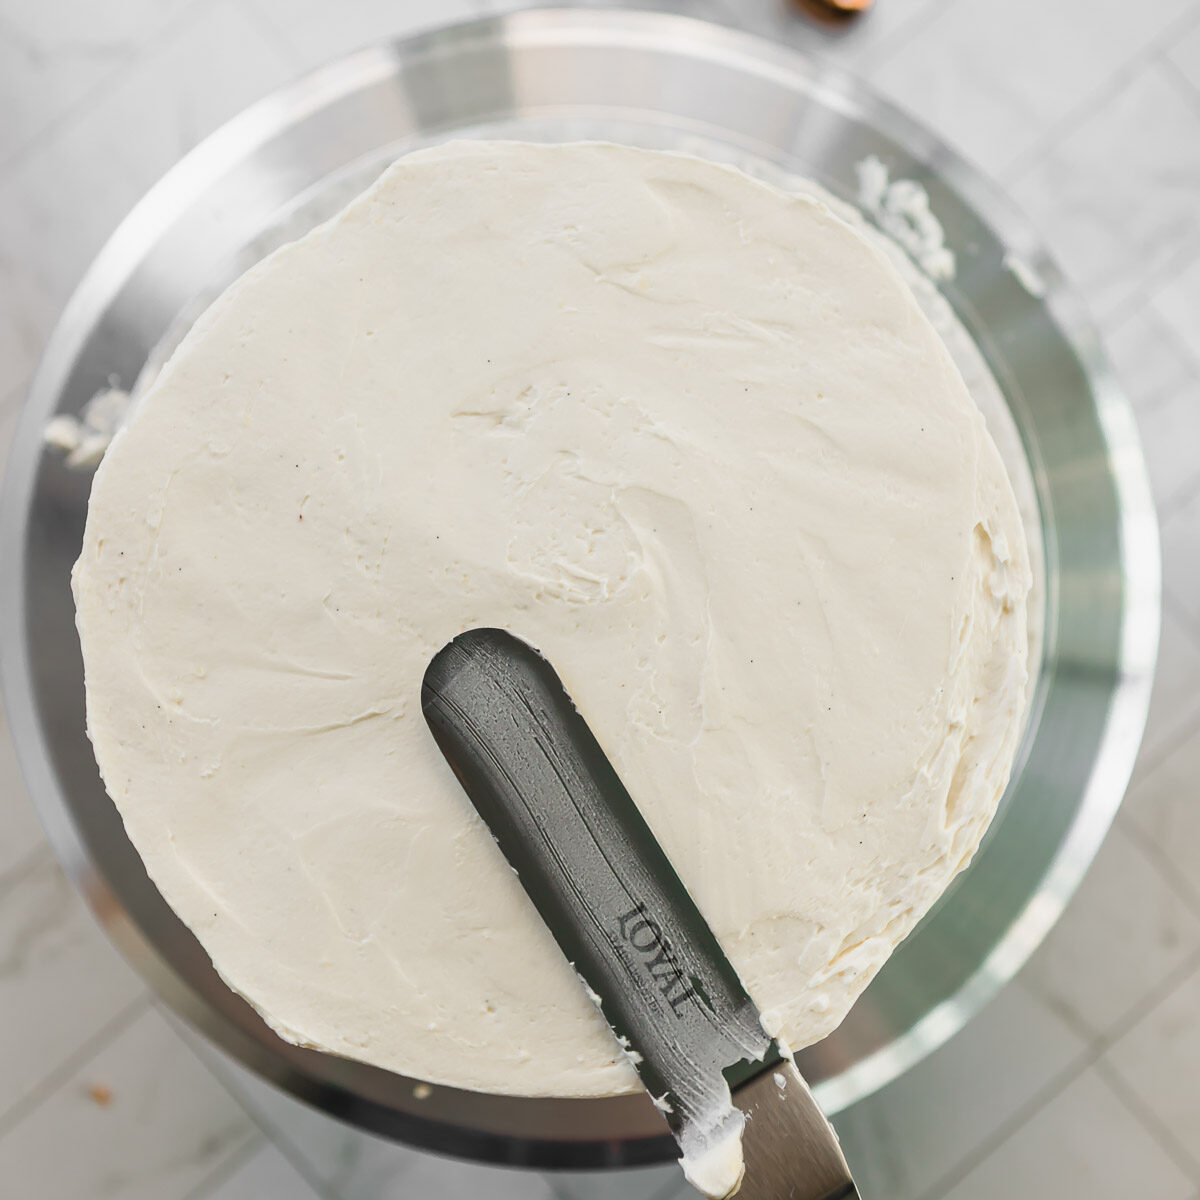
- Layer the cake.
Place one cooled cake layer on a serving plate or cake board. Spread evenly with frosting or filling of your choice. Repeat with remaining layers, finishing with the top layer.
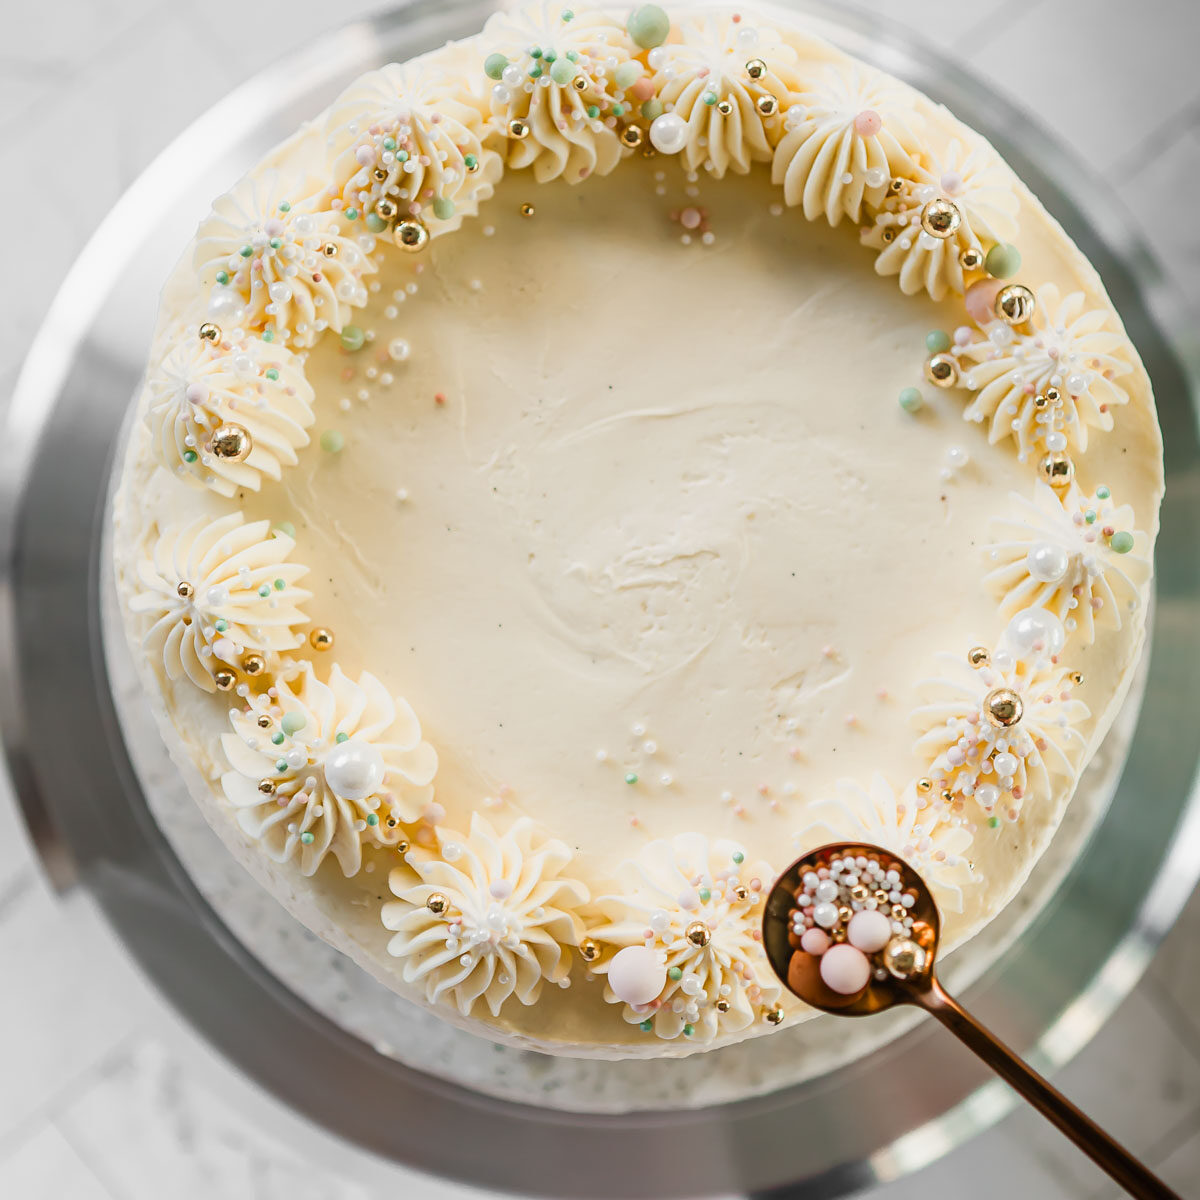
- Decorate.
Frost the outside of the cake, then decorate as desired - think fresh flowers, sprinkles, berries, or a drizzle of caramel.
Hint: Tap your pans on the bench before baking to release air bubbles and avoid uneven layers.

This cake is everything a vanilla cake should be
Soft, rich, and perfect for layering! It's my new go-to.
Substitutions
No buttermilk? Use full cream milk with 1 tablespoon lemon juice or vinegar and let sit 10 mins.
No cake flour? Remove 15g from each 125g plain flour and replace with cornflour.
Dairy-free? Swap butter for Nuttelex and buttermilk for almond milk + vinegar.
Variations
- Add lemon zest to the batter and layer with lemon curd for a zesty twist.
- Use chocolate buttercream between the layers for a chocolate and vanilla layered cake.
- Turn it into a slab cake by baking in a 22cm x 32cm tin (adjust bake time).
Equipment
You'll need three 8-inch round cake tins, digital kitchen scales, an electric hand mixer or stand mixer, mixing bowls, and a wire rack for cooling. To cut the cake layers, you will need a large serrated knife, but if you make layer cakes often, I highly recommend this Agbay cake leveller - works perfectly every time!

Storage
Room temp: Store unfrosted layers in an airtight container for up to 2 days.
Fridge: Frosted cake lasts 3-4 days. Bring to room temp before serving.
Freezer: Wrap unfrosted layers tightly and freeze up to 3 months. Frosted cake slices can also be wrapped tightly in plastic wrap and frozen.
Top Tip
Weigh your batter to get even layers - around 500g per tin. It makes stacking a breeze and it looks super professional.
FAQ
Yes! You can bake the layers a day before or freeze them weeks ahead.
Yes, you can use 2 x 9 inch pans and bake a little longer. You can also make a 2 layer 8 inch cake by dividing the batter into 2 pans (750g per pan) and baking until a skewer comes out clean.
Honestly, I love a simple vanilla buttercream, but if you want to make it special, try adding caramel sauce, curd, or try a vanilla layer cake with strawberry filling, by using macerated strawberries between the layers
More Recipes You Will Love
Did you make this?
Please tell me what you think, by leaving a comment below, or by sharing it on Instagram, Facebook or Pinterest
Thank you,
Sandie ❤️
The Recipe
3 Layer Vanilla Cake
Ingredients
- 200 grams unsalted butter room temperature
- 60 ml canola oil or neutral oil
- 260 g caster sugar
- 6 eggs XL, room temperature
- 1 tablespoon vanilla extract
- 375 grams cake flour see post for making your own cake flour
- 1½ teaspoon baking powder
- ½ teaspoon baking soda
- ¼ teaspoon salt
- 250 ml buttermilk room temperature
Instructions
- Preheat oven to 160℃/320℉ fan forced, or 180℃ conventional. Grease and line 3 round 8 inch cake pans -see my guide here
- Beat the butter and caster sugar either in a stand mixer or using a handheld mixer at medium speed for 5 minutes, until pale and fluffy Stop and scrape the bowl with a silicone spatula, as needed.
- With the mixer on low, slowly add the oil. Beat until well combined and glossy.
- Beat in the eggs, one at a time, then stir in the vanilla. Scrape the bowl to ensure there's no butter lumps.
- In a separate bowl, whisk together the cake flour, baking powder, baking soda and salt
- In thirds, add the dry ingredients to the butter mixture, alternating with the buttermilk. Mix until just combined.
- Divide batter evenly in the pans (around 500g per pan), then bake for 28-30 minutes, until lightly golden and a skewer comes out clean.
- Cool in pans for 10 minutes, then turn out onto a wire cake cooler to cool completely. Once cooled, trim cake if required, then assemble with your chosen filling and frosting
Notes
- For cupcakes: Use the quantities above (makes 18-20). Bake at 160°C fan for 17-20 mins.
- For 2-layer cake: Use the quantities above, using 750g of cake batter per pan. Bake 30-32 mins.
-
Baking tips:
- Weigh batter for even layers (about 500g per 8-inch pan).
- Tap tins with your fingers from underneath before baking to release air bubbles.
- Rotate pans halfway if your oven bakes unevenly.
Sandra says
My family loved this!