
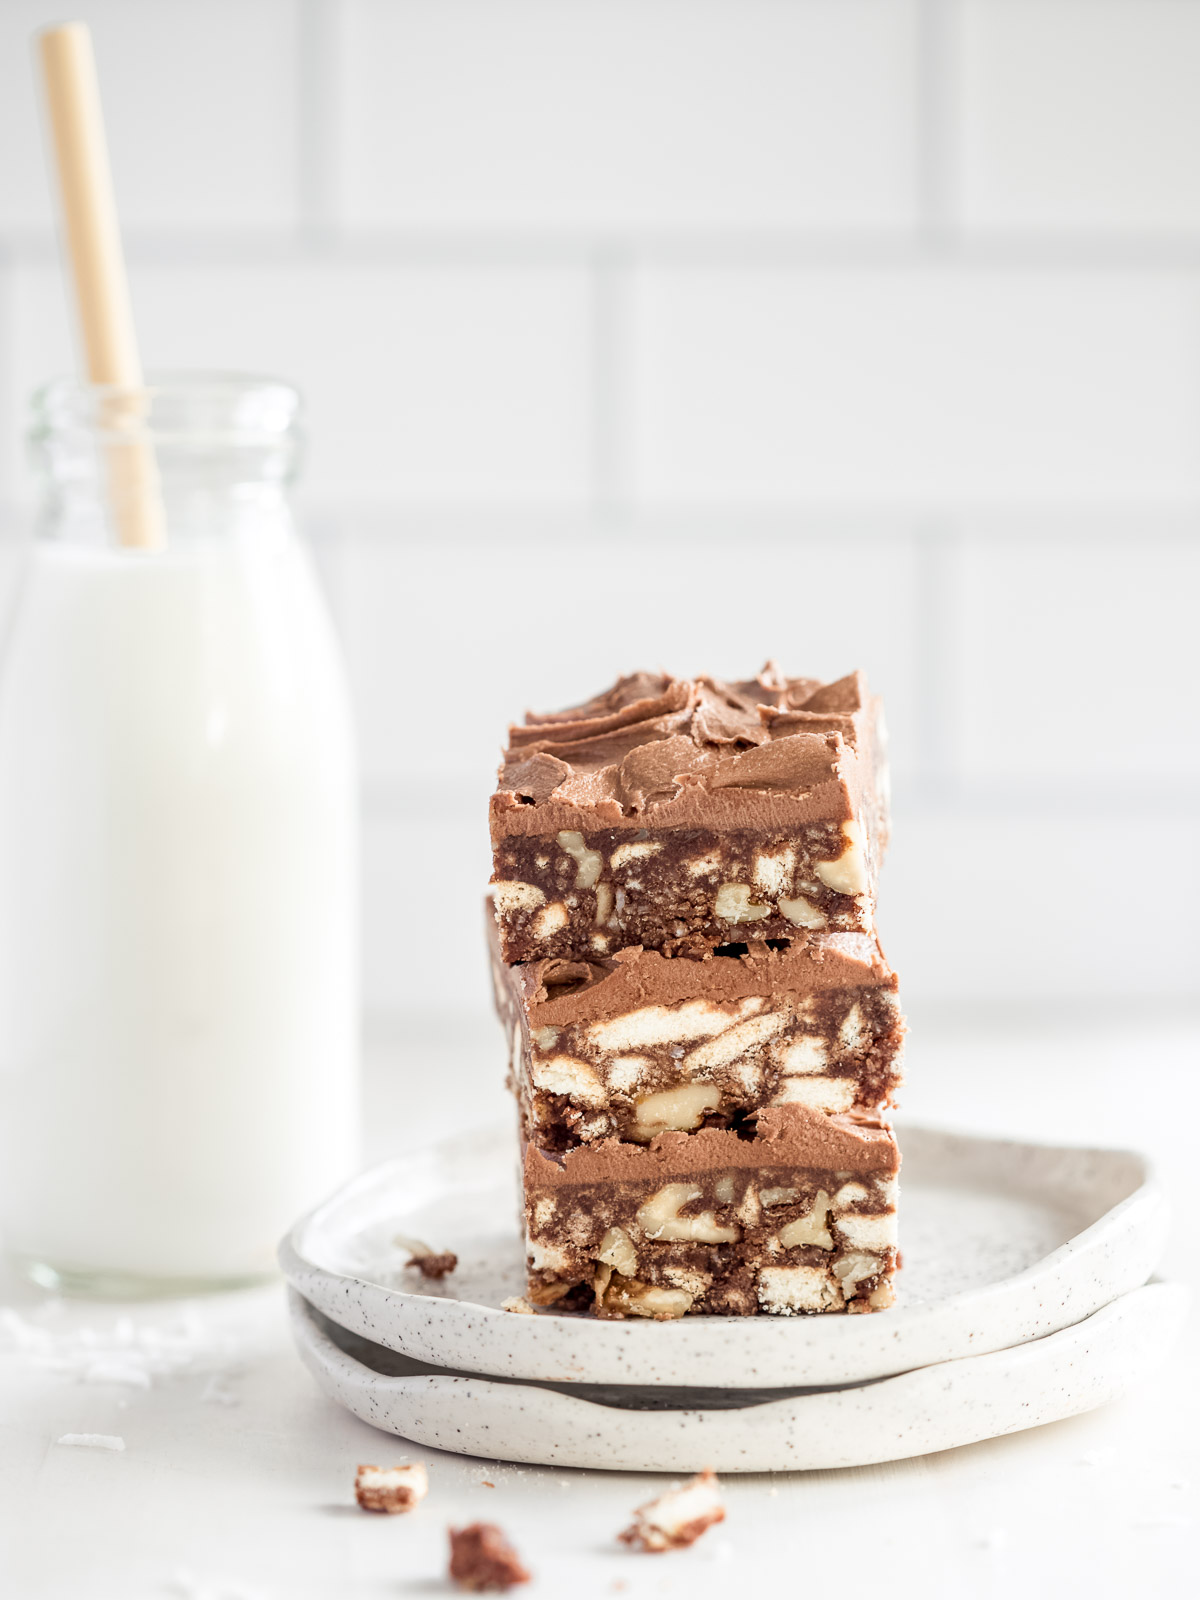
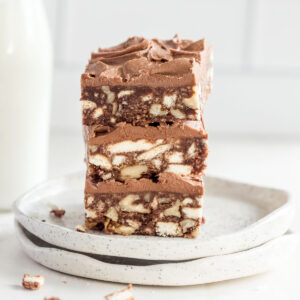
This Hedgehog Slice is rich, chocolatey, and packed with crunch from biscuits and nuts. It only takes 15 minutes to prep and sets beautifully in the fridge, ready to slice and enjoy. If you loved my Peppermint Slice or Mars Bar Slice, this one belongs in your recipe tin too.
Save this recipe 💌
This slice is quick to make and always a crowd-pleaser. You'll spot it at school fetes, bake sales, and Christmas tables (try a fun Christmas Hedgehog Slice version with red and green sprinkles). Serve it chilled with a cup of tea, or dress it up with a drizzle of caramel or Chantilly cream.
Jump to:
Why You'll Love This Recipe
- No oven needed
- Keeps well in the fridge for up to a week
- Plan ahead for lunchboxes and easy slices for picnics
- Crunchy, chewy, and chocolatey all in one bite
Recipe Ingredients
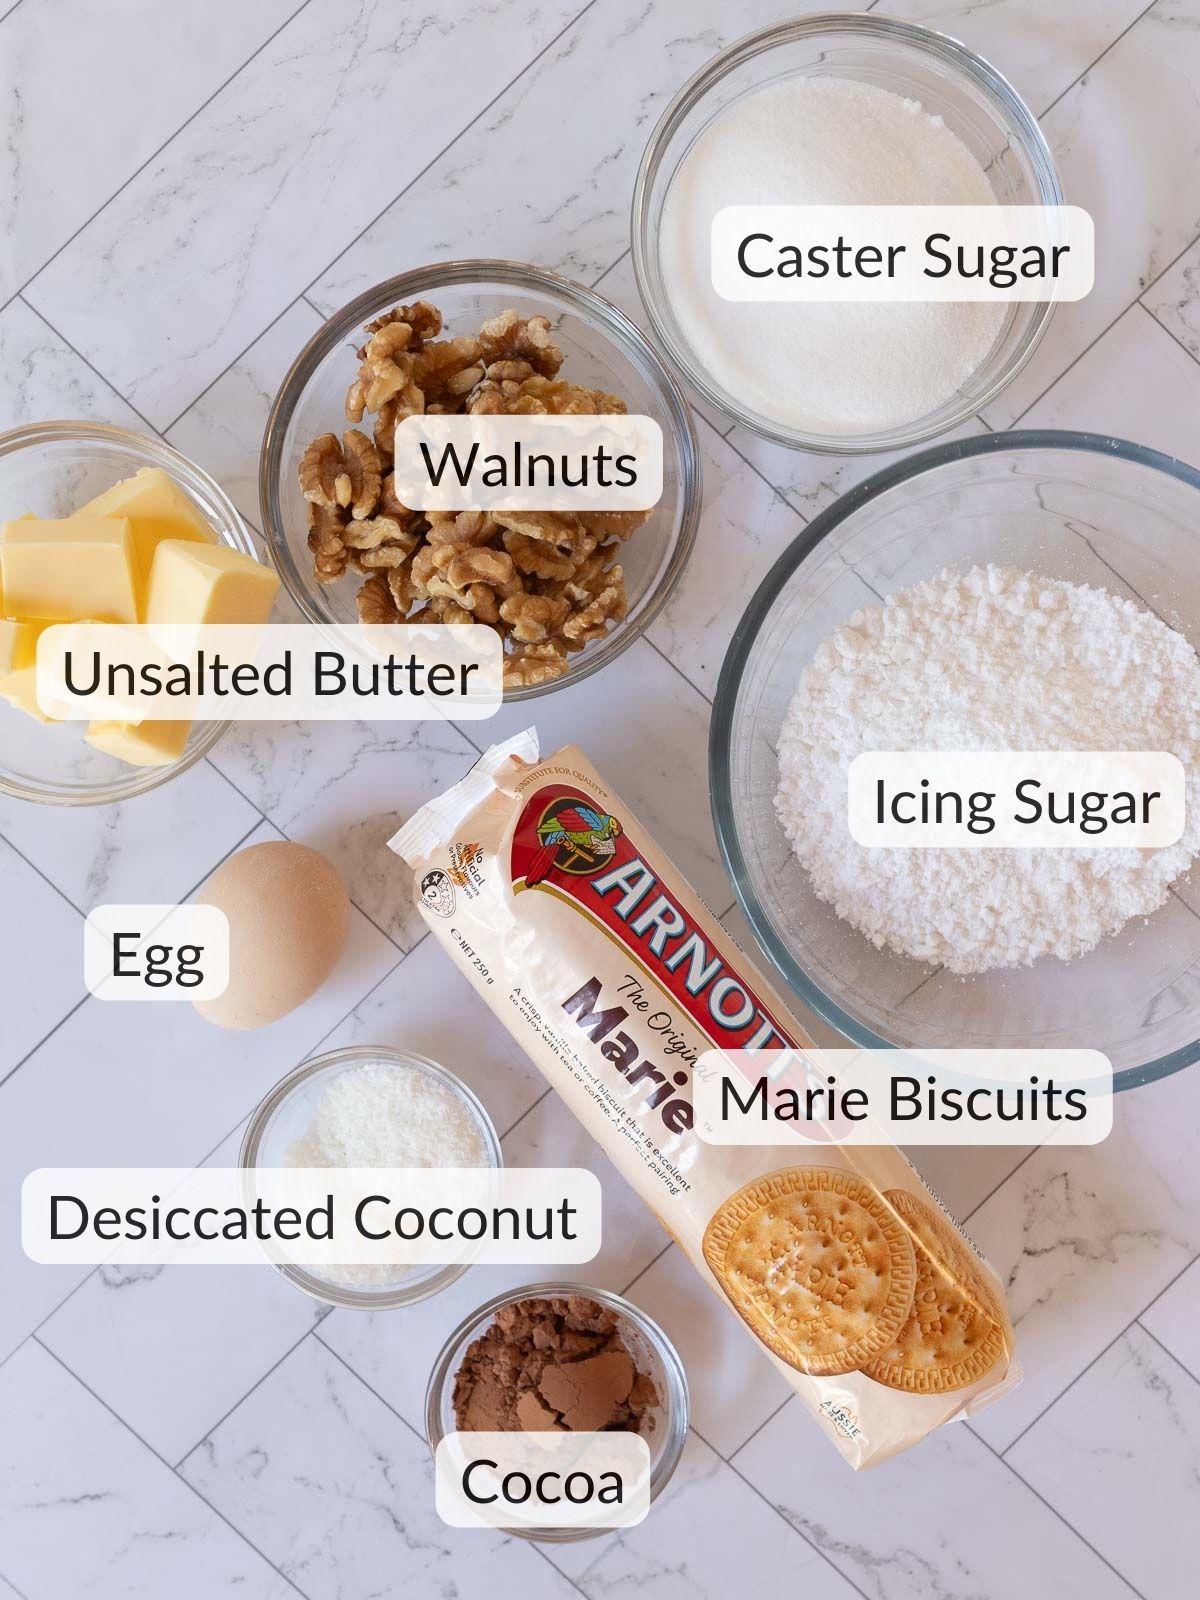
- Plain sweet biscuits, crushed to give that signature bite. Think Marie or Digestives.
- Butter and sugar are whisked with cocoa and butter to form a rich stovetop base that binds the slice and adds deep chocolate flavour.
- Egg binds the base and makes this slice rich and delicious.
- Cocoa: I like to use good-quality Dutch process cocoa for smoother flavour.
- Coconut: Desiccated coconut adds texture.
- Walnuts or almonds are optional, but add a lovely crunch. (Leave out for a hedgehog slice without nuts, if that's what you'd prefer).
See recipe card for full list of ingredients and quantities.
Instructions
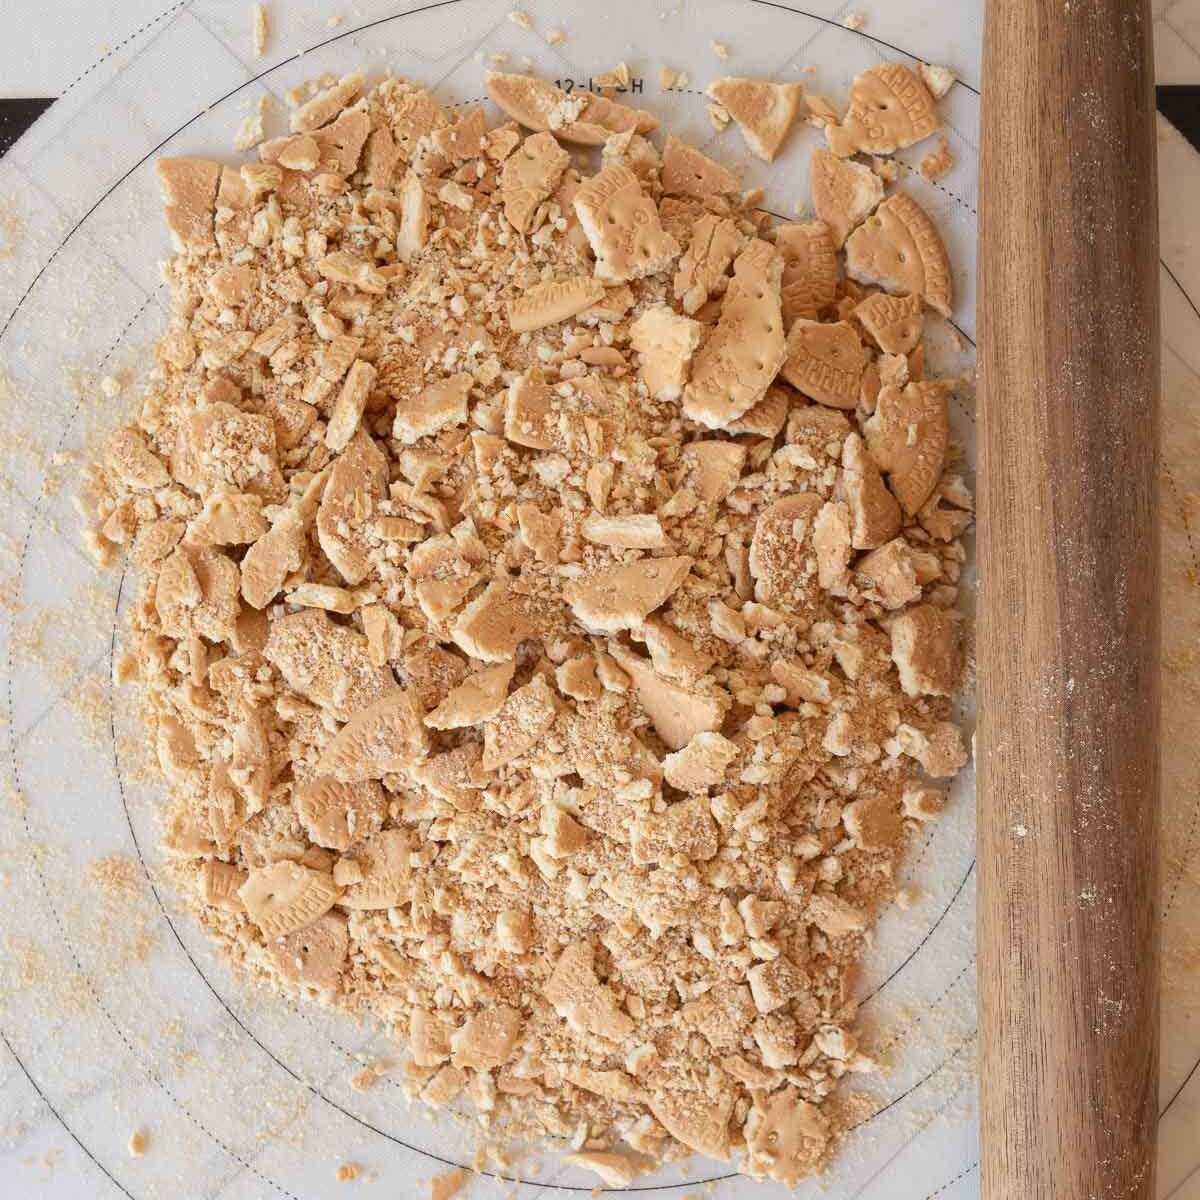
- Step 1: Crush Biscuits: Place biscuits in a ziplock bag and crush with a rolling pin, leaving some chunks.
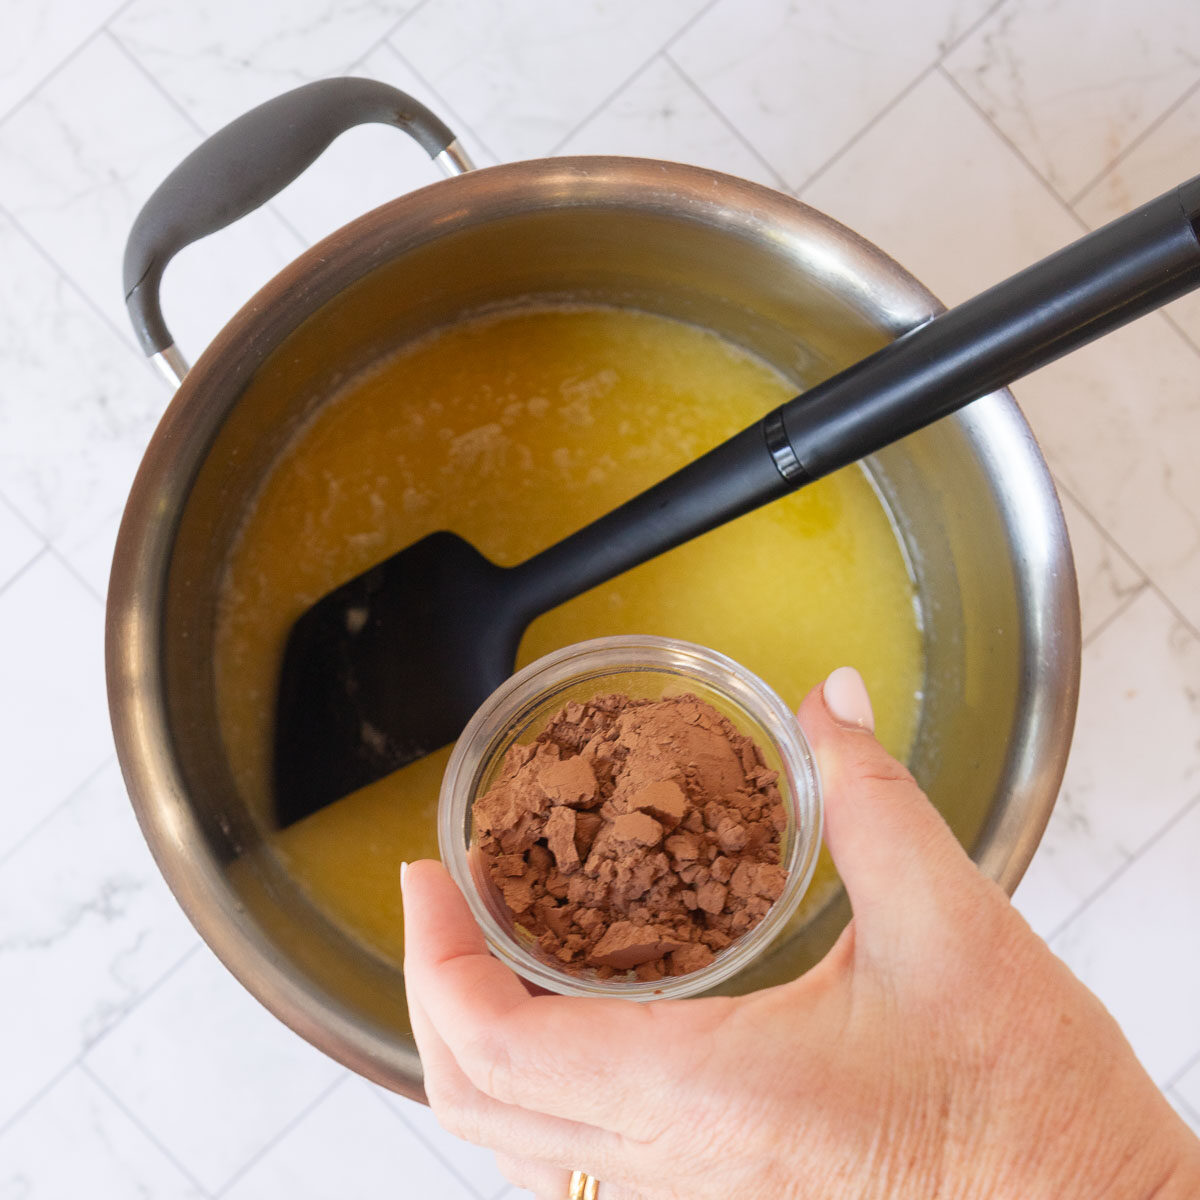
- Step 2: Melt Base Ingredients: In a saucepan, melt butter and sugar until bubbling. Remove from heat, add cocoa, and mix well.
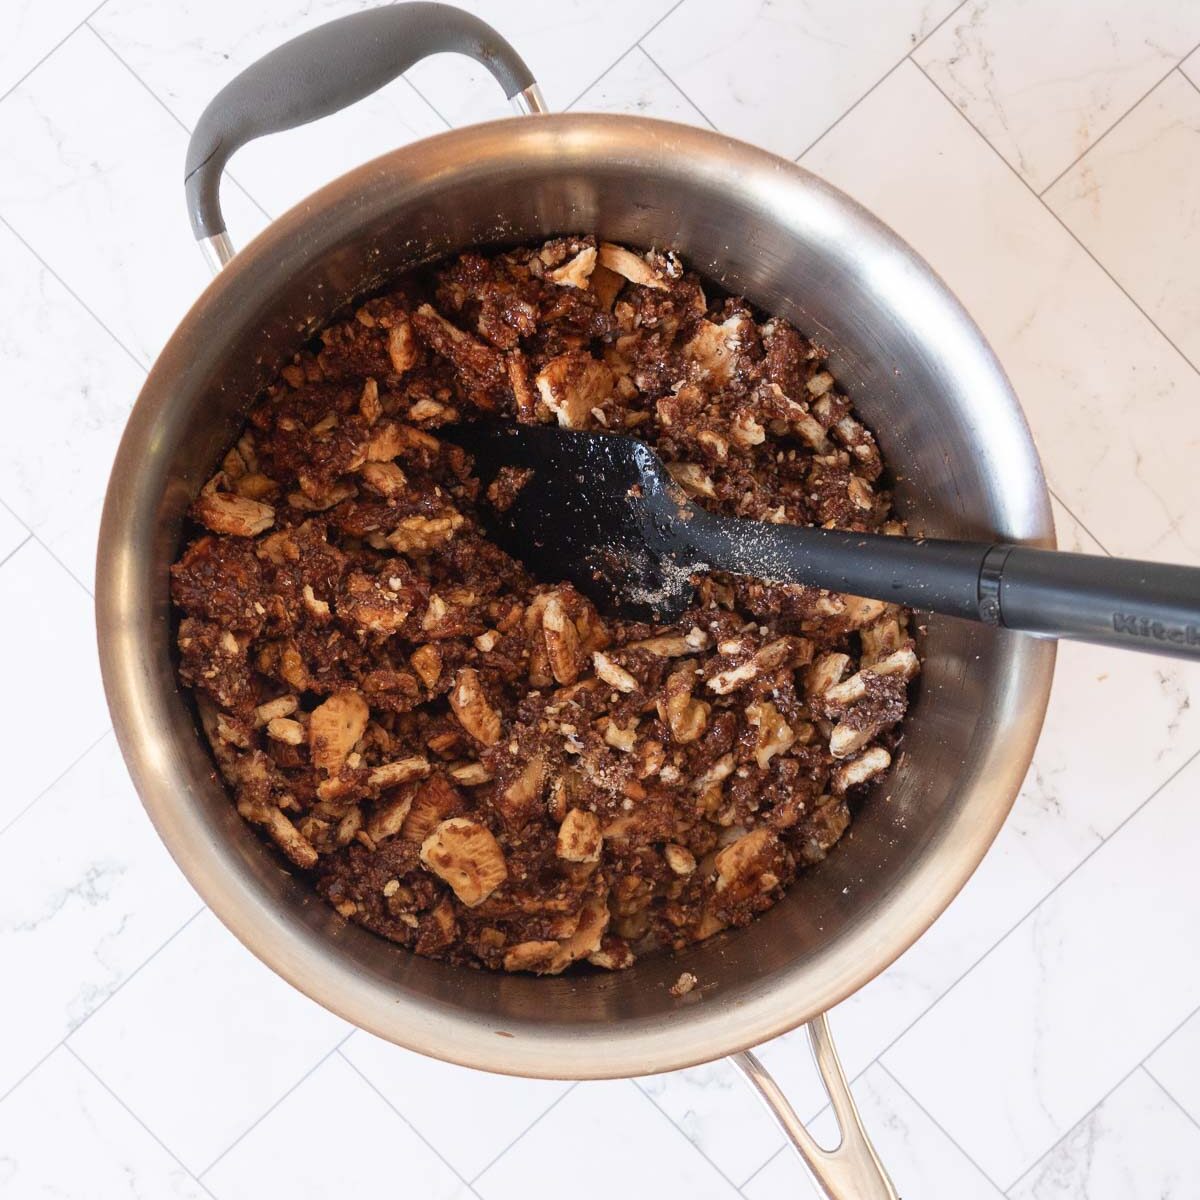
- Step 3: Combine Mixture: Stir in the beaten egg quickly, then add coconut, crushed biscuits, and walnuts. Mix thoroughly.
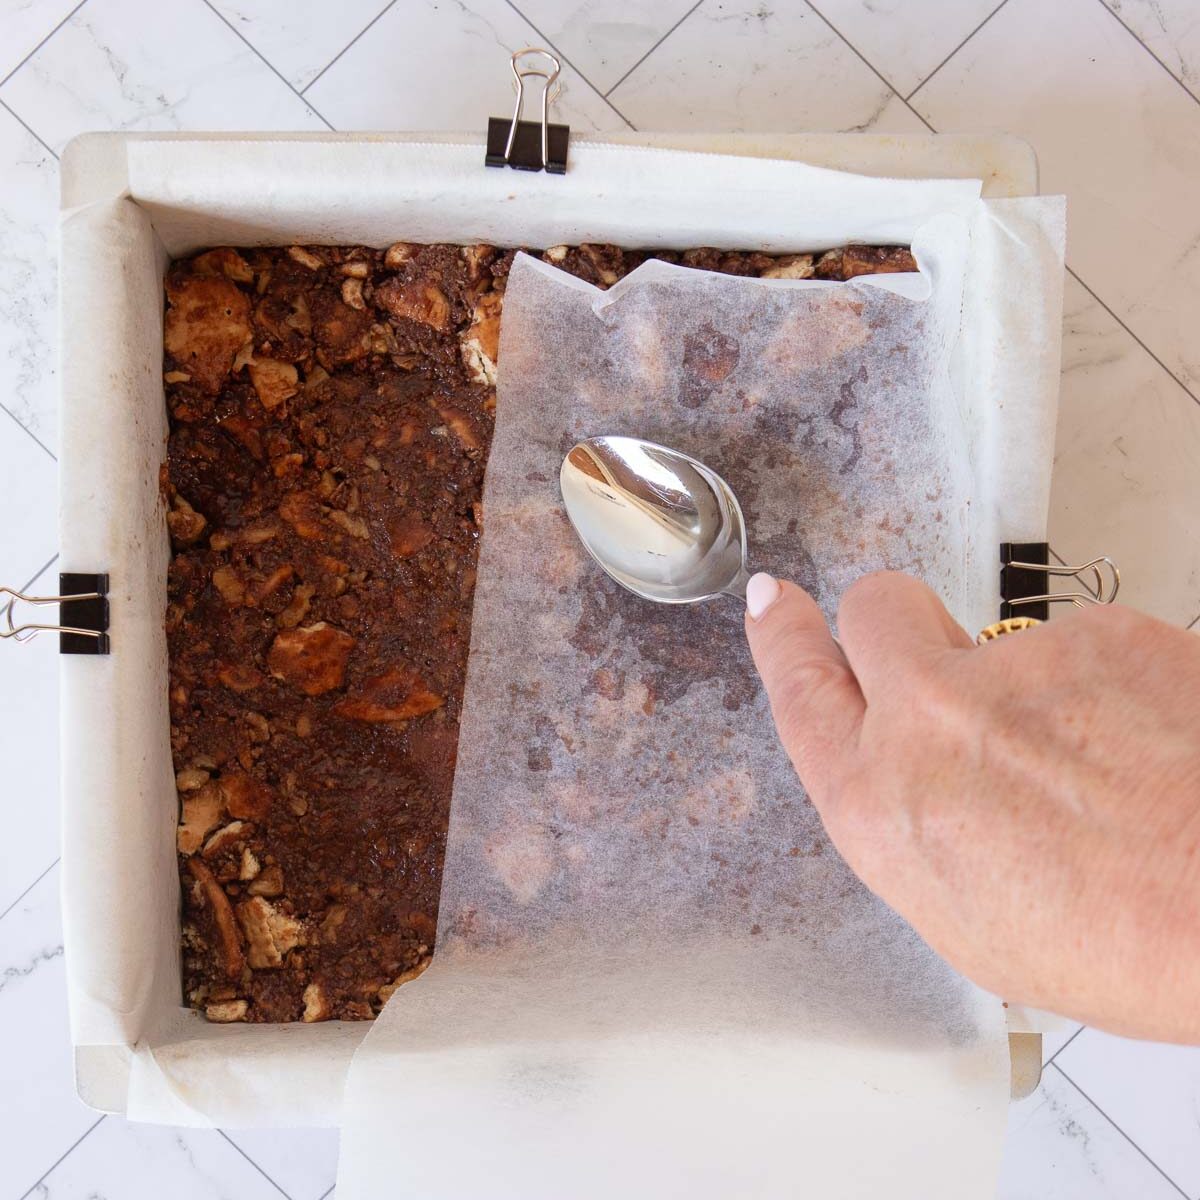
- Step 4: Set the Base: Press the mixture firmly into the prepared tin. Use baking paper and the back of a spoon to smooth the surface. Refrigerate while preparing the frosting.
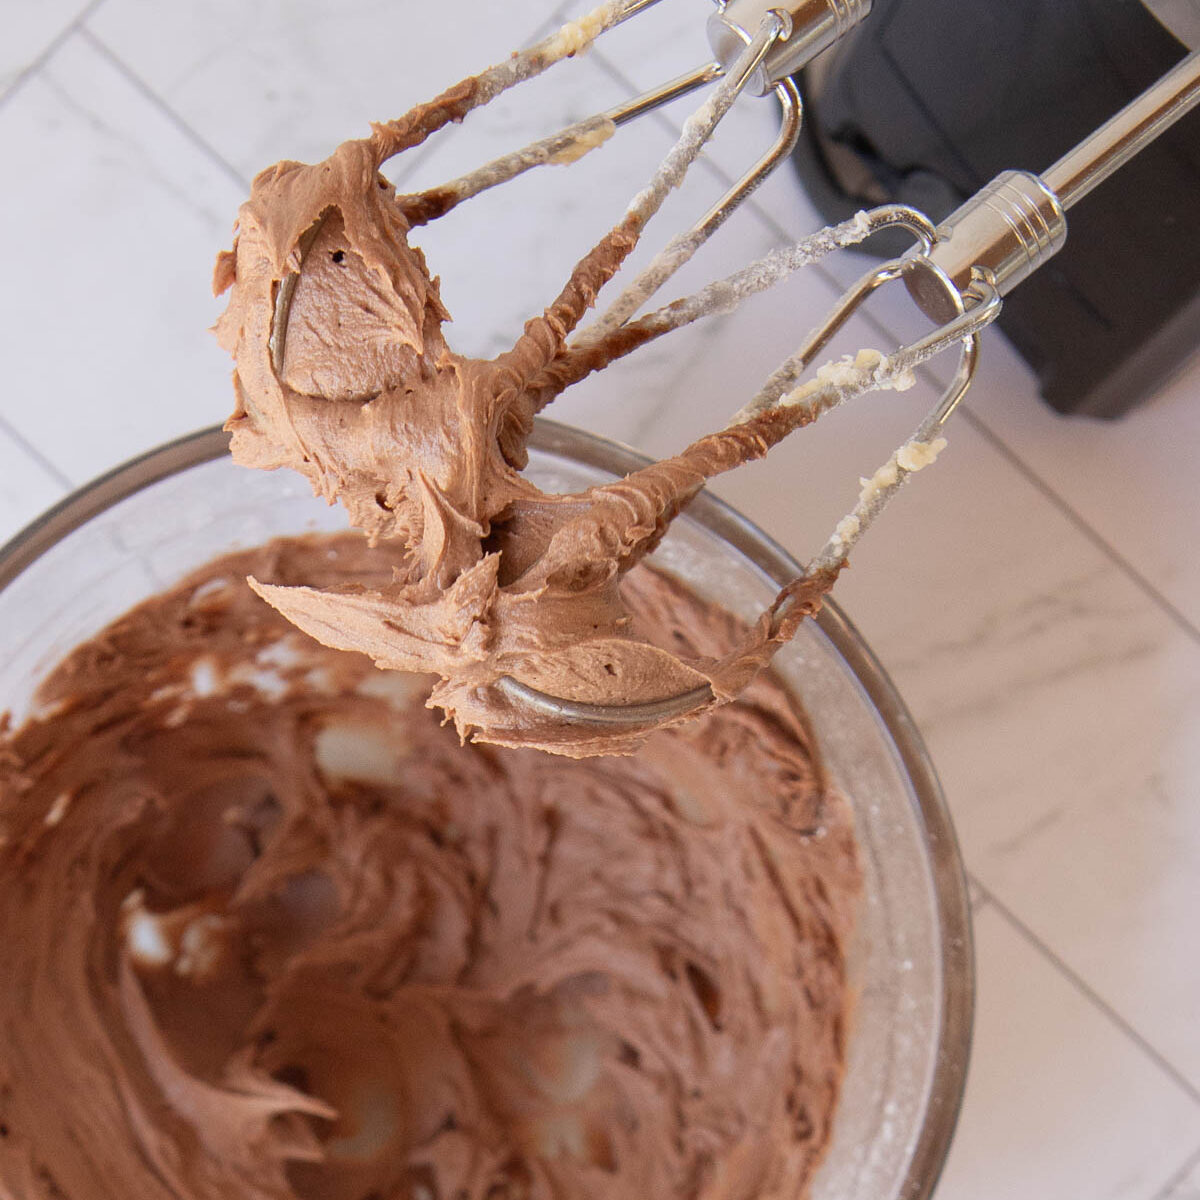
- Step 3: Prepare Frosting: Cream butter and icing sugar. Mix cocoa with boiling water in a small bowl, to form a paste, then combine with the butter mixture until smooth.
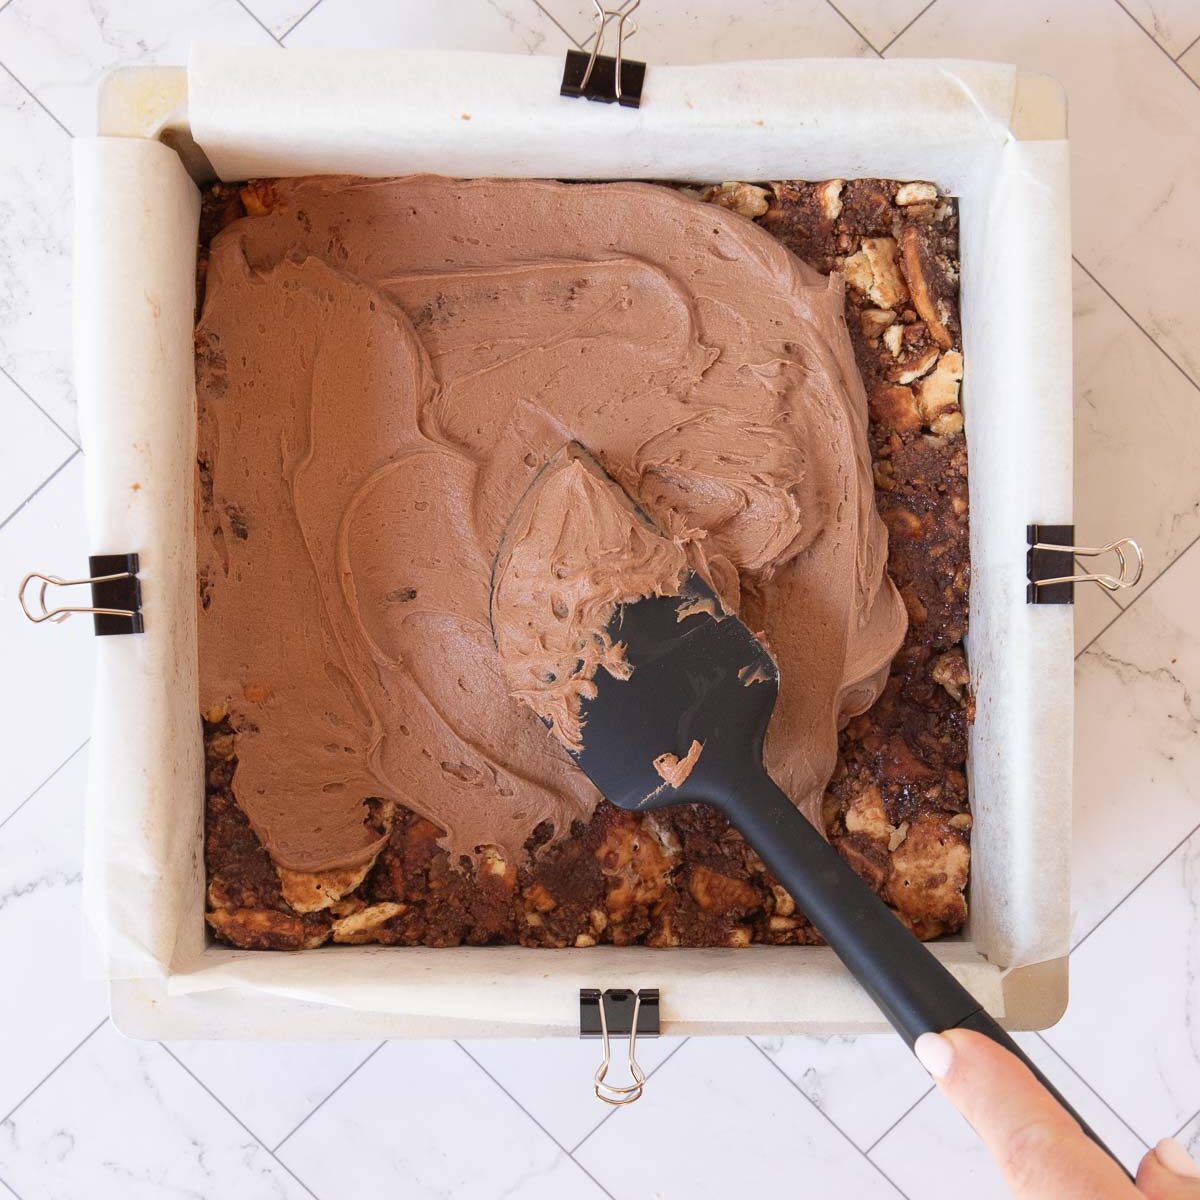
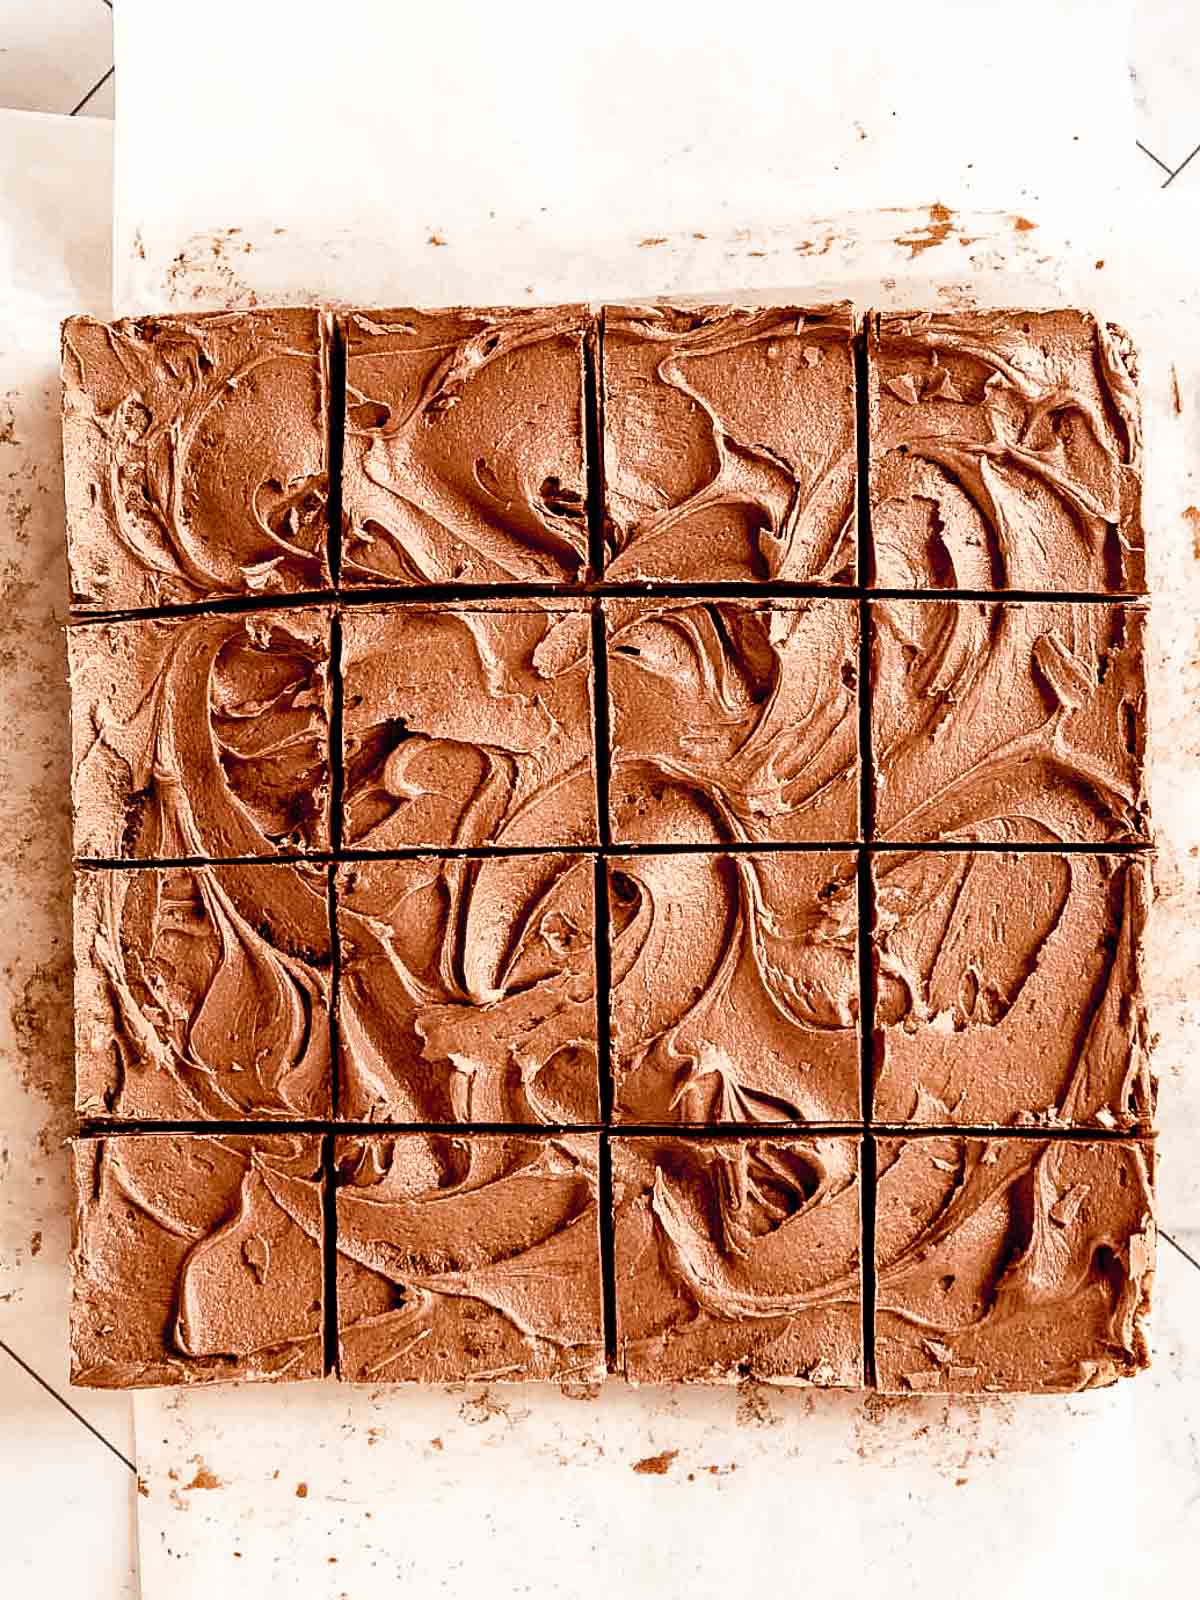
- Step 4: Spread Frosting: Spread the frosting over the chilled base, creating swirls if desired. Refrigerate until set, then slice into squares.
Hint: Slice is easiest to cut once fully chilled. Wipe the knife between slices.
Everyone asked for the recipe!
I made this for a weekend bbq, and it was the first thing to go.
Substitutions & Variations
- I make this hedgehog slice without condensed milk. You can make your hedgehog slice with condensed milk, by replacing the eggs and sugar with 1 x 395g tin of sweetened condensed milk. Stir it through after melting the butter and cocoa. Both versions set well in the fridge and slice beautifully.
- Add chopped caramels or a swirl of caramel sauce for a caramel hedgehog slice.
- For a fun twist, try topping your hedgehog slice with sprinkles. Think colours or themes to match a season or holiday.
Equipment
You just need a rolling pin, a saucepan, a mixing bowl, and your favourite slice tin. I use this 20cm square tin -it's my favourite!
Storage
- Room temp: 2 days in a cool, dry place
- Fridge: Up to 7 days in an airtight container
- Freezer: Wrap individually and freeze up to 3 months
Top Tip
If your Hedgehog Slice is too sticky, it may not have chilled long enough before slicing. I'm all for slicing it almost straight away, but give it a good 4 hours, if you want it to set firmly.
FAQ
Usually 3 to 4 hours in the fridge. Overnight is best for clean slicing.
It stays fresh for up to a week when stored in an airtight container.
Yes! Wrap slices individually and freeze for up to 3 months.
Like most Hedgehog slice recipes, mine does include chopped walnuts, but you can easily leave them out.
No Bake Slices
Looking for other recipes like this? Try these:


Once you make this Hedgehog Slice, it'll be on repeat. Quick, reliable, and always popular, t's a staple for good reason!
Hedgehog Slice
Equipment
Ingredients
- 125 grams Butter
- 150 grams Caster sugar
- 2 tablespoon Cocoa powder
- 1 Egg lightly beaten
- 2 tablespoon Desiccated coconut
- 250 grams Plain sweet biscuits I use Marie biscuits
- 90 grams Walnuts chopped
Chocolate Frosting
- 135 grams Pure icing sugar
- 40 grams Unsalted butter room temperature
- 2 teaspoon Cocoa
- 1 tablespoon Boiling water
Instructions
- Spray a 20cm square cake tin with cooking spray, then line with baking paper and set aside.
- Place biscuits onto a sheet of baking paper or a silicone mat and crush them with a rolling pin, keeping some small chunks amongst the crumbs. Set aside.
- In a large saucepan, melt the butter and caster sugar, mixing until sugar has melted and beginning to bubble.
- Add cocoa and mix well, then remove from the heat to cool slightly for a 2 minutes.
- Stir in the beaten egg, coconut, crushed biscuits and walnuts.
- Press mixture firmly into your prepared tin. Placing a sheet of baking paper over the hedgehog mixture and running the back of a spoon firmly along the surface will smooth out the mixture and prevent your spoon from sticking. Pop the slice into the fridge while you make the frosting.
Chocolate Frosting
- In a medium bowl, cream the butter and icing sugar. This can be done with either a rotary whisk or a handheld electric mixer. It will remain crumbly.
- Add boiling water to the cocoa and mix into a paste. Add the cocoa mixture to the butter and icing sugar, them mix again. The frosting will come together into a smooth, stiff mixture -feel free to add a tiny bit more boiling water if you need to.
- Spread the frosting over the hedgehog slice and make little swirly patterns. Pop in the fridge for the frosting to firm up a little, then slice into squares.
Notes
- When you're crushing your biscuits, remember to keep some small pieces in your biscuit crumbs. It not only looks nice, but adds to the great texture!
- Using a sheet of baking paper and the back of a metal spoon really helps to compact the mixture and make a nice, sturdy slice.
Nutrition
Save this recipe 💌


Helen Atkins says
Hard to beat! Classic 🙌
Sandra says
Thanks Helen! Super nostalgic ❤️