
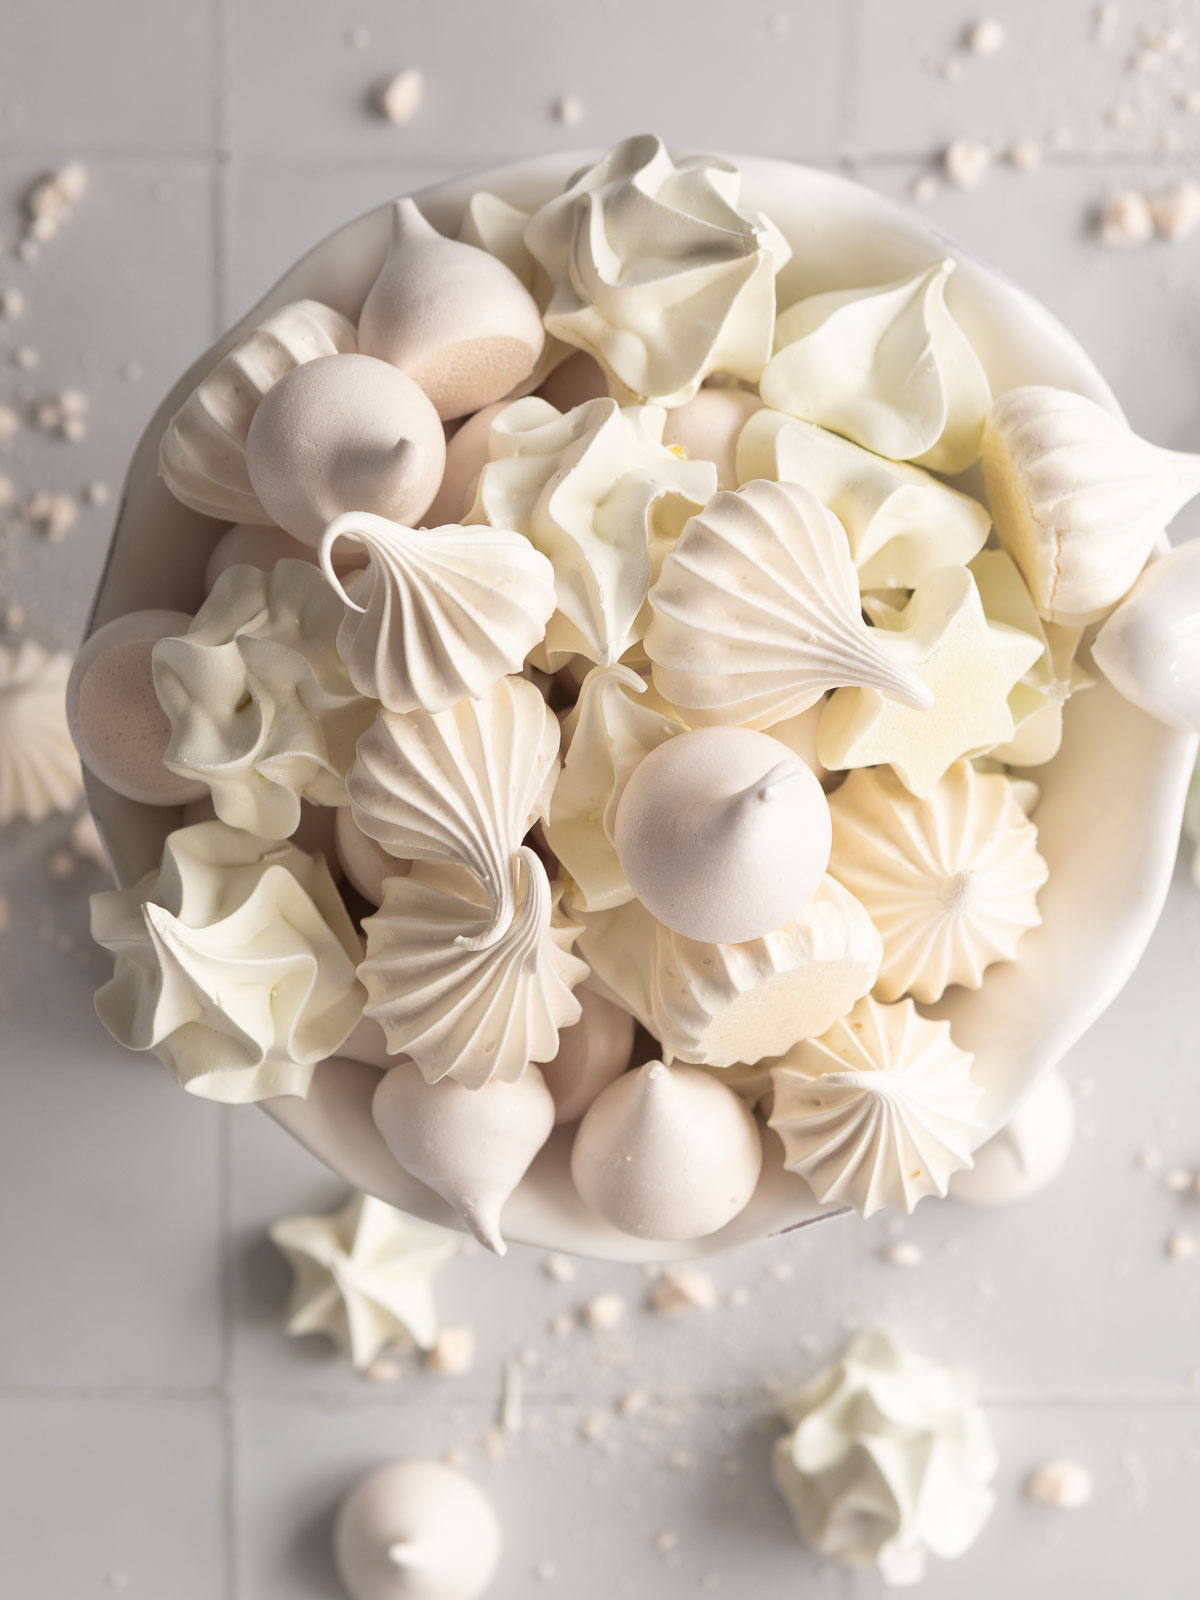
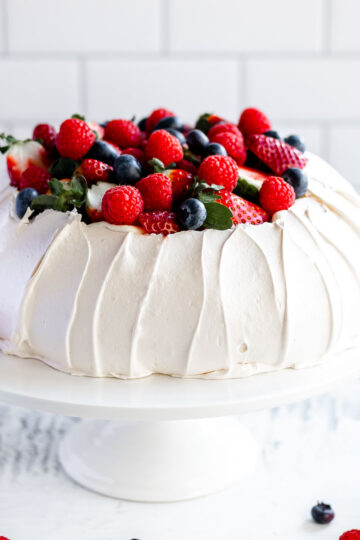
Mini Meringues are light, crisp, and melt-in-your-mouth delicious. They last for weeks, making them perfect for gifting, plus there's endless ways of using them in your desserts. Try decorating a Celebration Cake, topping a Lemon Tart or Key Lime Pie, or breaking them into an Eton Mess.
Save this recipe 💌
This Swiss meringue method for meringues gives smooth, glossy results every time. Gently warming the egg whites and sugar together dissolves the sugar completely, so there's no grit, no weeping, and beautifully crisp shells that hold their shape for weeks. If you've ever struggled to get mini meringues just right, this method is a game-changer.
Jump to:
Why You'll Love This Recipe
- Simple ingredients - You only need five pantry staples, and the method is easier than you think.
- Smooth, grit-free texture - The Swiss method ensures perfectly glossy meringue every time.
- Long-lasting - Crisp shells that keep beautifully for weeks, making them ideal for gifting.
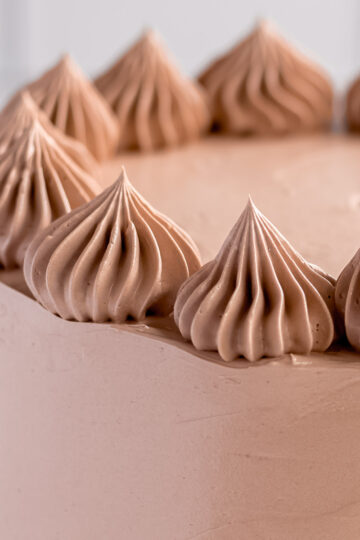
- Endless uses - Decorate cakes, top tarts, or serve with cream and fruit for quick desserts.
Recipe Ingredients
- Egg Whites - use room-temperature whites whip to more volume.
- Caster Sugar - dissolves quickly for a smooth, glossy finish and stable peaks.
- Cornflour - absorbs moisture to keep the shells crisp even in humid weather.
- Cream of Tartar - stabilises the meringue and helps maintain its structure.
- Vanilla Paste or Extract - adds flavour; I use paste for a more intensity.
How To Make Crispy Mini Meringues

- Step 1: Preheat oven to 100 °C (210 °F) and line a large baking sheet with a Silpat mat or baking paper.

- Step 2: Place all ingredients into the bowl of your stand mixer and rest it over a small saucepan of gently simmering water. Whisk constantly and gently for a few minutes, until the sugar has dissolved and the mixture feels smooth (around 65°C/149 °F).

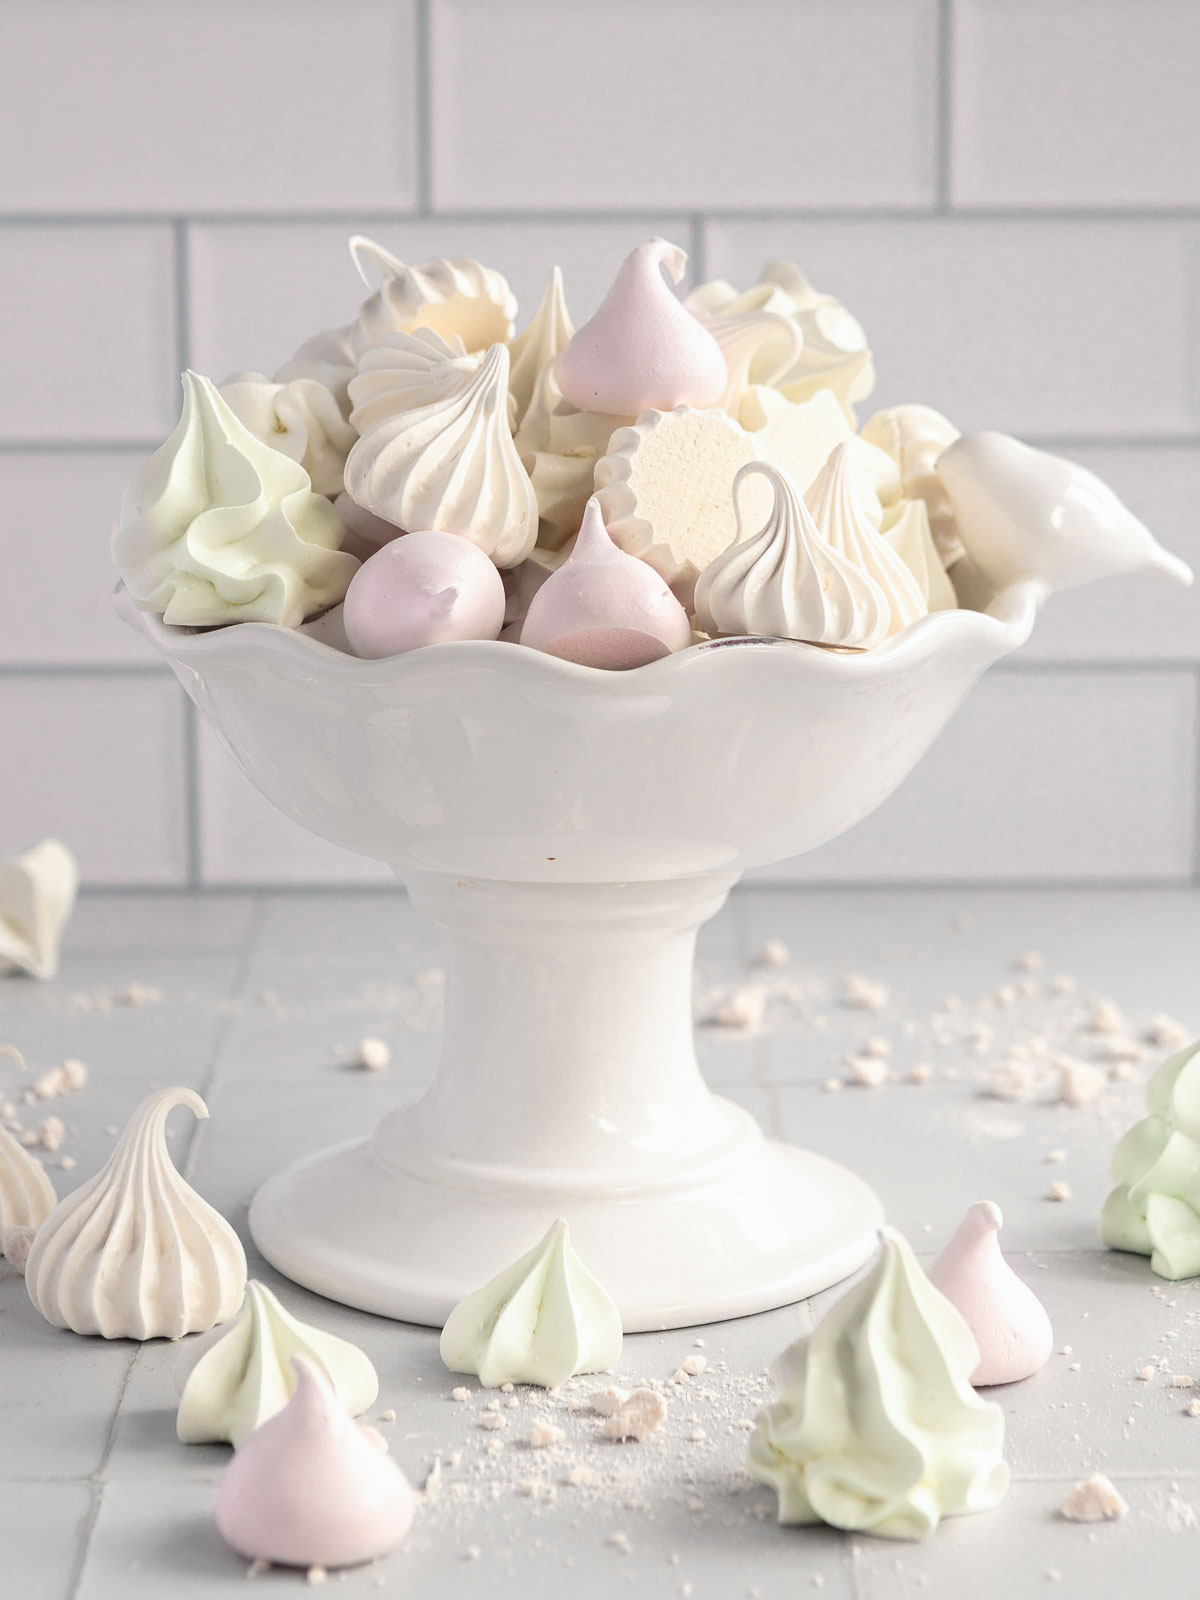
- Step 3: Move the bowl to your stand mixer and whisk on medium-high for 3-4 minutes, until thick and glossy. You can whisk through a few drops of aqua food colour if you like (or divide the mixture and add different colours to each).

- Step 4: Transfer mixture to a piping bag fitted with your preferred nozzle (1A, 1M or 6B) and pipe mini meringues onto the tray. Bake for 2.5 hours, then turn off the oven and leave the meringues to cool completely inside with the door slightly ajar.
Hint: If you don't have a thermometer, test by rubbing a little mixture between your fingers - it should feel smooth, not gritty.
Best meringues I've made
...I loved using them on my mini Lemon Meringue tarts". -Jessica
Substitutions & Variations
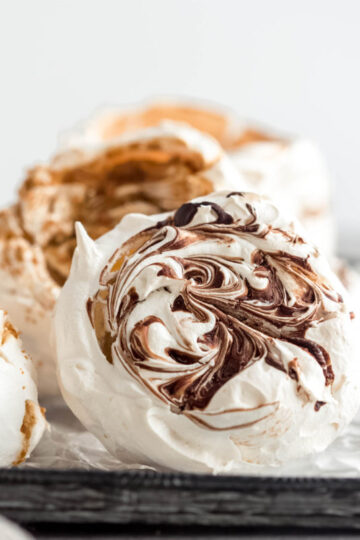
- Chocolate-Dipped Meringues - Dip cooled meringues in melted milk or dark chocolate and set on baking paper.
- Pistachio Meringues - Fold through finely chopped pistachios or a drop of green food colour
- Thermomix Meringues - Heat ingredients for 3 min / 75 °C / speed 2, then as directed (heating the ingredients in the Thermomix is so easy, but I prefer to then whip the meringue in my stand mixer)
Equipment
- I use a stand mixer, a large baking sheet, Silpat mat or baking paper, a piping bag and large piping tips (1A, 1M or 6B) -links are in the recipe card.
Storage
Room Temperature: Airtight container for up to 4 weeks in a cool, dry spot.
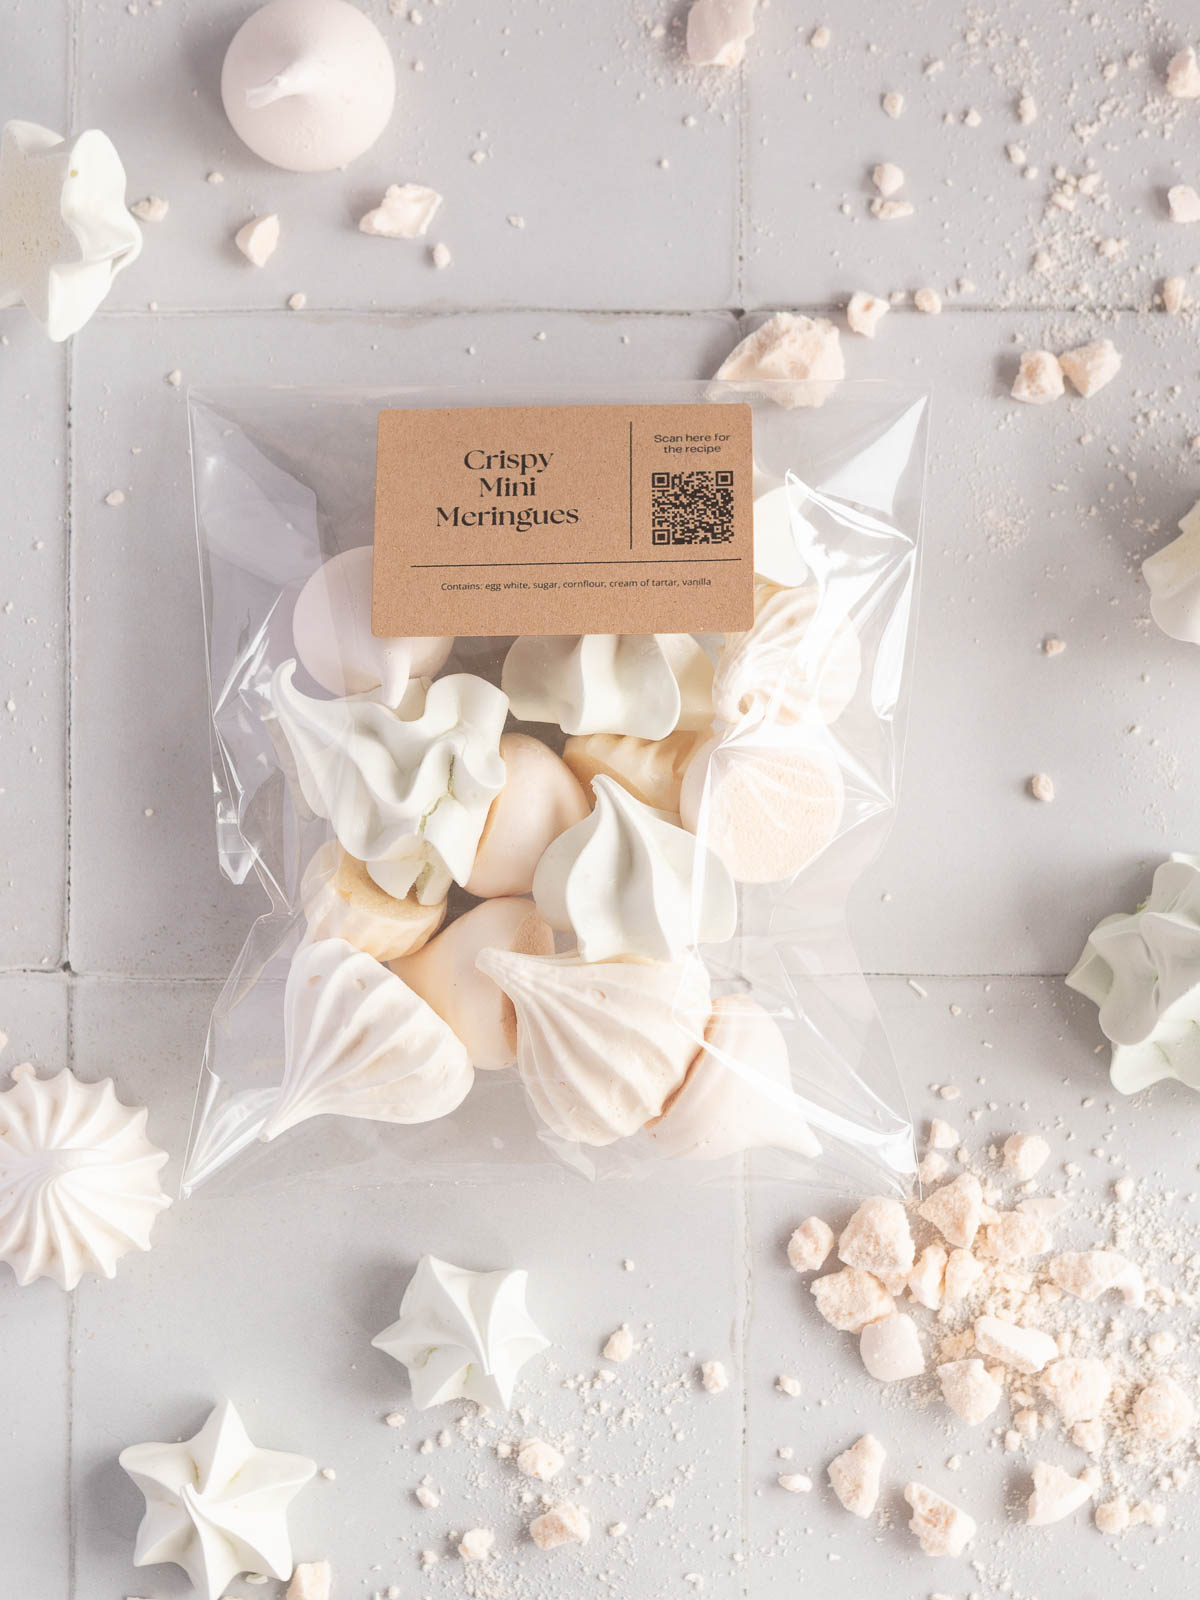
Heat-Sealed Bags (for gifts): Cool completely before sealing. Mini Meringues will stay crisp for 6 weeks.
Top Tip
Keep whipping until the meringue peaks are stiff and glossy. If it still looks a little soft, give it another minute - under-whipped meringue is the main reason they collapse in the oven.
FAQ
Yes, they're made from egg whites, sugar, and stabilisers, with no dairy ingredients.
Use an aqua paste like Colour Mill. Add once the meringue reaches medium peaks and continue whisking.
Usually from undissolved sugar or high humidity. Ensure sugar is melted, bake low and slow, and store airtight.
Absolutely. Their crisp texture and defined shape make them perfect finishing touches.
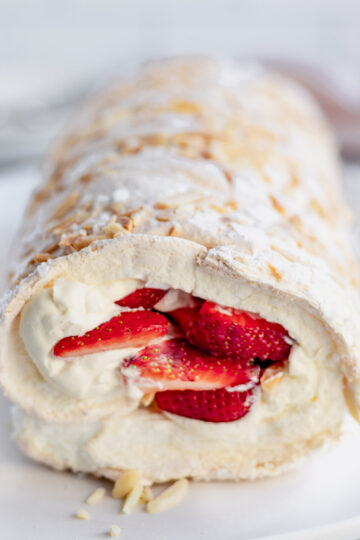
My Favourite Meringue Recipes


Mini Meringues
Equipment
- 1 Silpat Mat optional
- 1 Thermometer optional
Ingredients
- 100 grams Egg whites 3 XL eggs
- 200 grams Caster (super fine) sugar
- ¼ teaspoon Corn flour
- ⅕ teaspoon Cream of tartar
- ½ teaspoon Vanilla paste or extract
Instructions
- Prehat oven to 100 and line a large baking tray with a silpat mat or baking paper.
- Place all ingredients into the bowl of your stand mixer and place over a small saucepan of simmering water (this is a double boiler).
- Constantly whisk ingredients gently, for a few minutes, or until the mixture reaches 63-65 or it's not longer gritty when you rub it between your fingers.
- Transfer bowl to your stand mixer and whisk on medium-high, until the mixture is thick and glossy (3-4 minutes).
- Scoop mixture into a large piping bag, fitted with your chose nozzle (1A, 1M or 6B work well). Pipe the mixture into mini meringues onto your tray.
- Place in the oven. Bake for 2.5 hours, then leave to cool completely in the oven, with the door slightly ajar.
Notes
- Mini Meringues can last up to 6 weeks in heat-sealed, food safe cellophane bags, making them ideal gifts.
- You can also dip these meringues in chocolate, for an after dinner treat
- Try colouring meringues with aqua based food gel and change vanilla extract to other flavours (green + peppermint)
- Mini Meringues can be used to decorate Celebration Cakes, Tarts, Eton Mess, Key Lime Pie...


Sandra says
This was so easy to make!